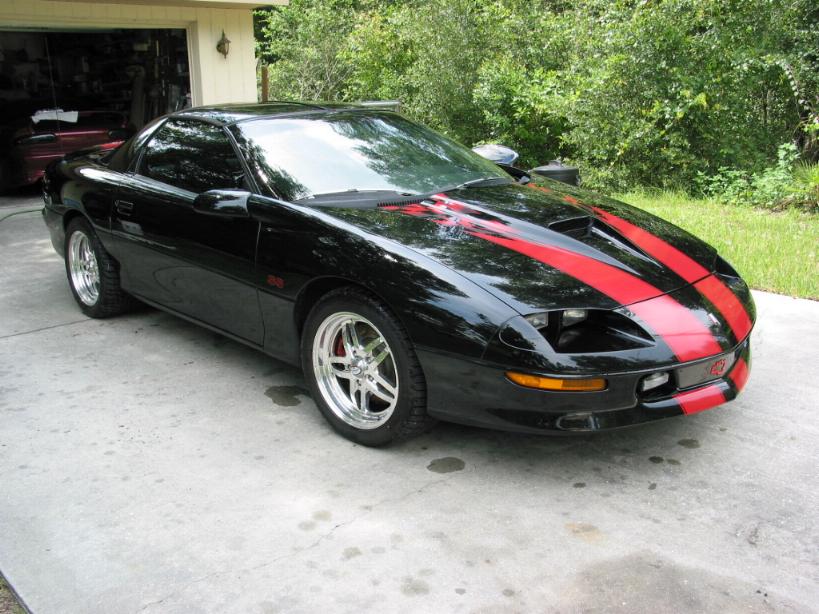
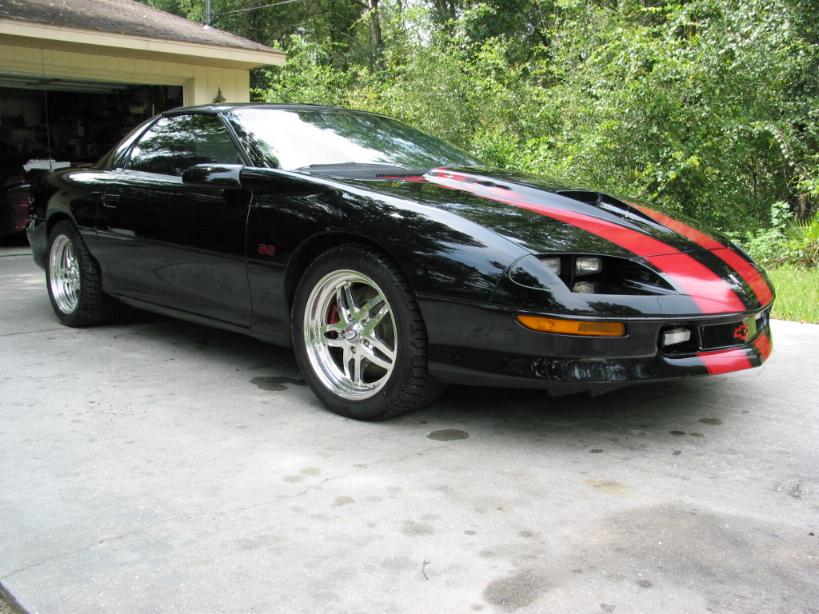
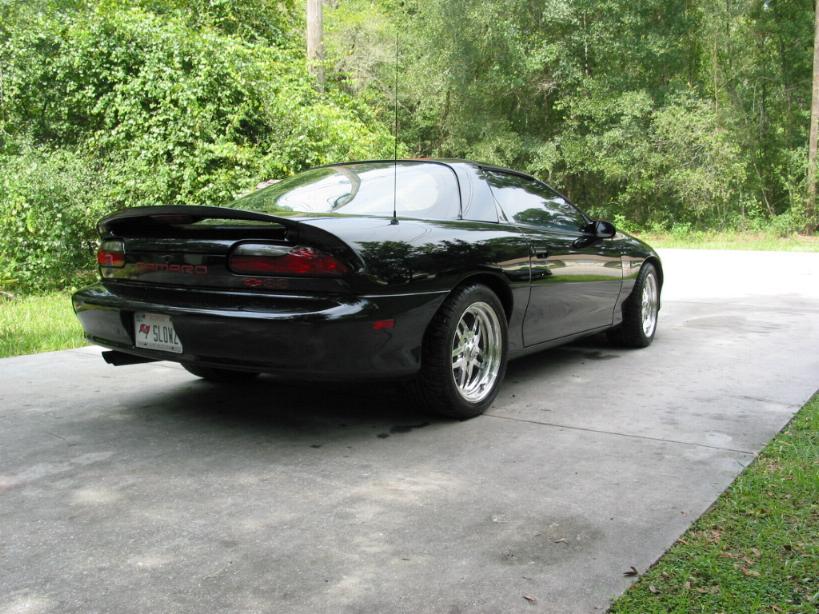
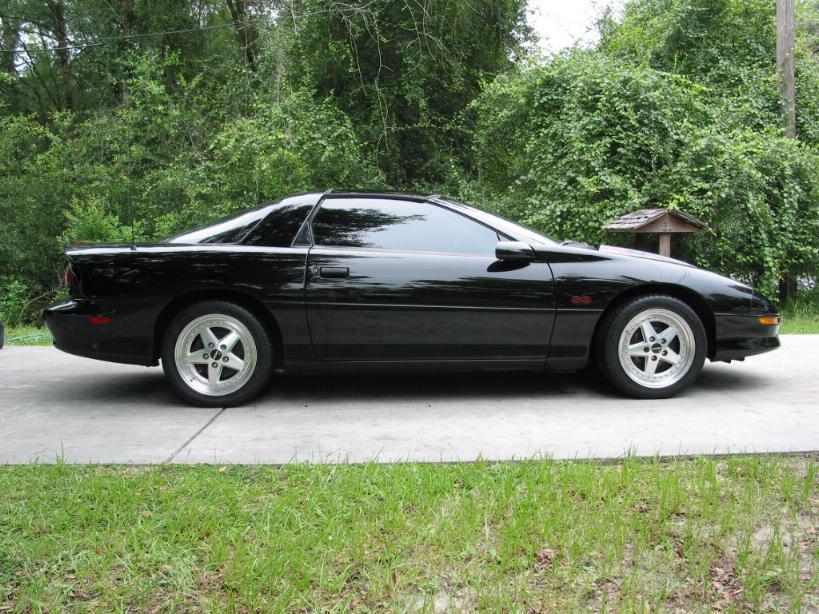
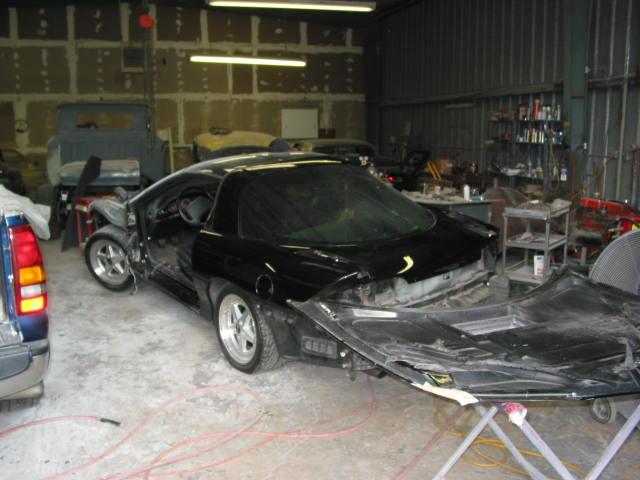
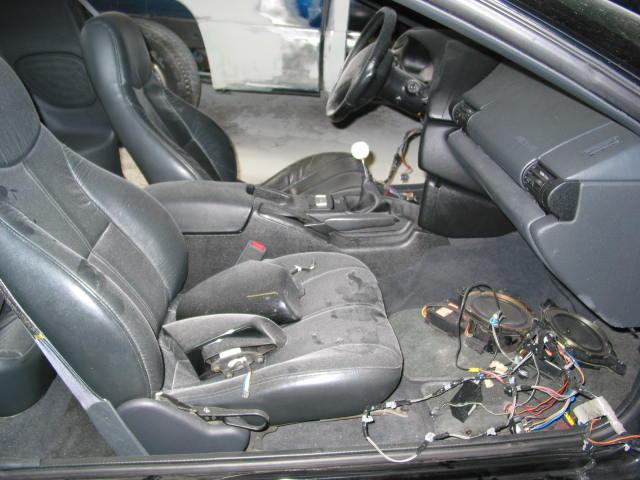
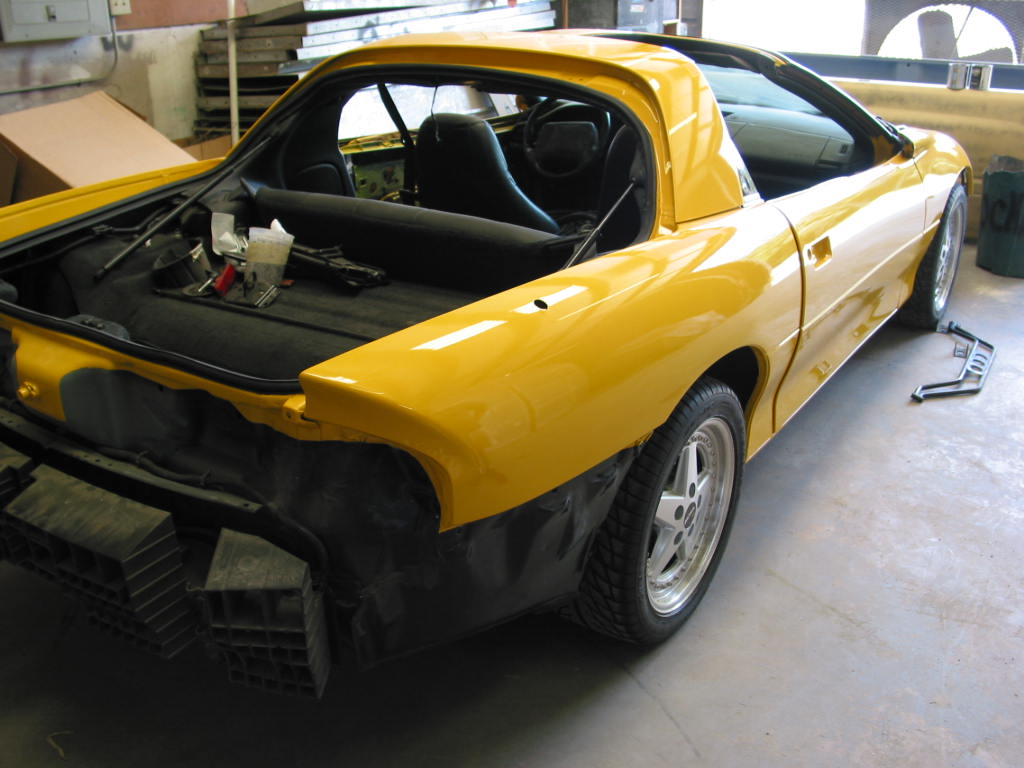
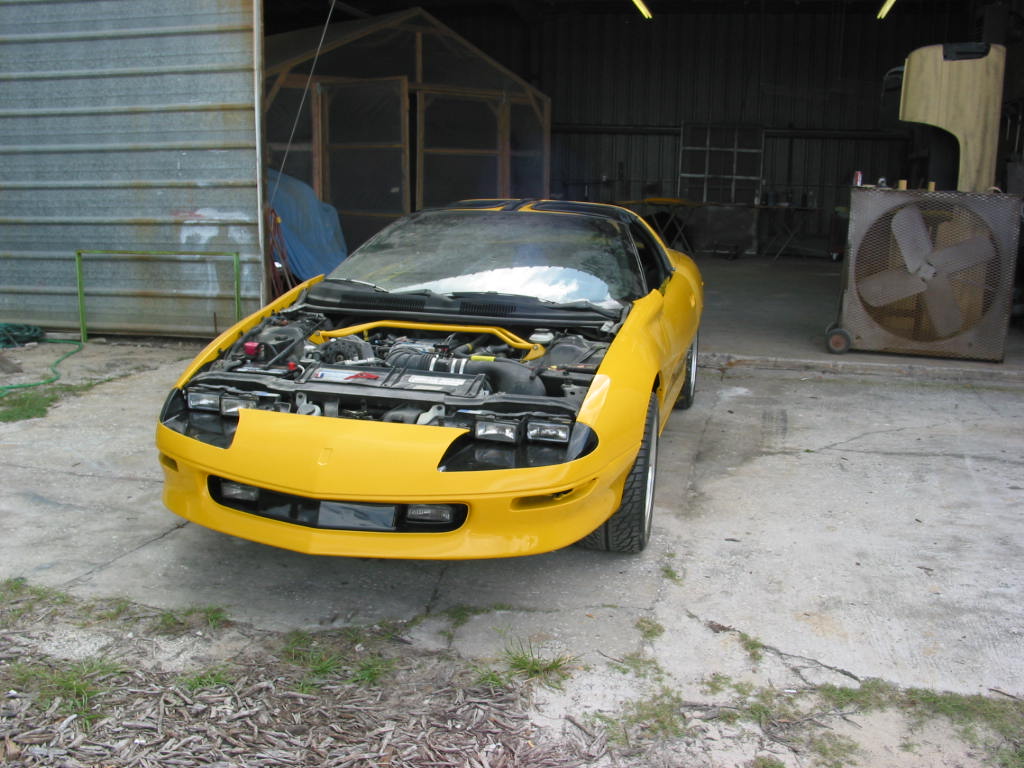
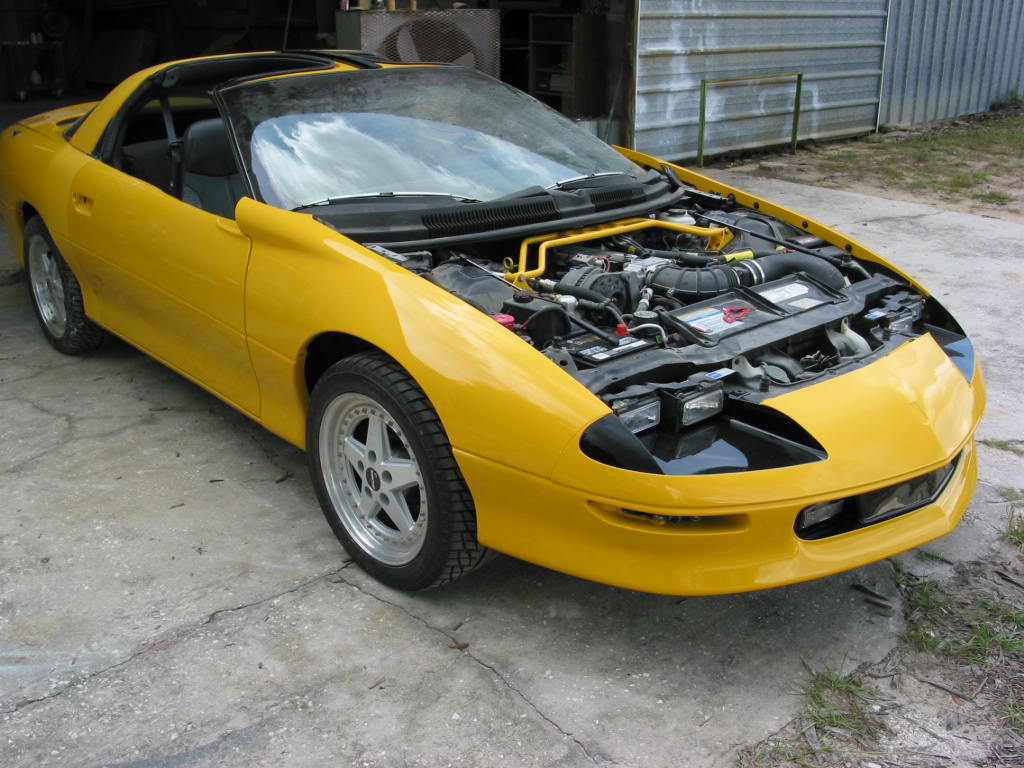
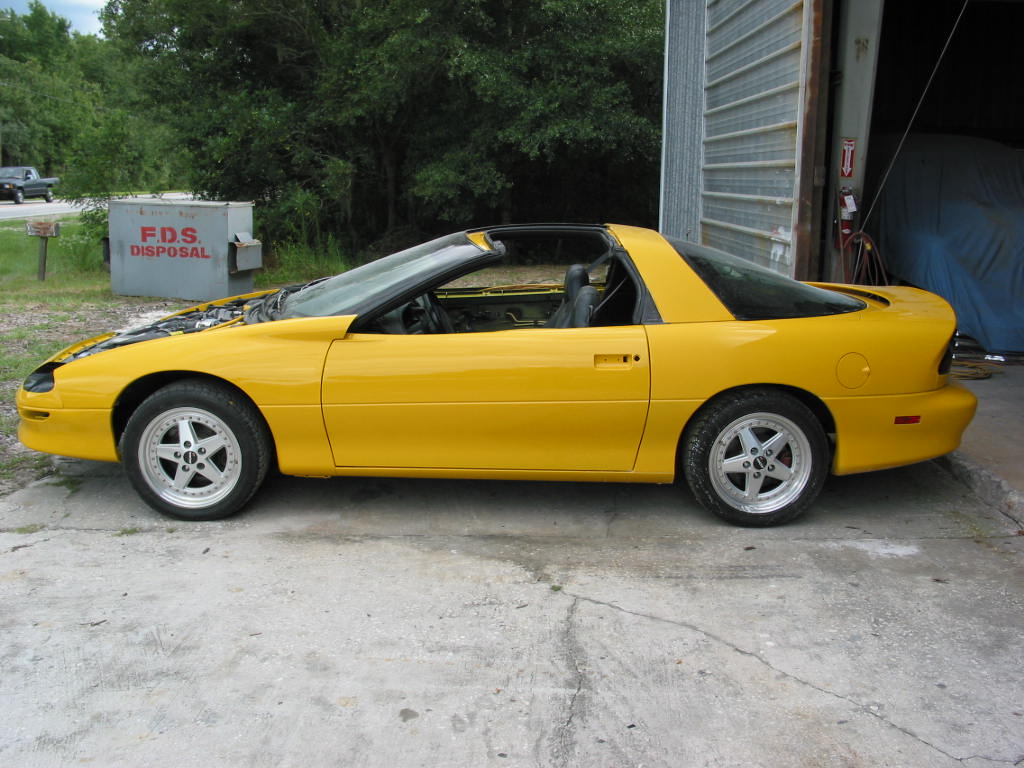
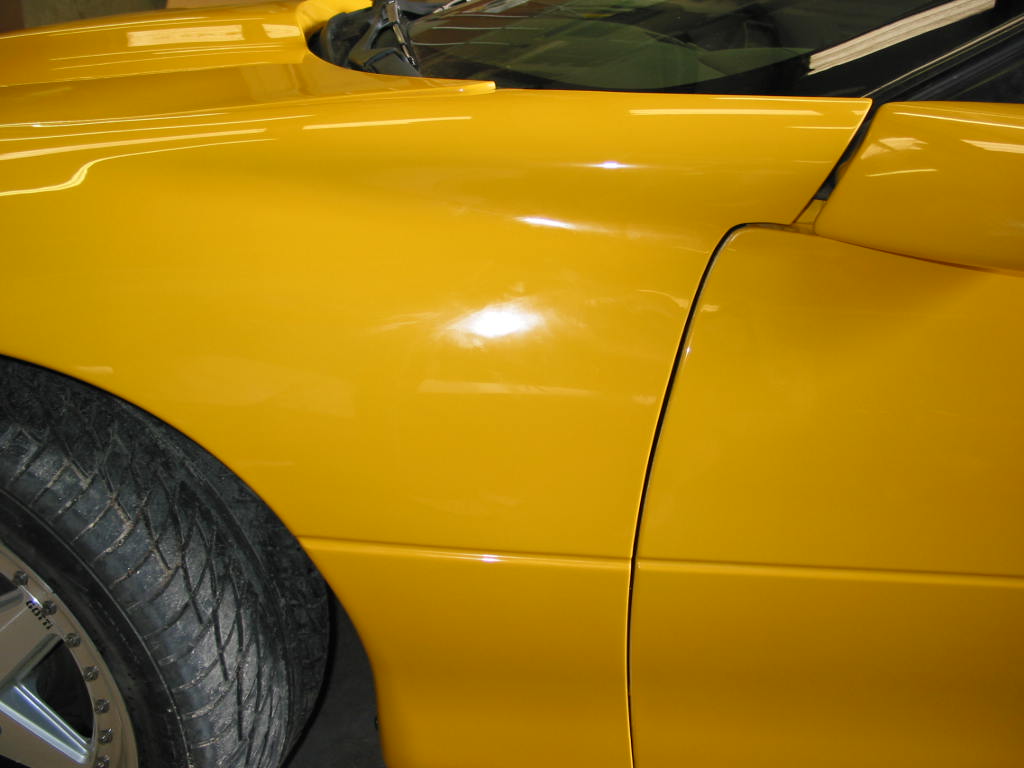
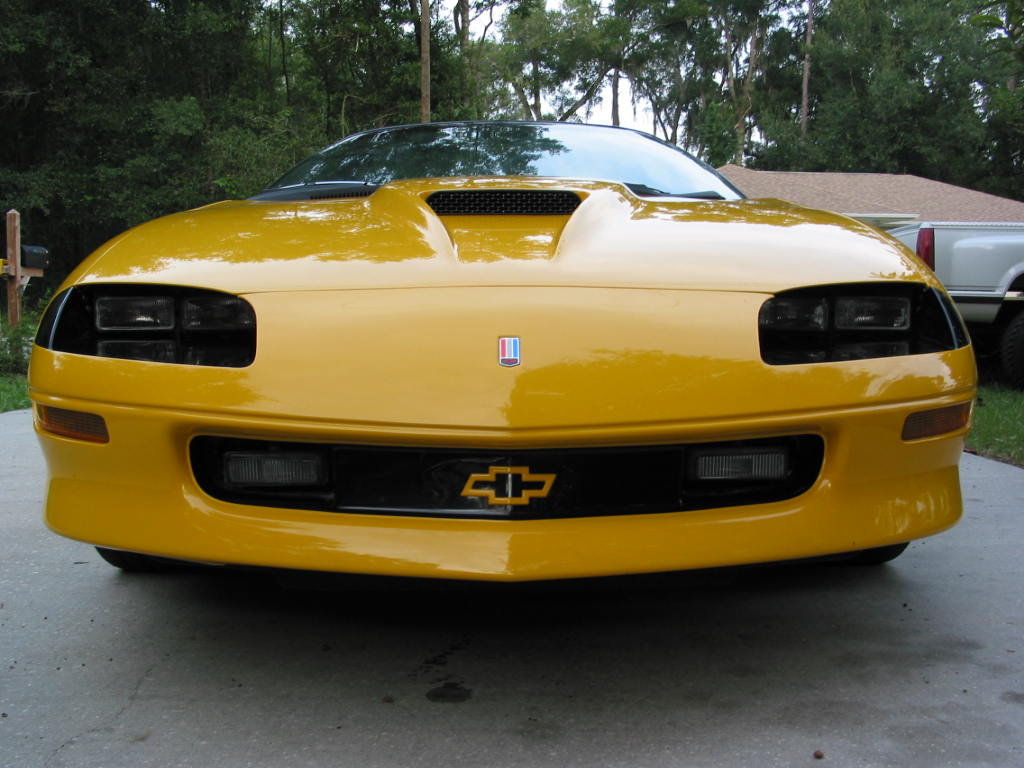
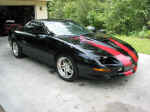
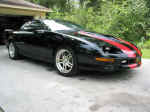
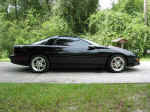
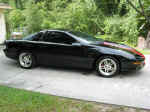
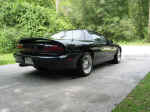
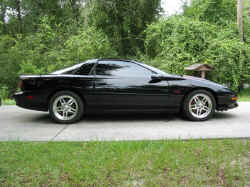
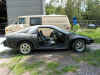
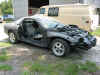
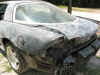
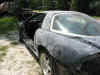
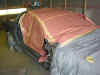
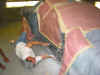
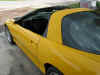
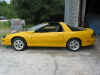
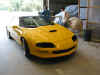
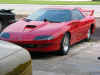
I met up with my body
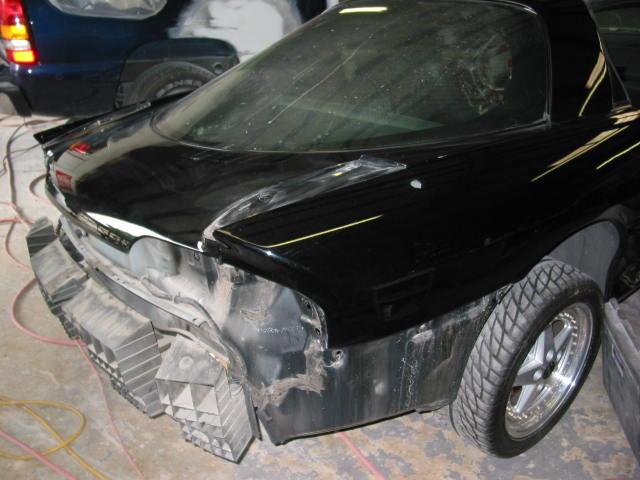
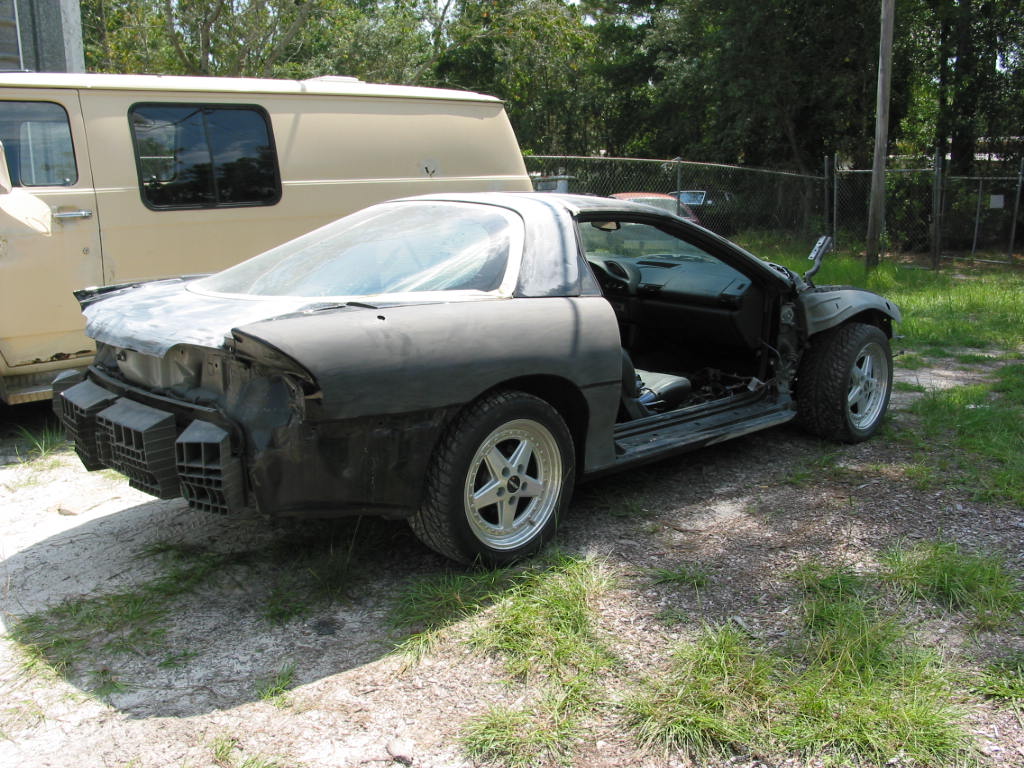
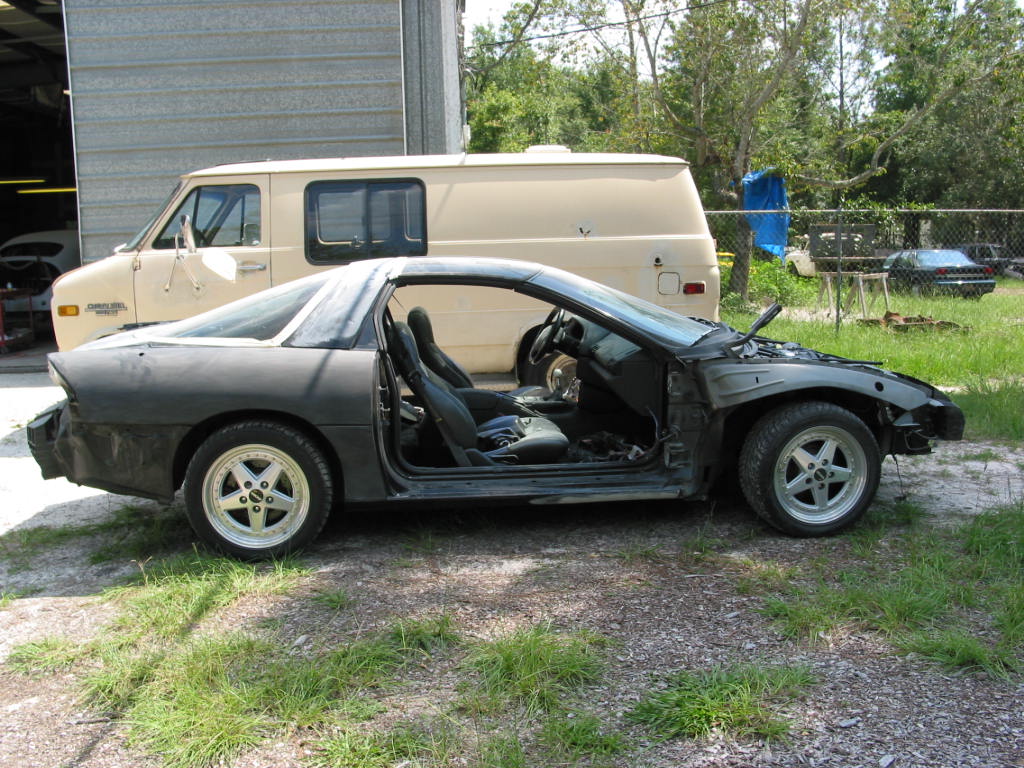
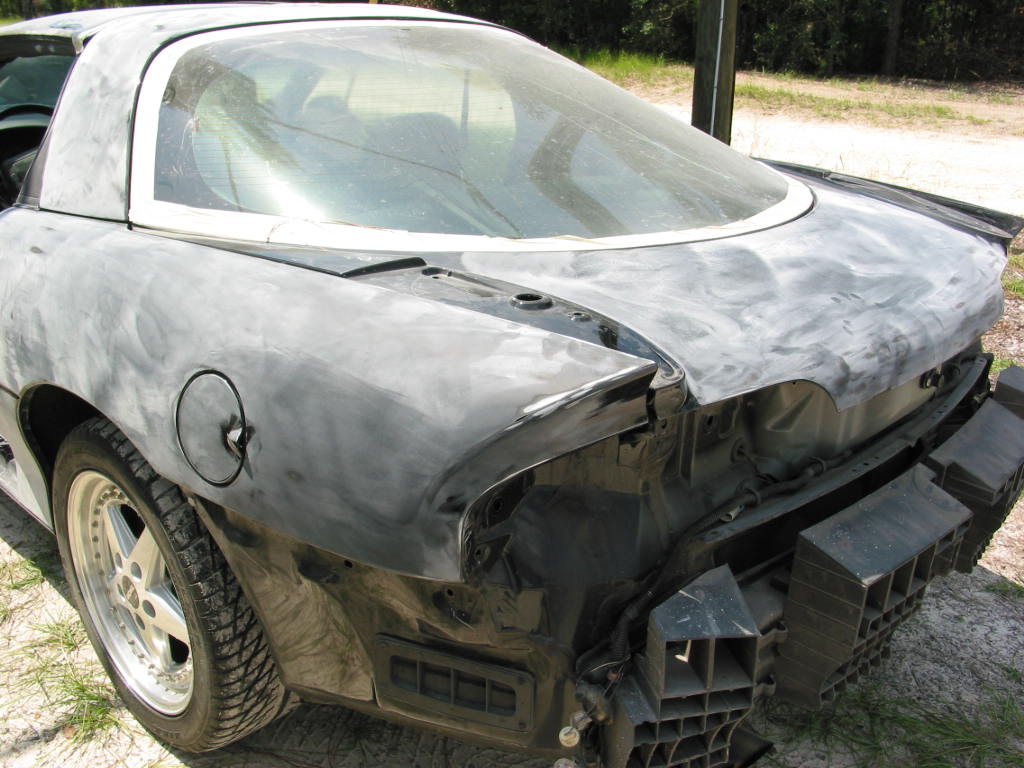
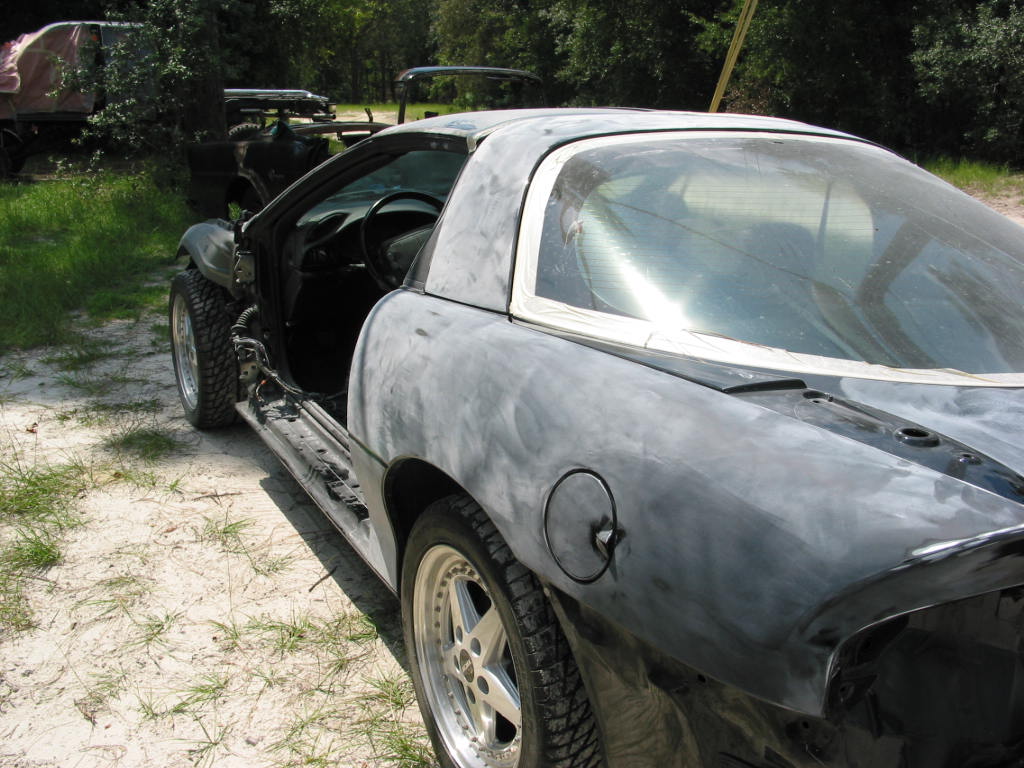
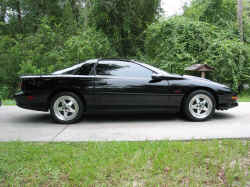
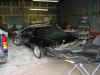
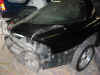
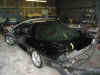
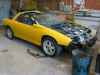
shop guy and dropped the car off late Sunday night. Here are some before pictures.
It was very hard for me to decide to get rid of the black because I've always loved
the way a black car looks. The thing that finally made me decide to go for the
Millennium Yellow was this... if you want a black Camaro you can basically just go buy one
because they are a dime a dozen. If you want a Millennium Yellow Camaro, it's gonna
cost you a pretty penny. If I was ever going to do something like this, now was the
time and the expense would be minimal as compared to what it would cost me later.
So, that's my reasoning and time to say good bye to my BLACK SS :-)
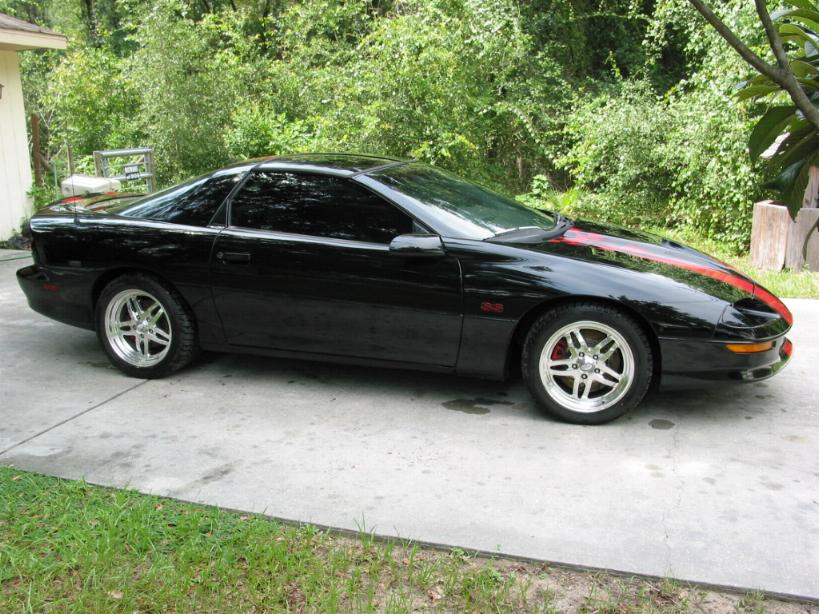
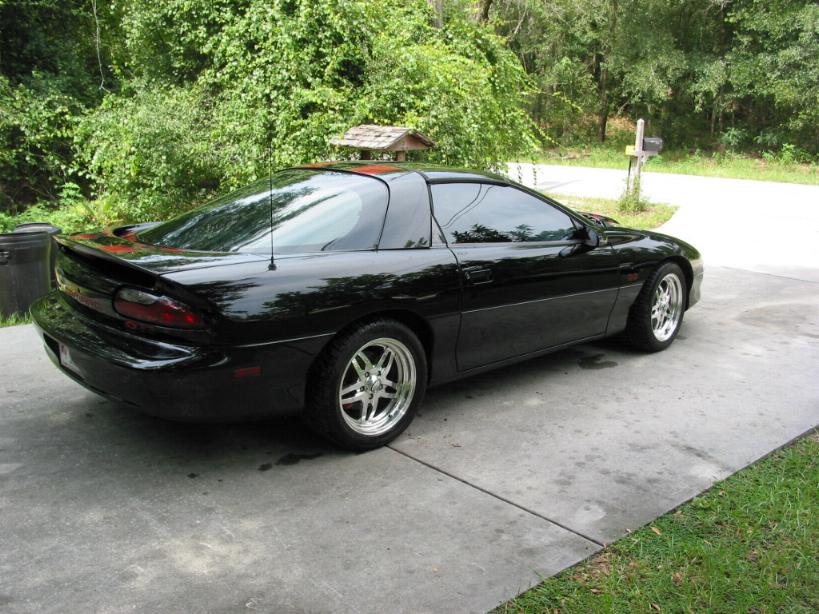
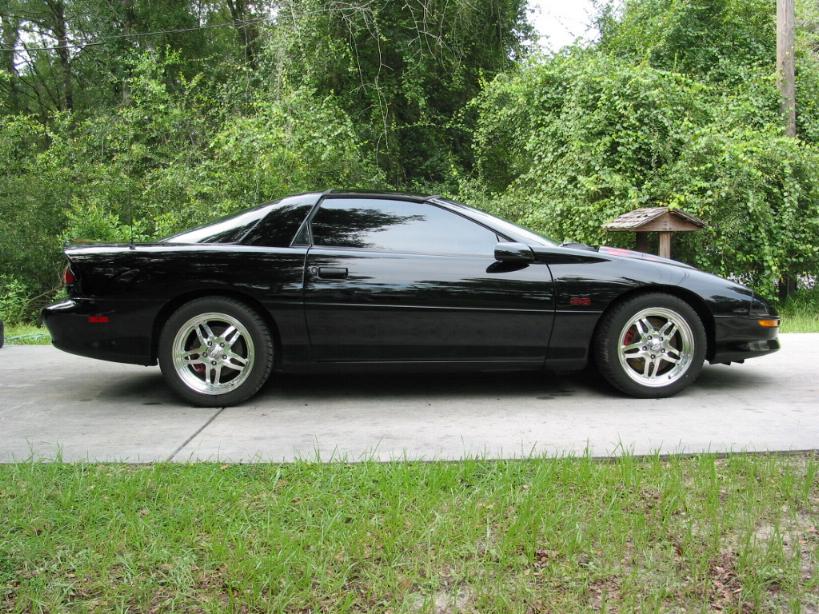
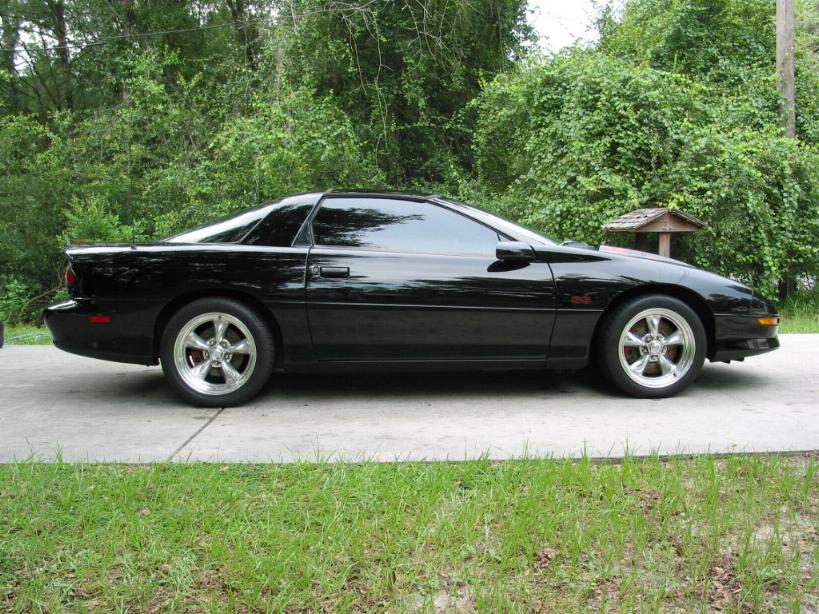
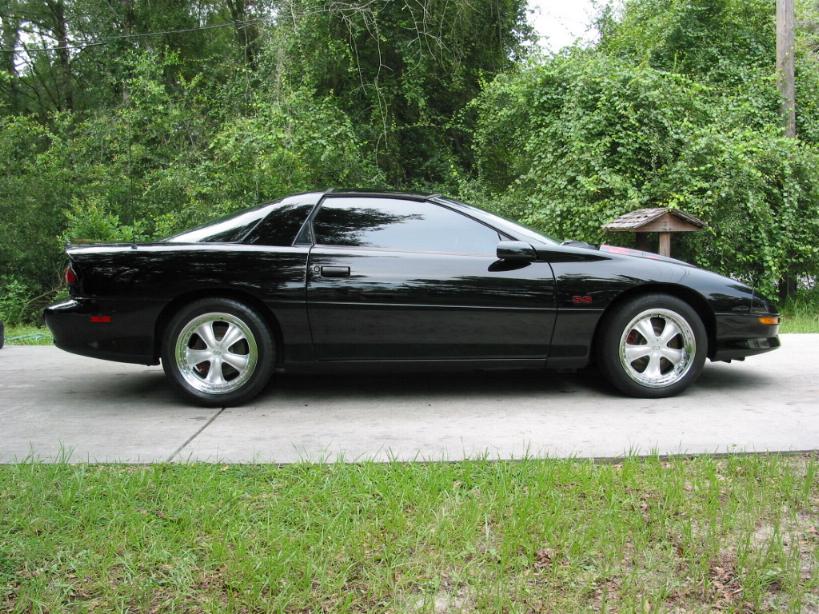
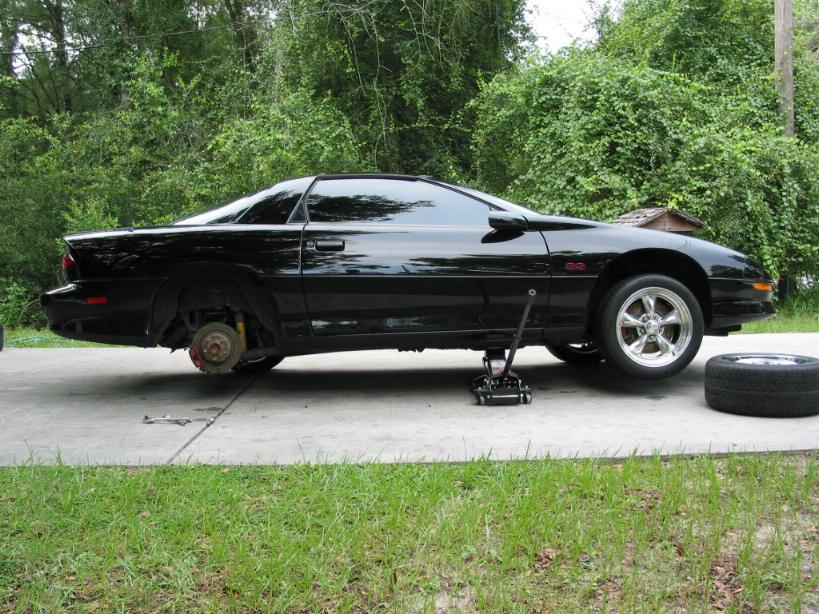
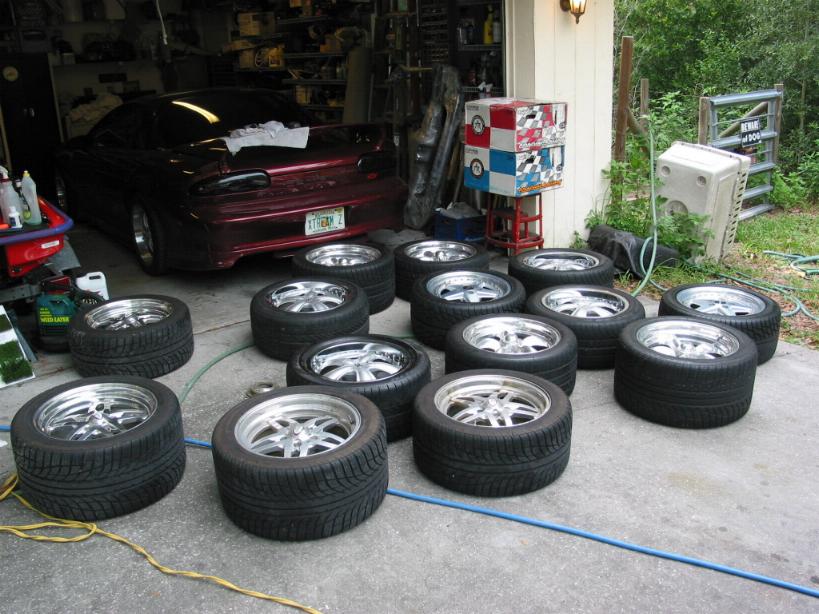
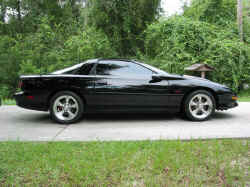
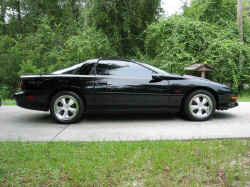
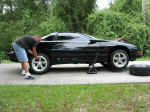
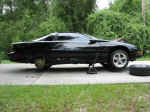
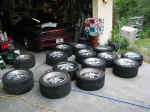
And, I also ended up taking some pics of my car
with a few different sets of wheels ;) I kinda made it sound like I was doing
PhotoShop but it was all just a big joke more or less :) I'll post these pictures as
well to give you guys an idea of what they'll style wheels look like on a black Camaro.
A little while after I posted those pics, I posted
these :)
Anyway, on to the REPAINTING process!!!
I dropped the car off Sunday night, July 28th,
2002.
Days 1-2
Body shop was busy, nothing done!
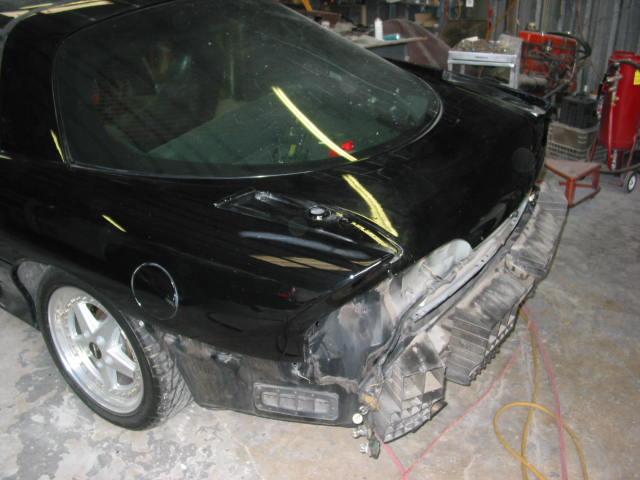
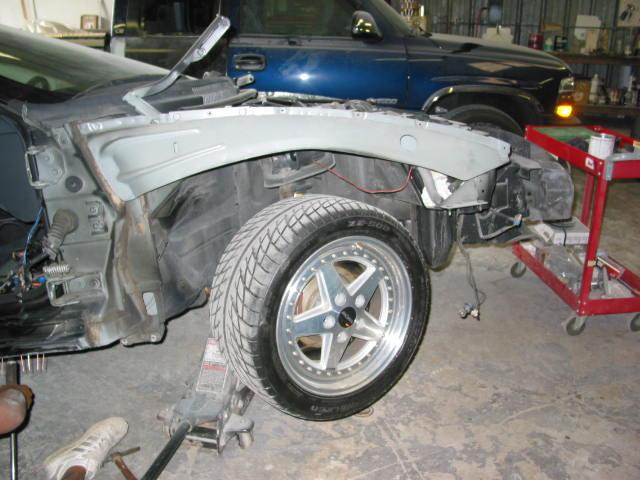
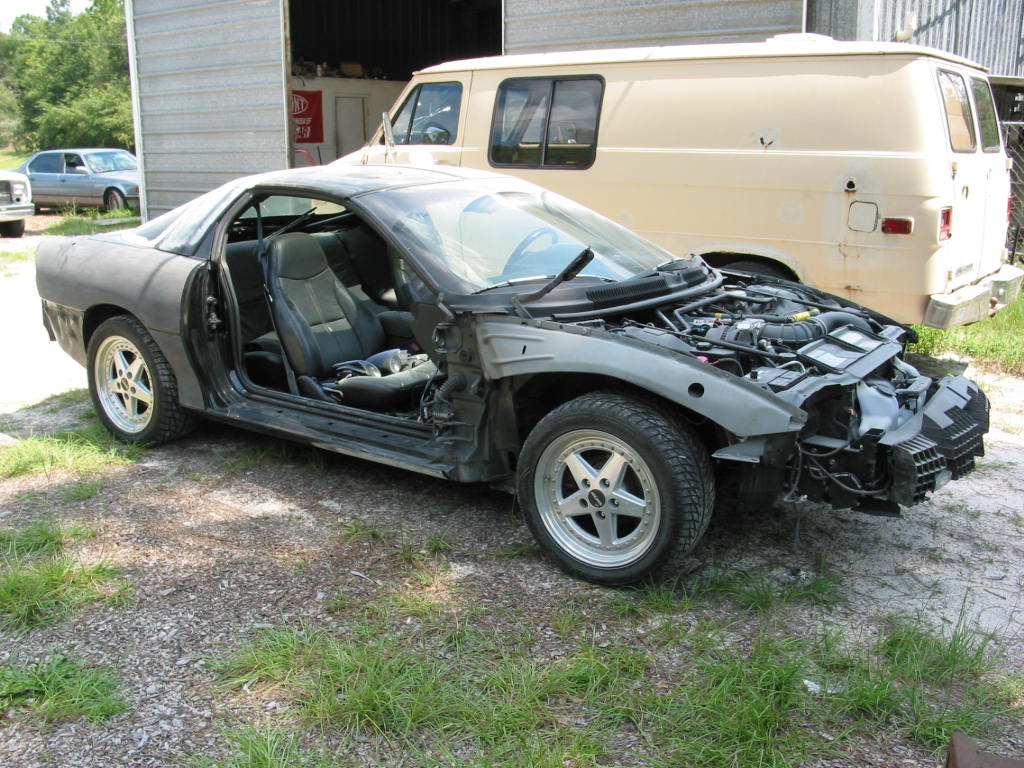
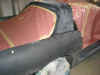
Days 3-4-5
Wow, they got busy these days! Stripped her
right down.
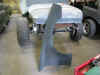    
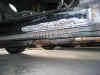 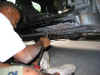 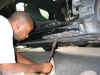
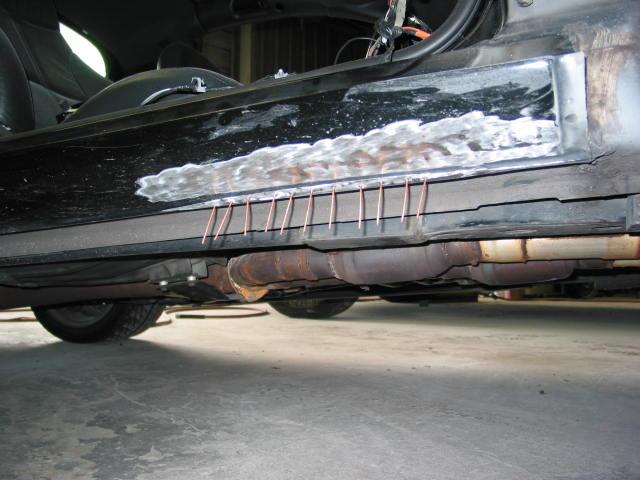
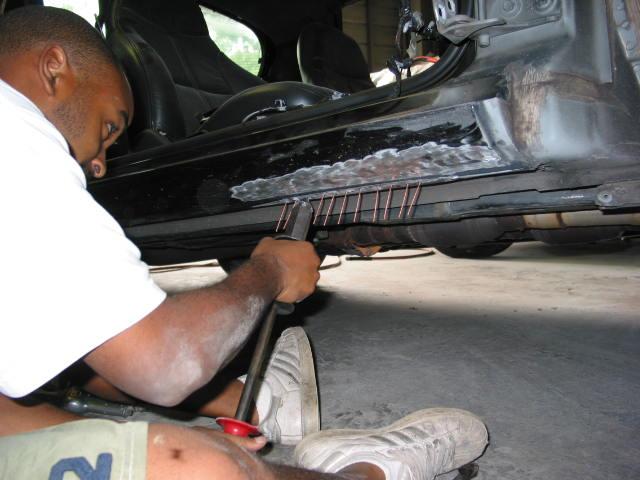
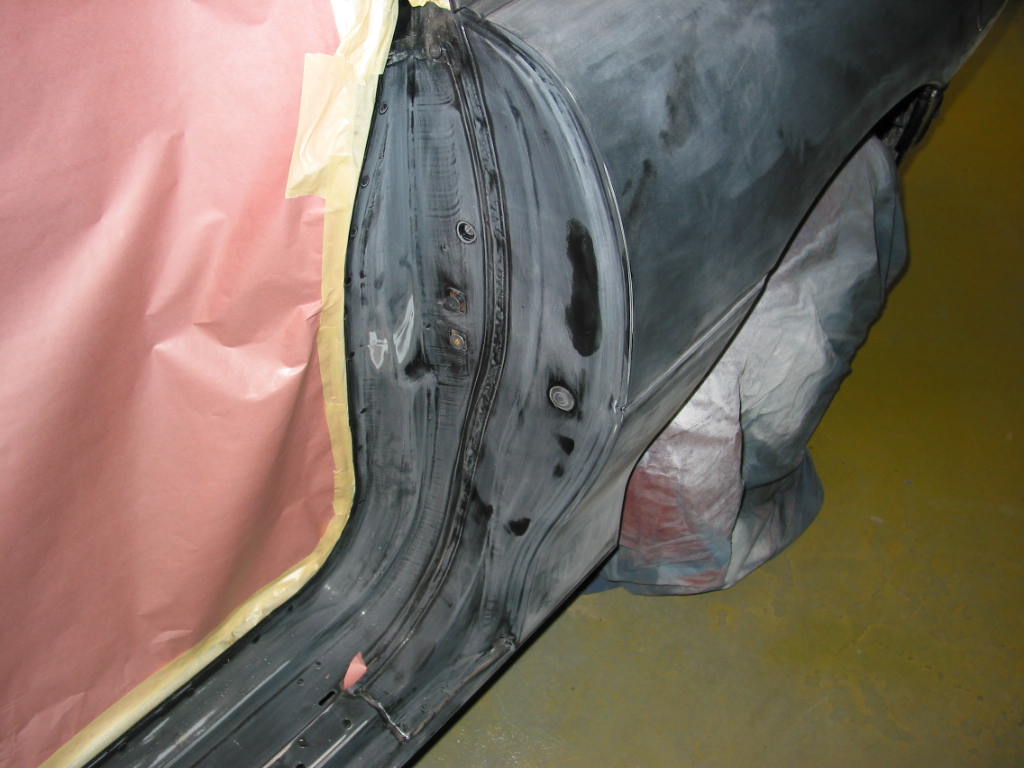
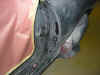
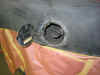
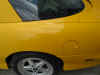
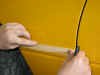
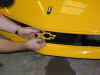
Somebody hit a curb or something (I didn't!) and dented in the bottom
portion for about a foot or two. I wanted this fixed and since this body shop does
top notch work they don't drill into the car if they don't have to. Instead they
weld little rods onto the car, use a gizmo gadget to grab these rods and pull them out,
and this pulls out the dent. When complete, they cut/grind these welded on rods off.
It minimizes the amount of bondo needed and keeps you from having to drill holes!
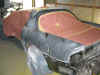
Days 6-7-8-9
Day 6 and 7 were a weekend so not sure if anything
was done on the car or not. Looks like a lot of progress has been made though since
the last update!
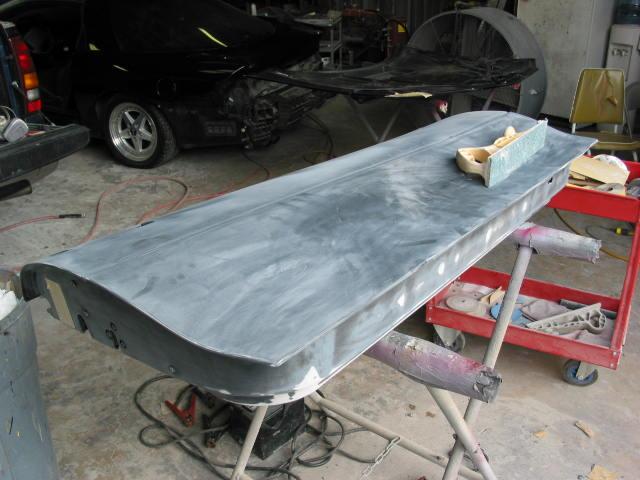
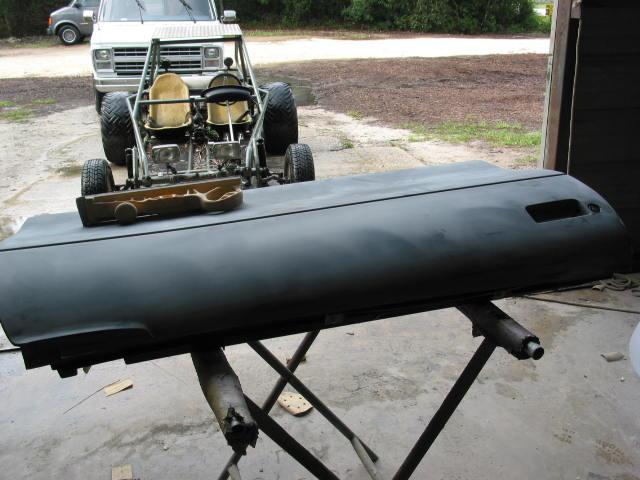
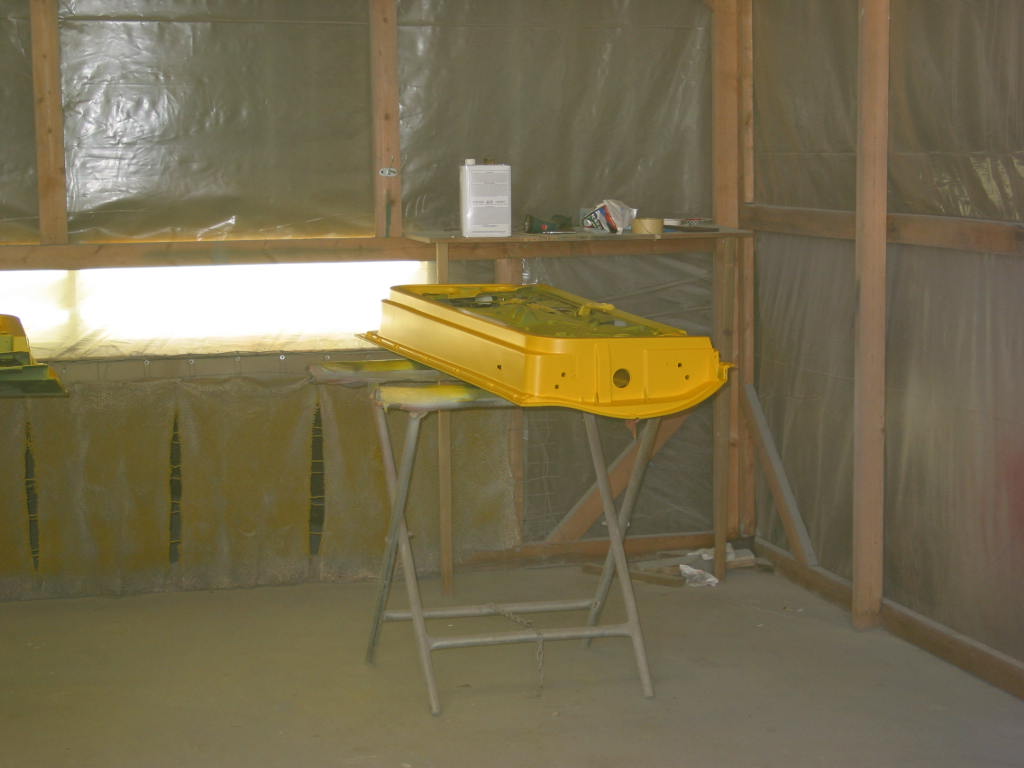
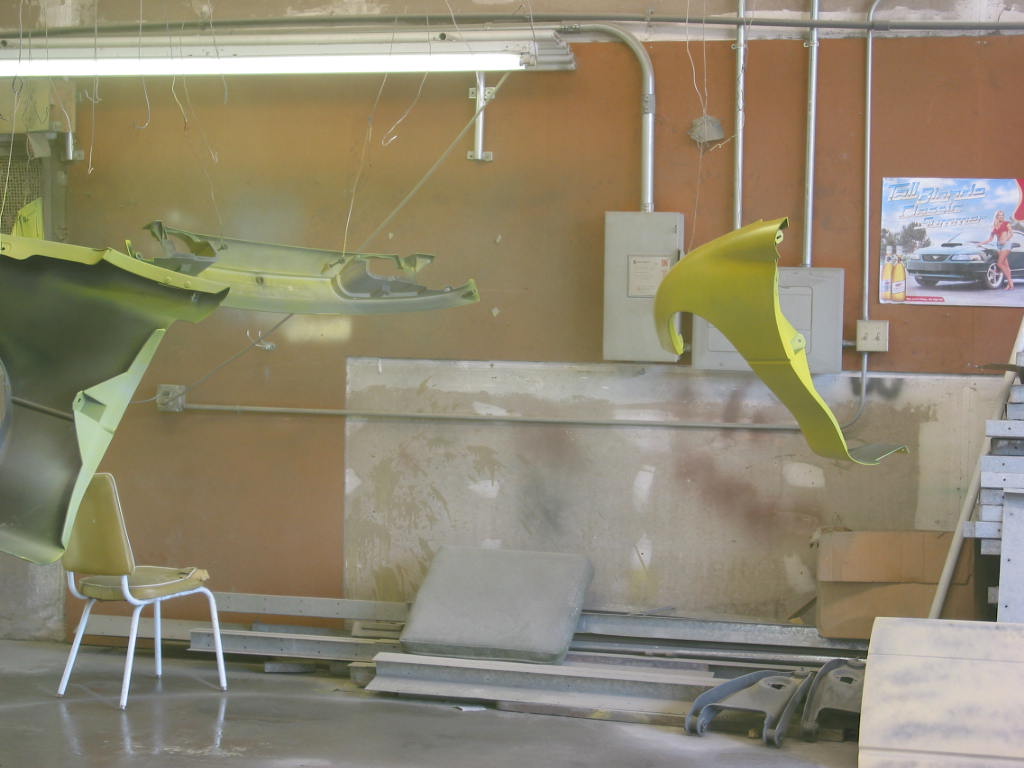
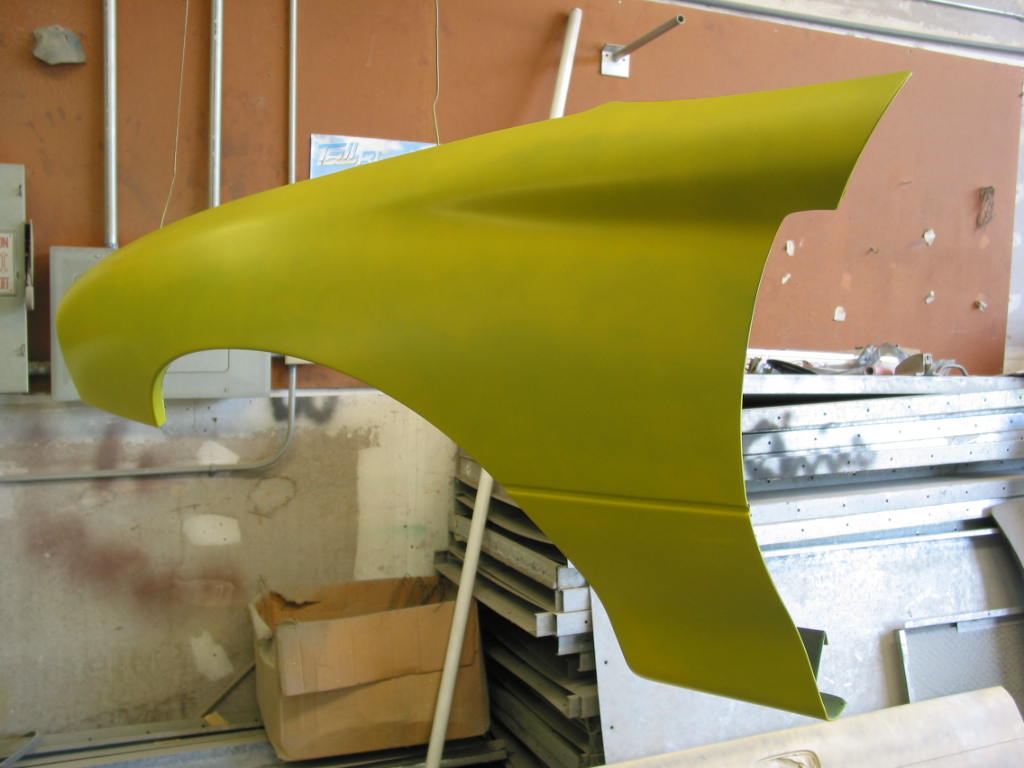
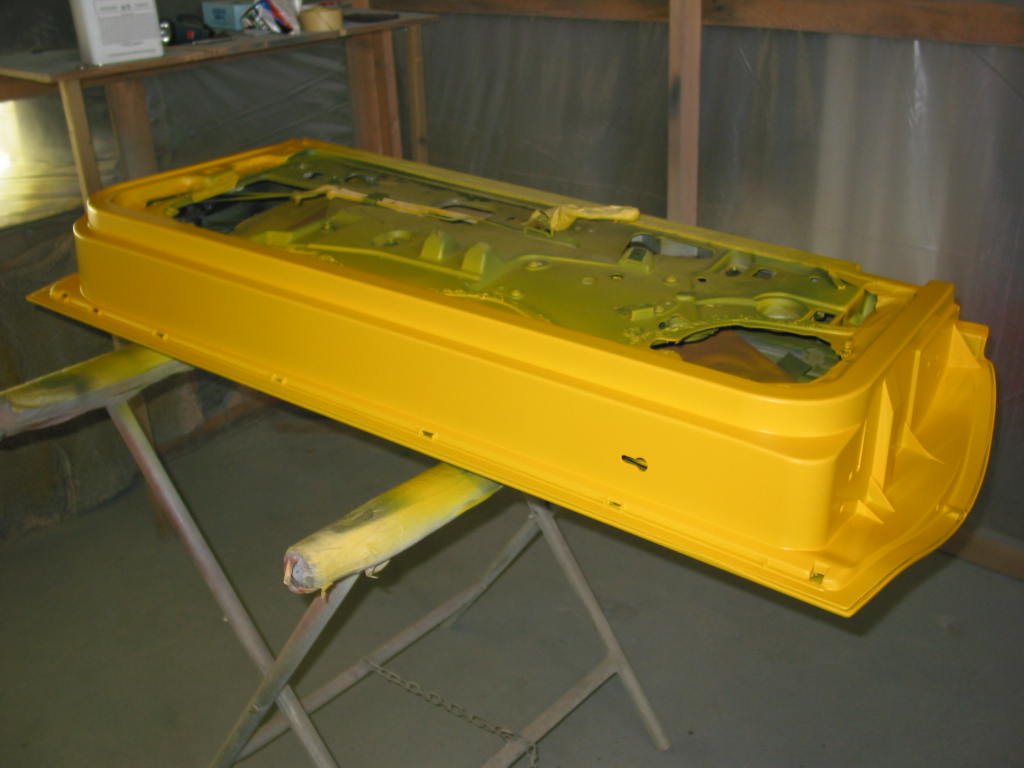
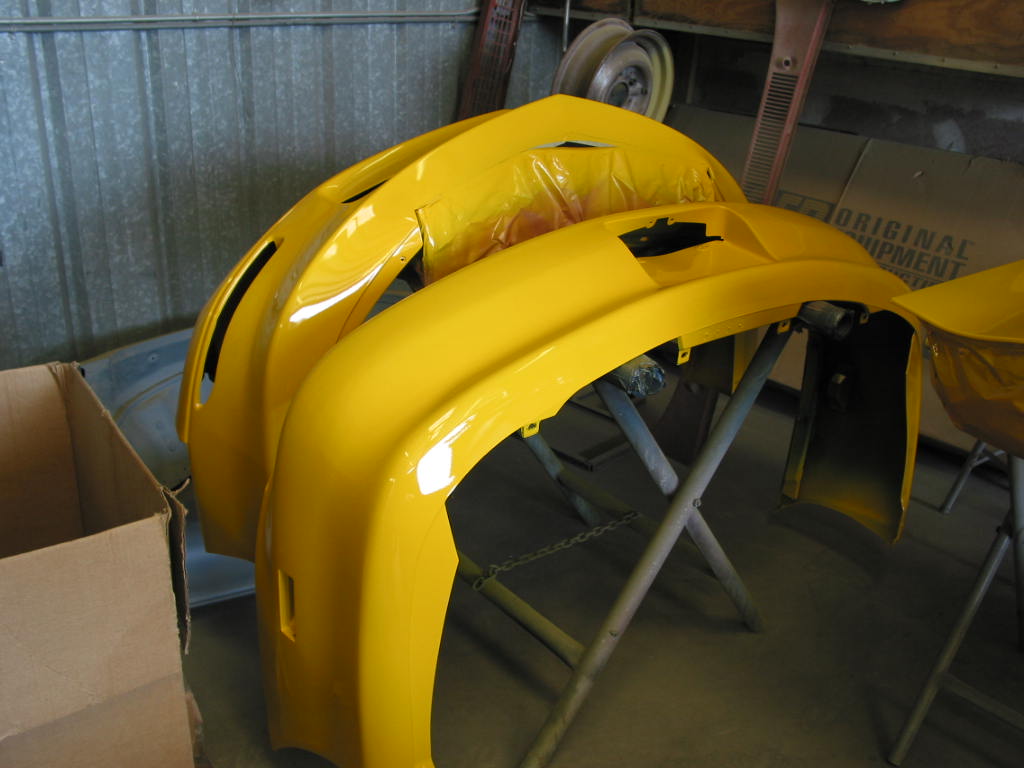
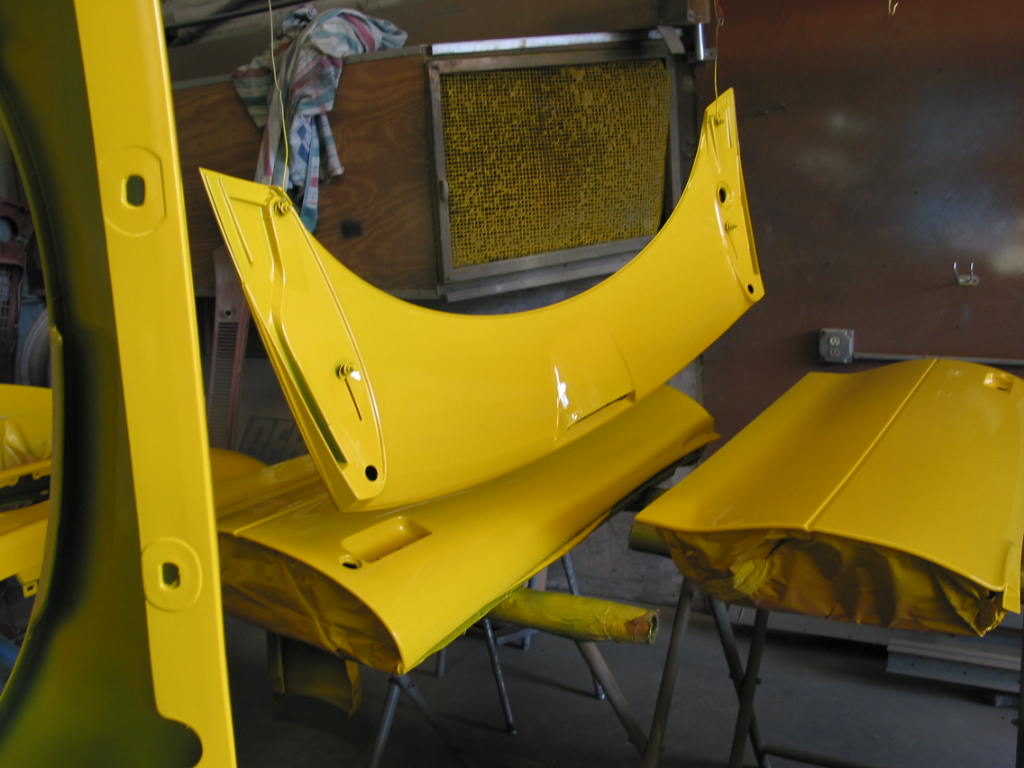
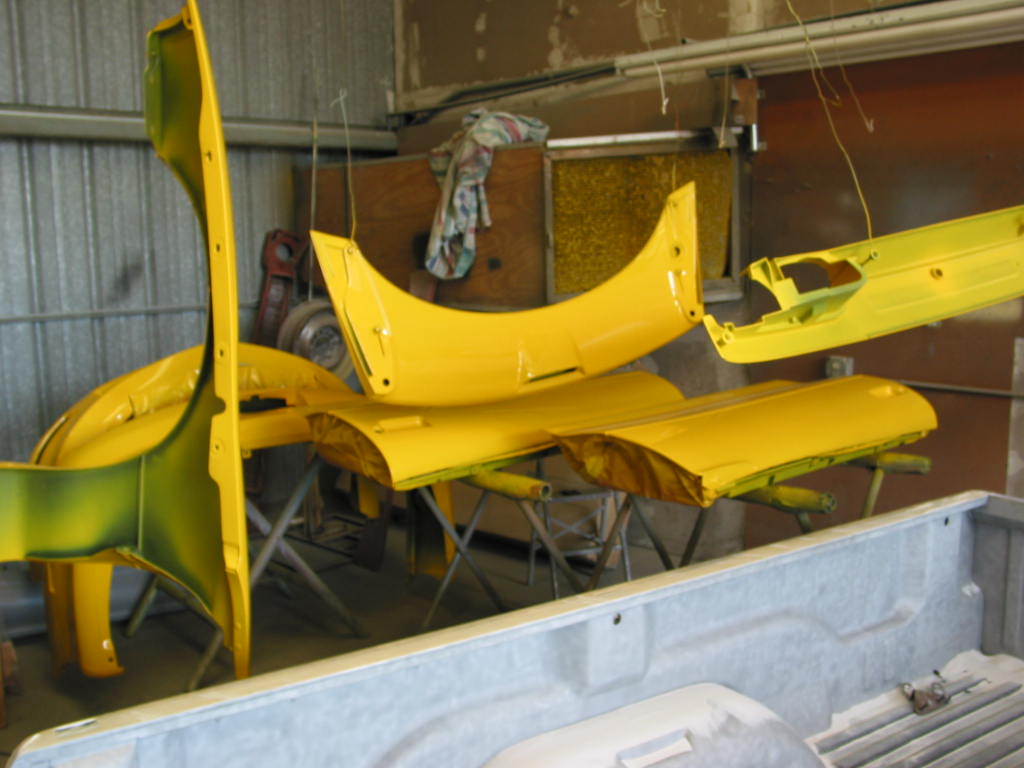
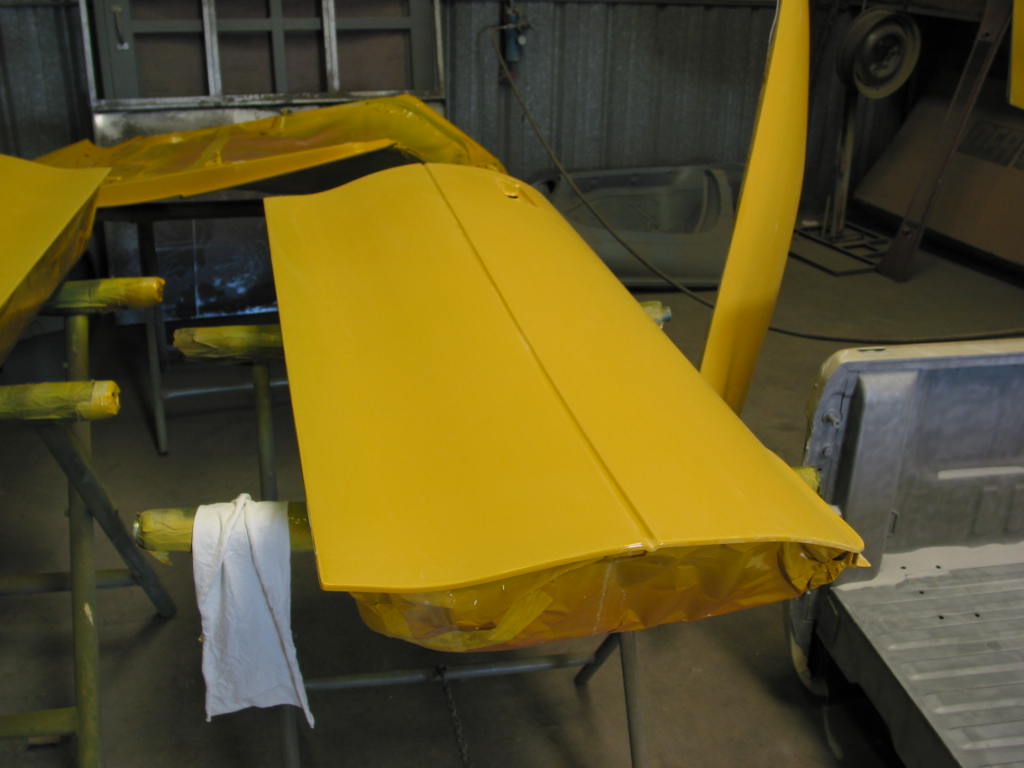
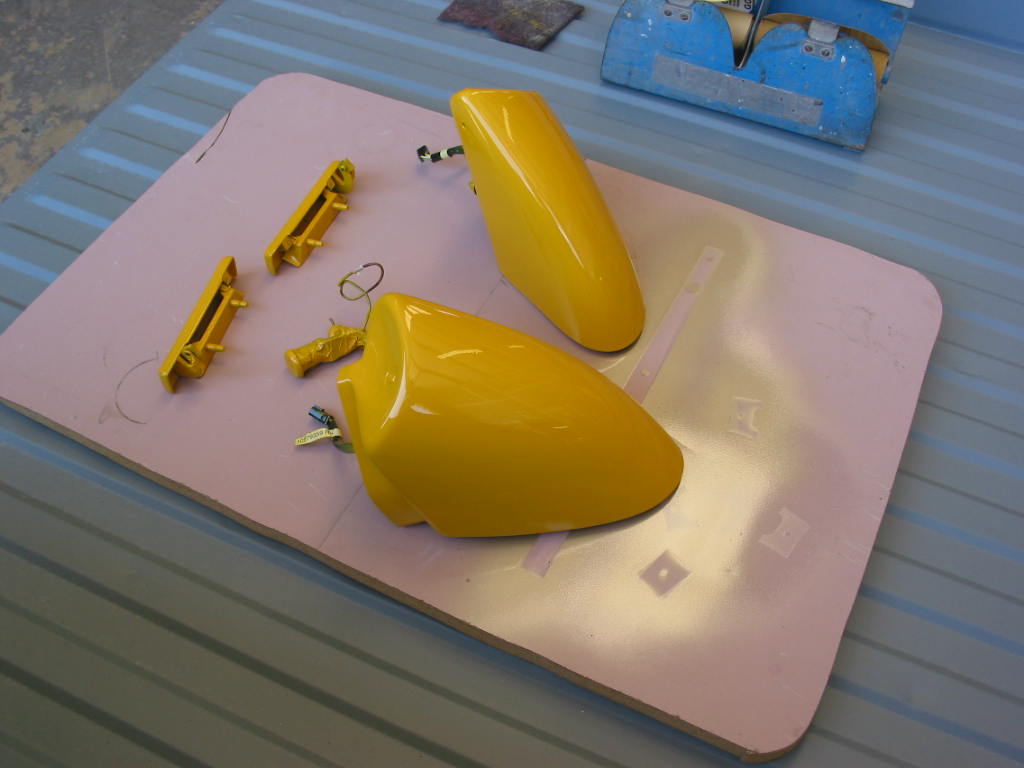
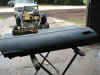
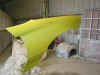
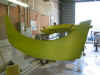
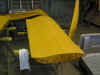
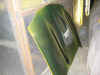
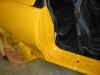
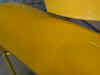
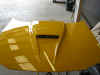
The doors are the only thing what have all the coats of the base
yellow. I asked him how it was going and he said "Pretty good" then
frowned and said "after 9 COATS!" He said this color is more of a tint and
it was taking 8 to 9 coats! LOL! The doors on the stand have 8 coats of base (no
clear yet) while the stuff hanging up has something less than 8 :)
     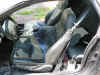
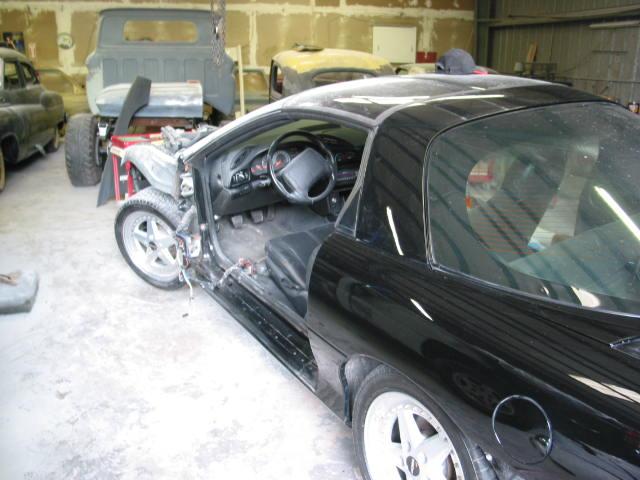
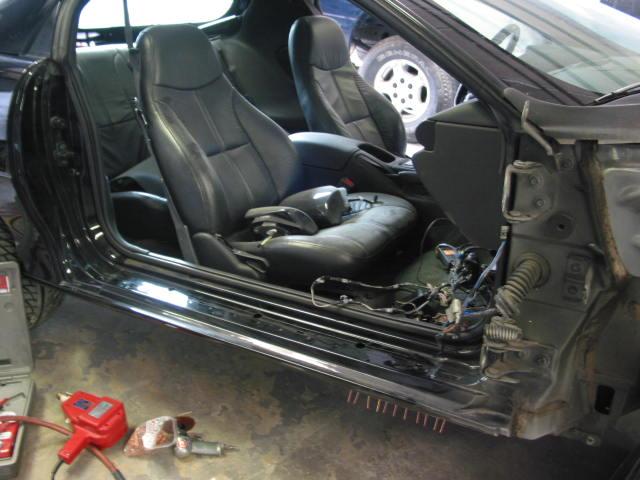
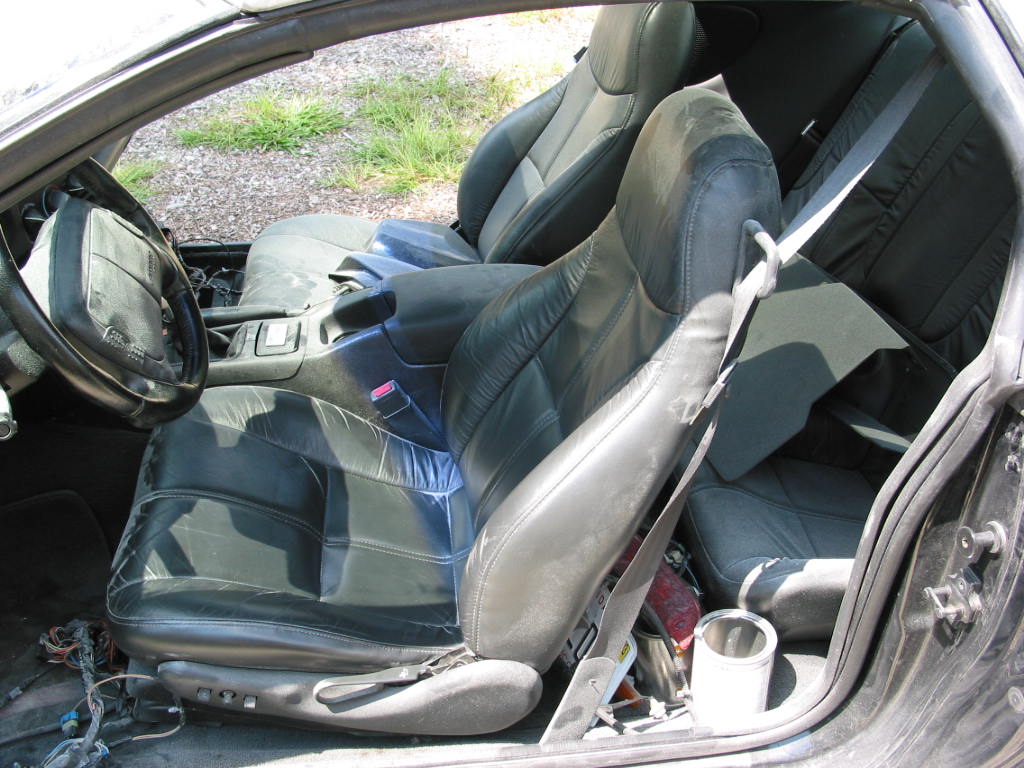
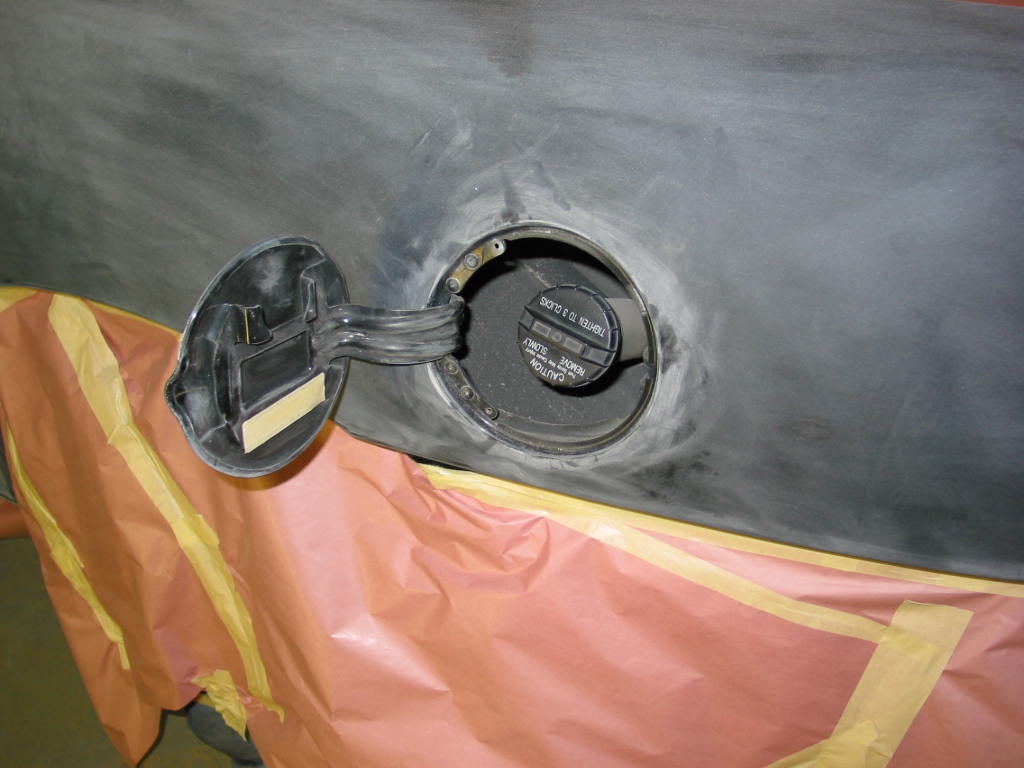
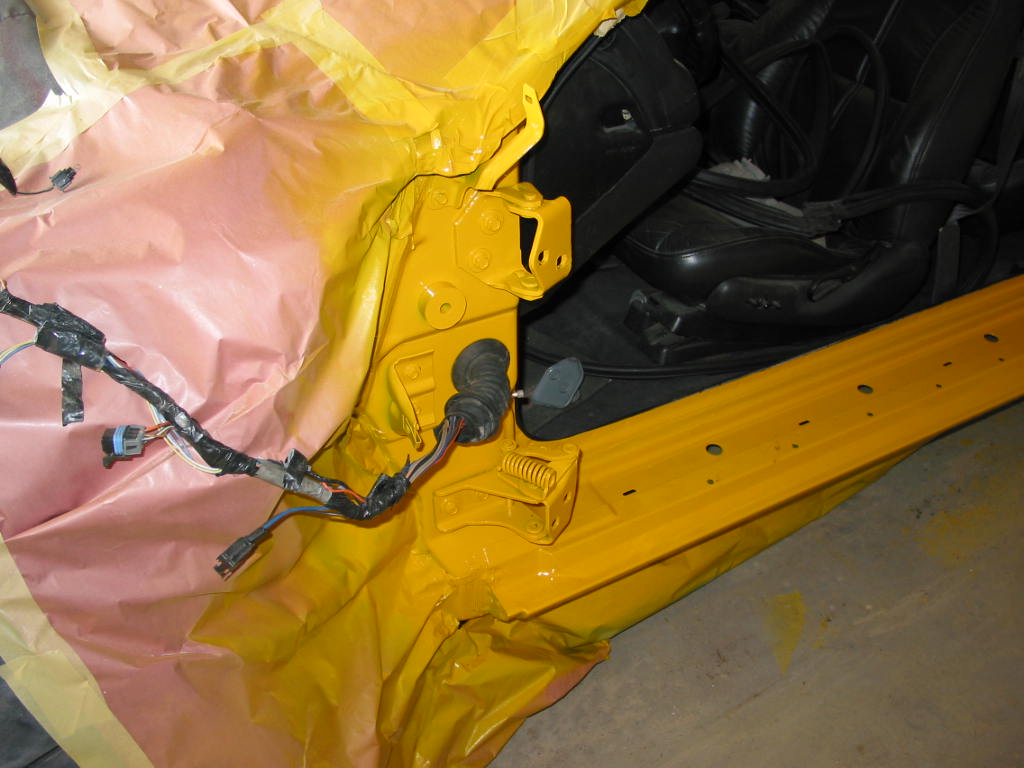
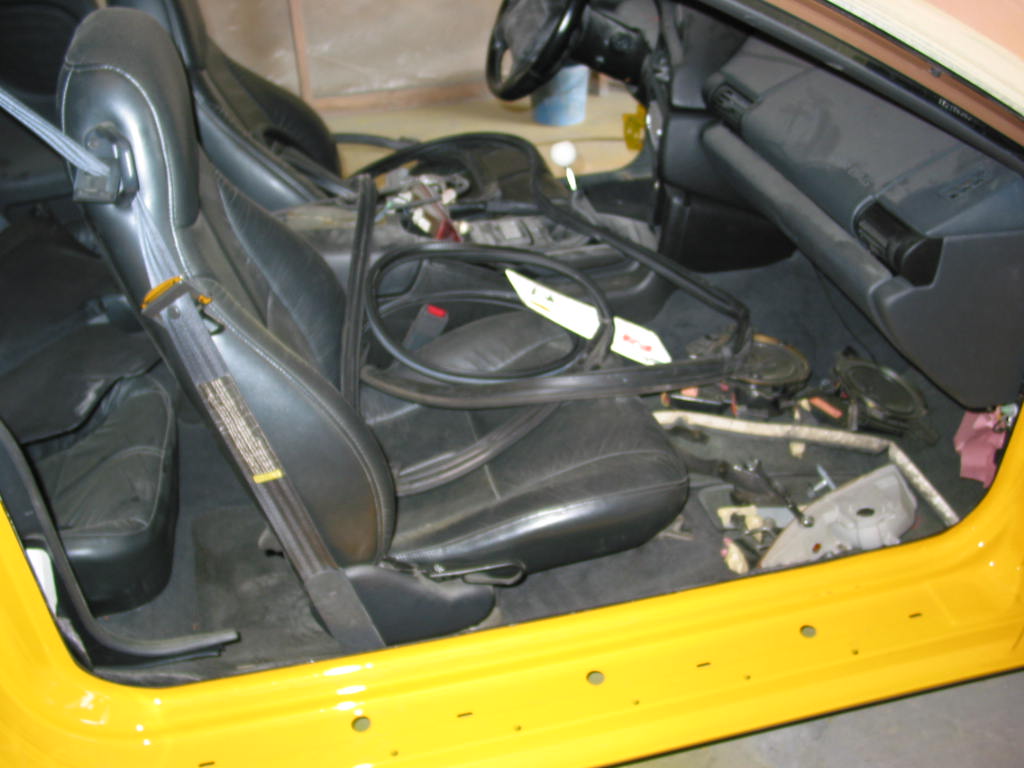
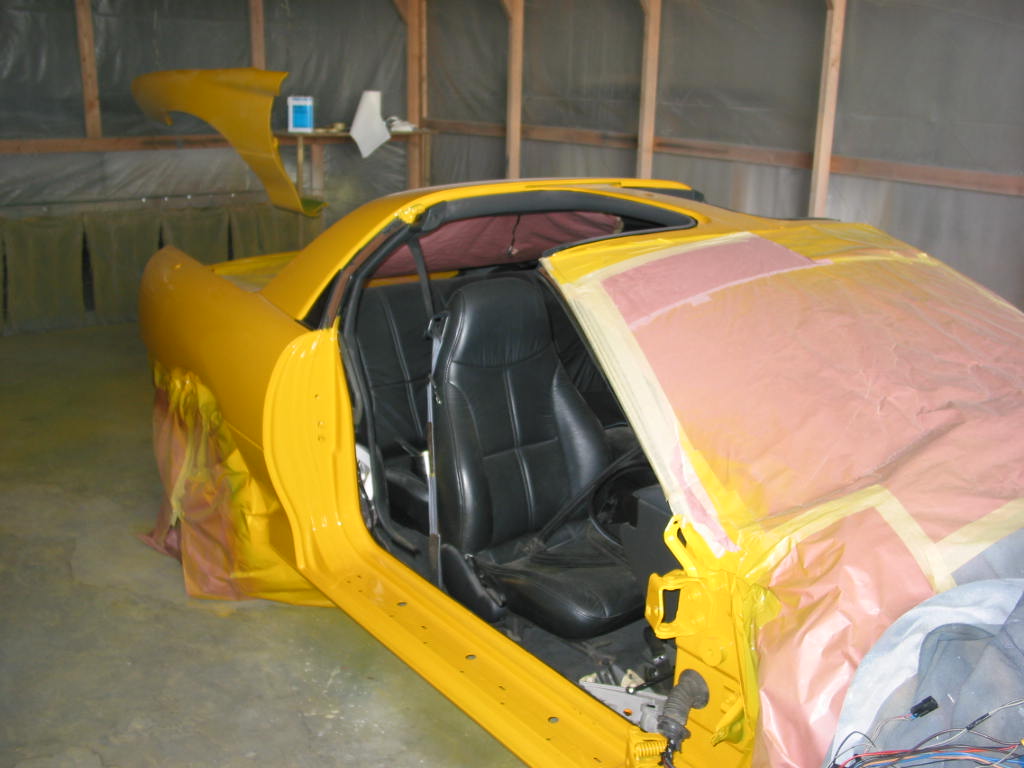
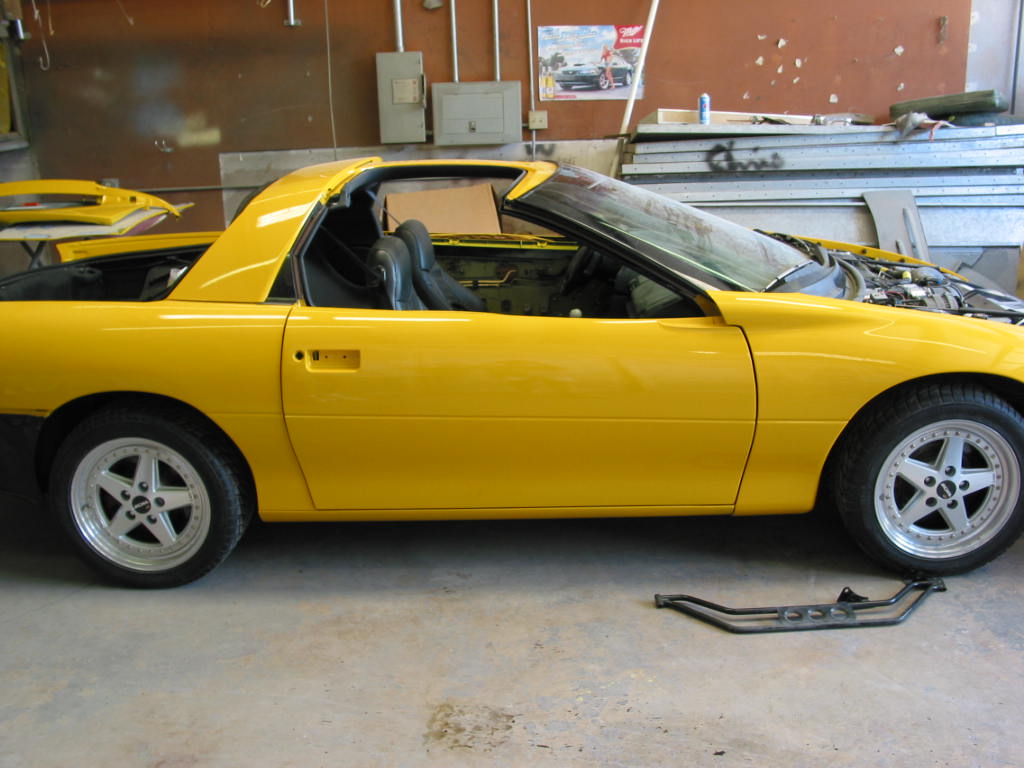
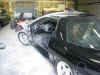
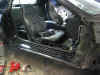
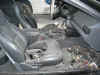
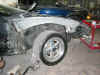
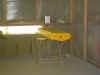
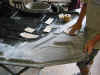
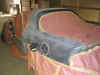
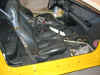
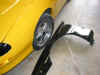
Here is the car really stripped down and sanded. Look how dusty
the interior is! DAMN! I guess there is no sense in trying to keep it clean
and it is easier to just clean it once in the end ;)
 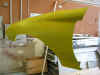    

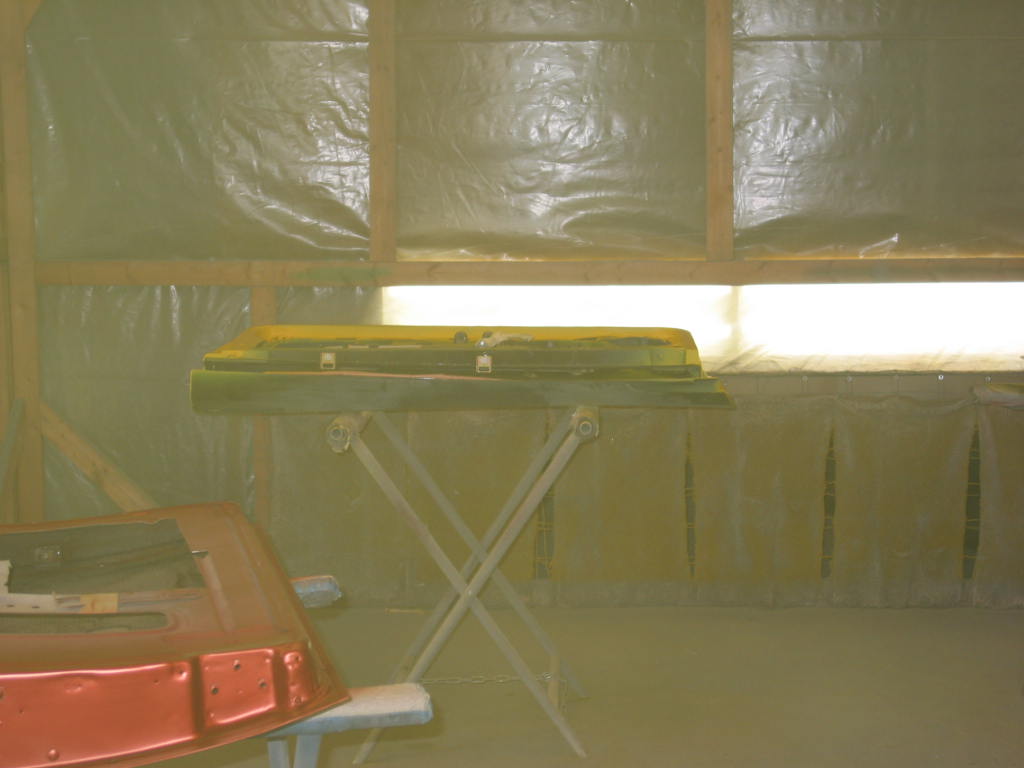
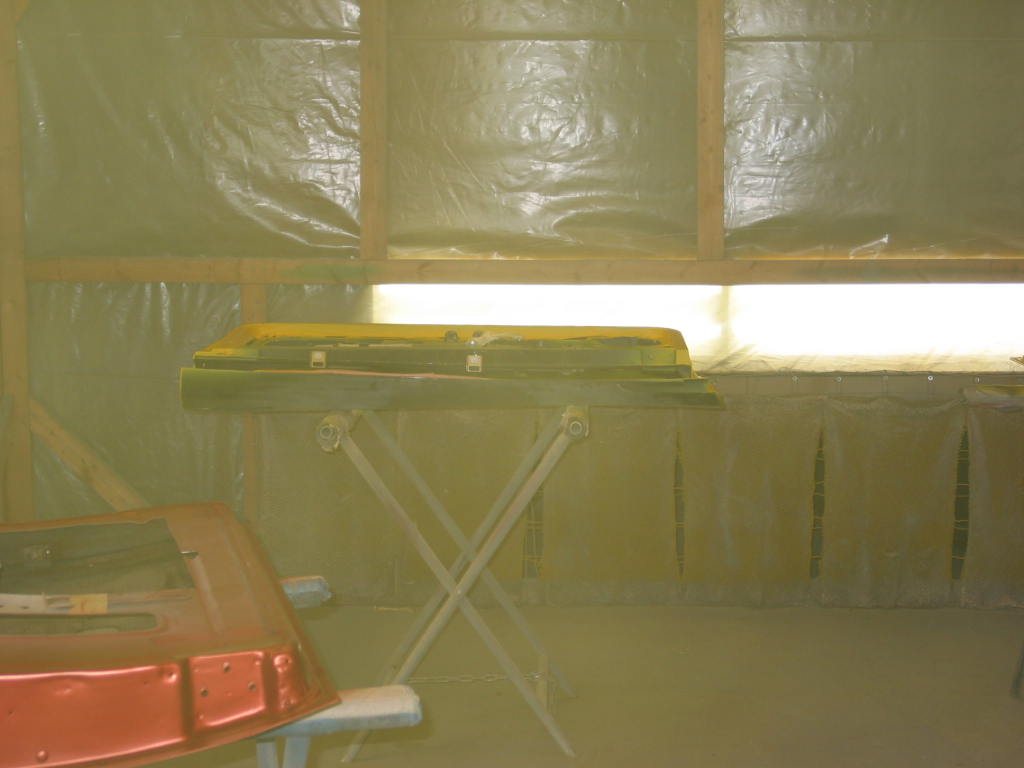
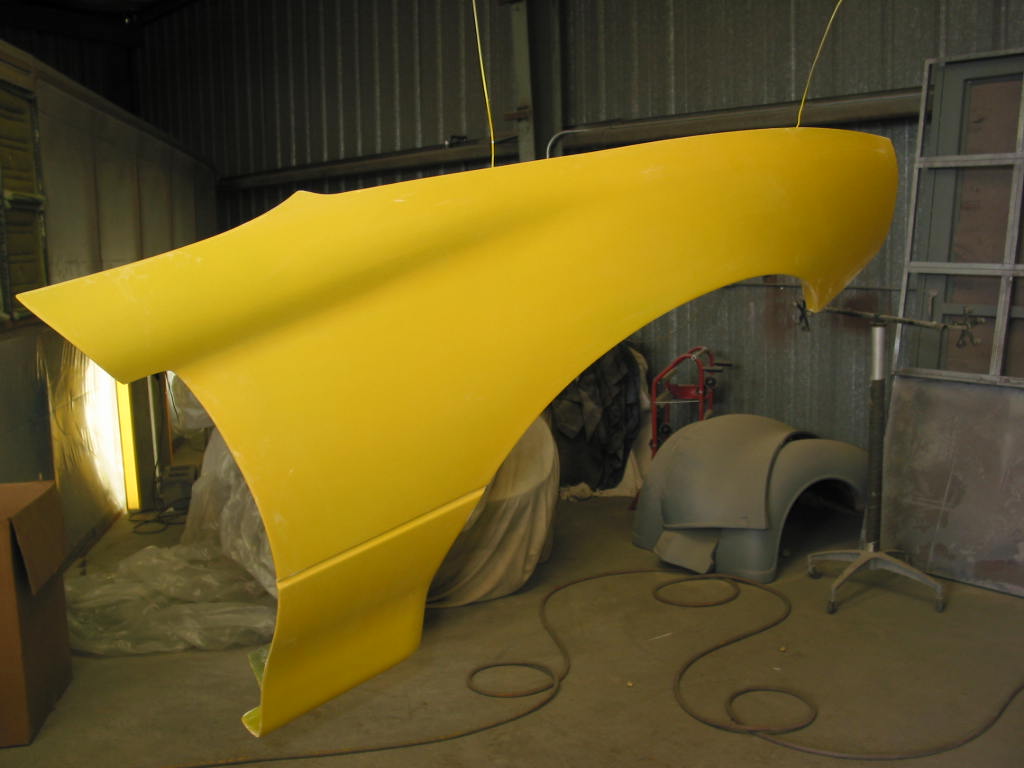
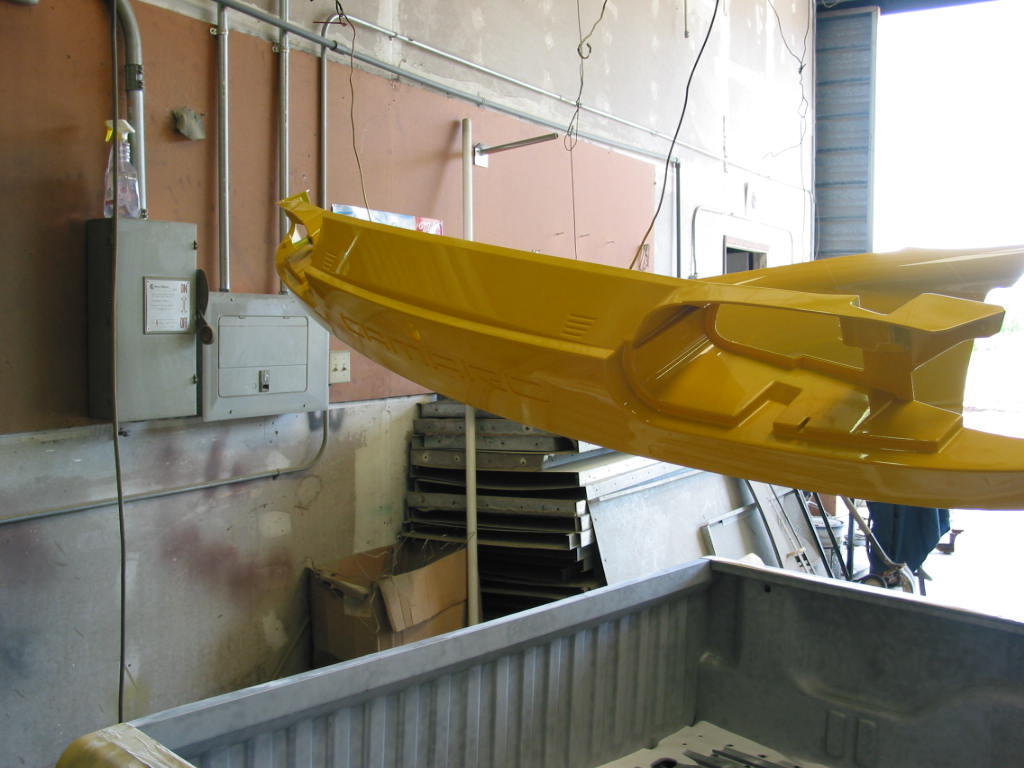
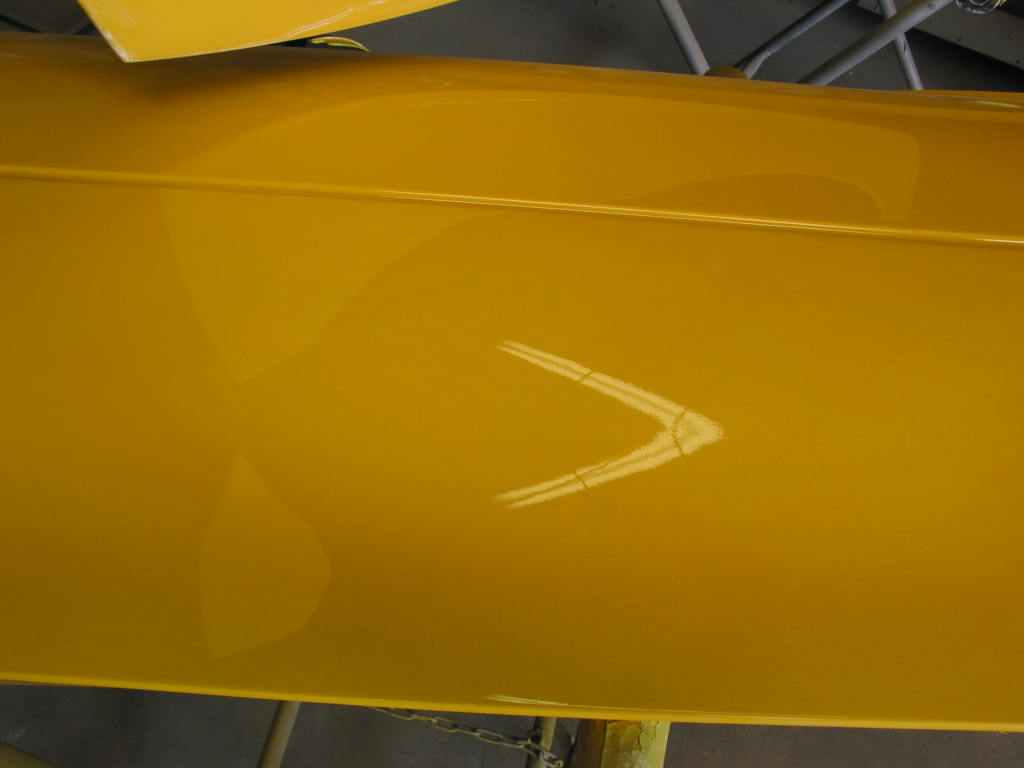
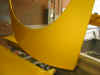
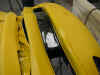
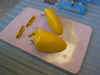
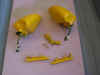
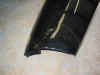
The painter took a break from painting for a minute so I jumped in
and took some close up pics. Remember, the hanging up pieces don't have all the
coats on them yet but the doors do... that's the reason for the color difference.
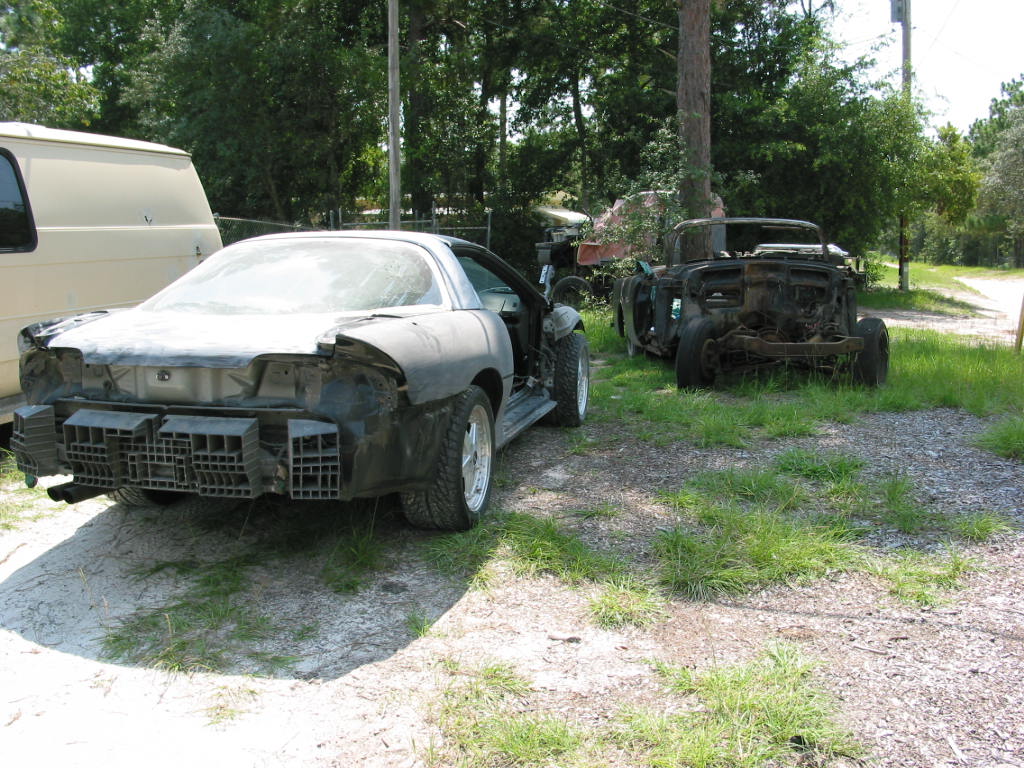
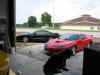
I had to get this picture. Not much of a difference between the
ole SS and the car pictured off to the right, eh? LOL!
Day 10
They cleared and sanded on the panels hanging up
today and determined they needed more paint! So, they will be putting on two more
coats of the Millennium Yellow and then trying the clear again. They are really
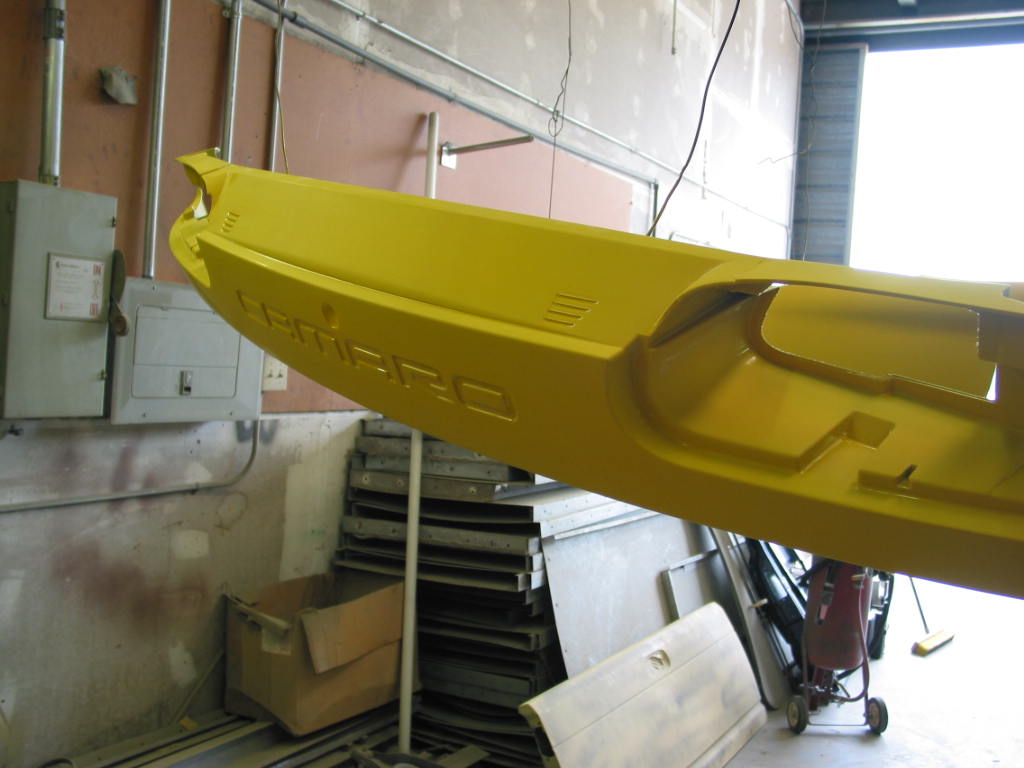
having a fun time with this tint paint. LOL! The owner of the shop told me today
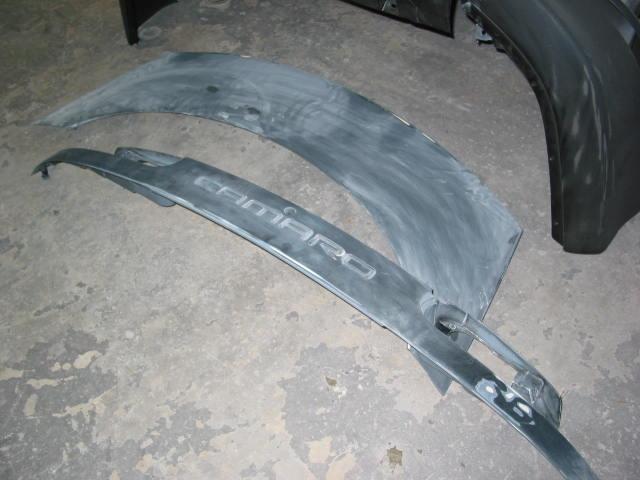
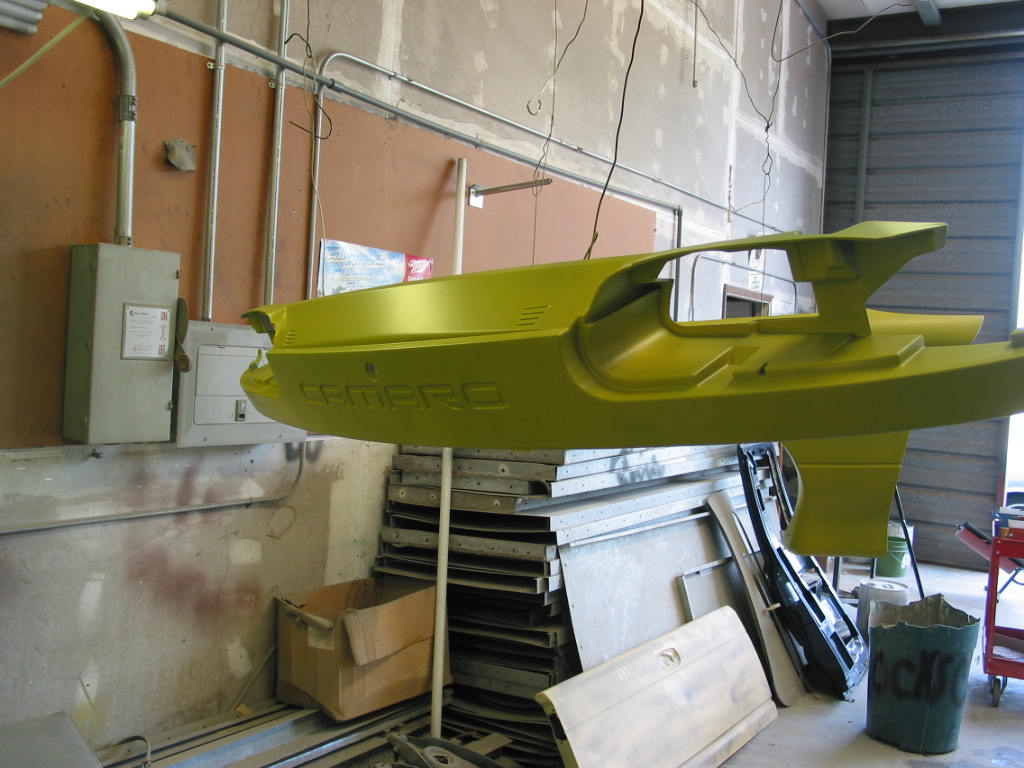
they have already used almost 1 gallon of Millennium Yellow and have only done the door
jambs on the doors, front fenders, rear spoiler, and rear insert piece which has the
CAMARO indentation. There is still a lot of painting left! He said he expects
to have to use 3 gallons of paint on this project which is considerably more than normal
:) He was laughing when he said that then mentioned how in the paint book when it
says this is a "tint" paint they weren't kidding! LOL! He'll have 8
or 9 coats of paint on the entire car where it typically takes only 3 coats with
"normal" paint. He said yellow is usually bad but not THIS bad. He
did say that when the panels are in the sunlight they have very good depth to them and are
coming out very good. I'm getting excited about getting the car back and driving
this "unusual" Camaro around!
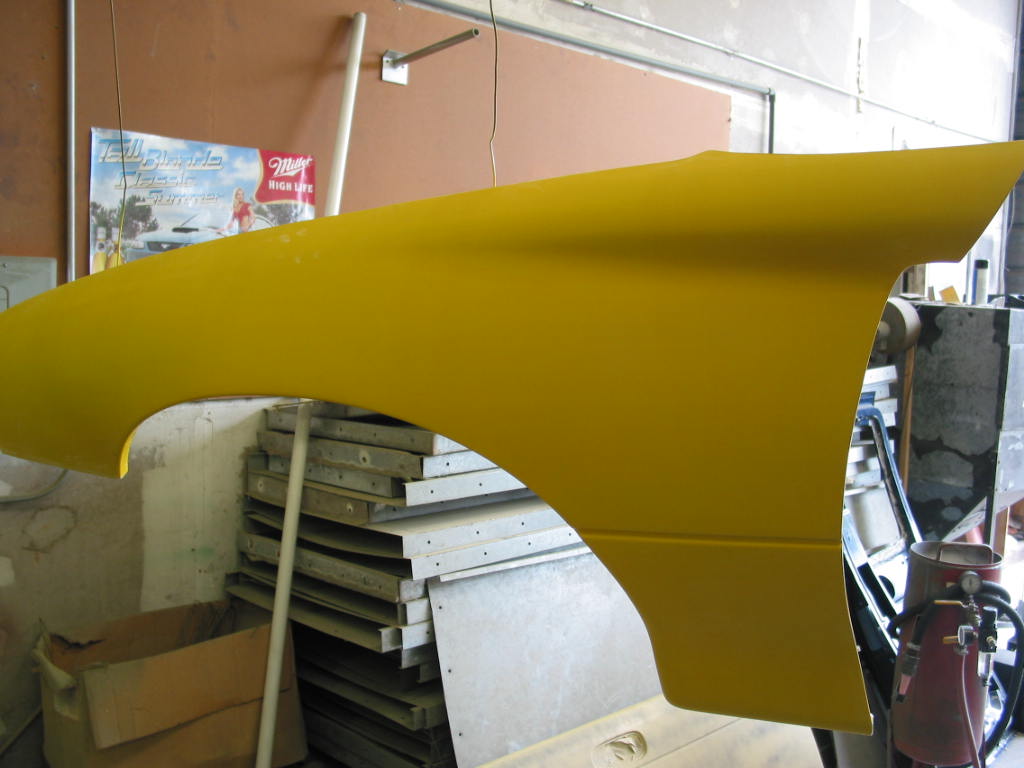
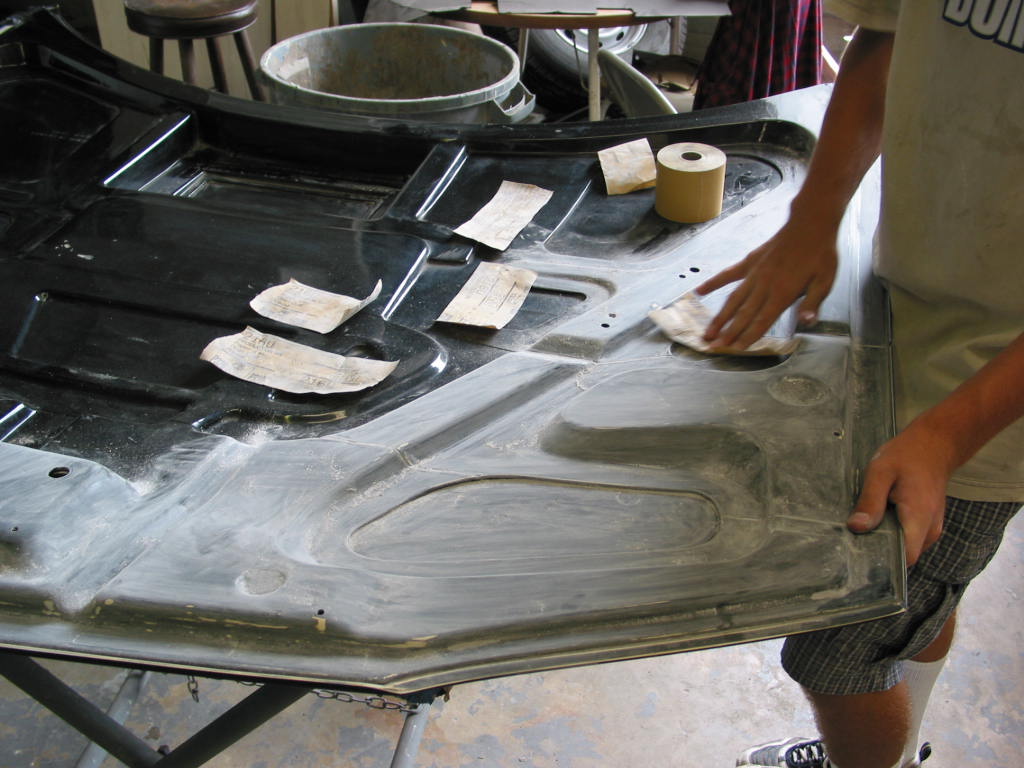
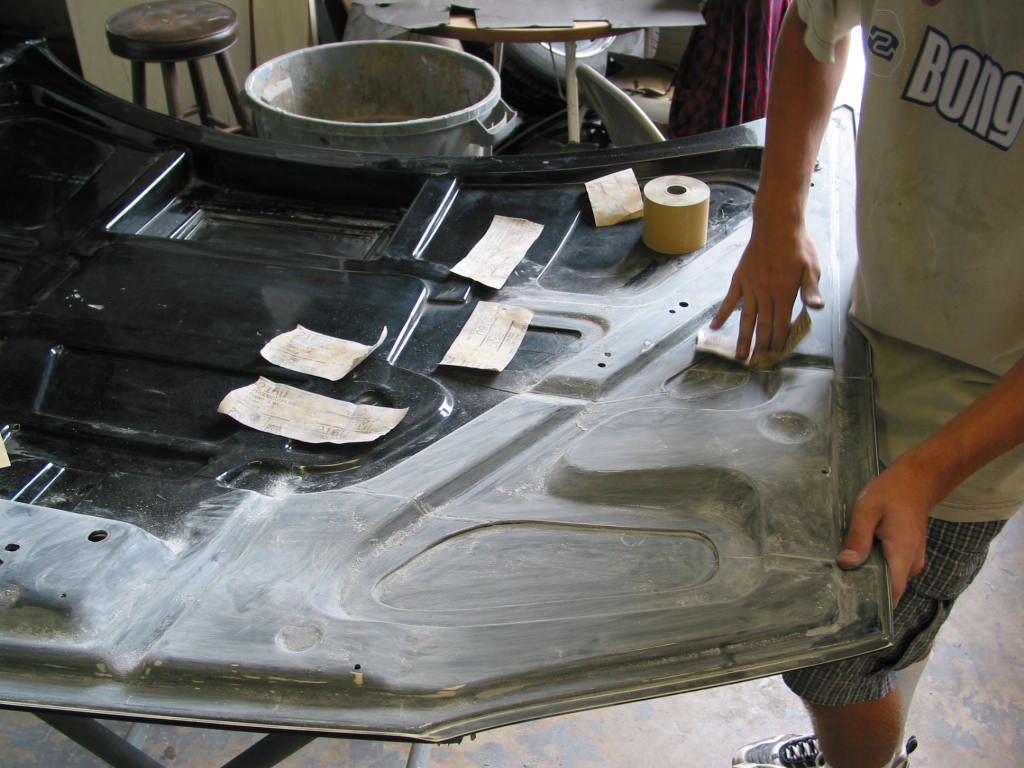
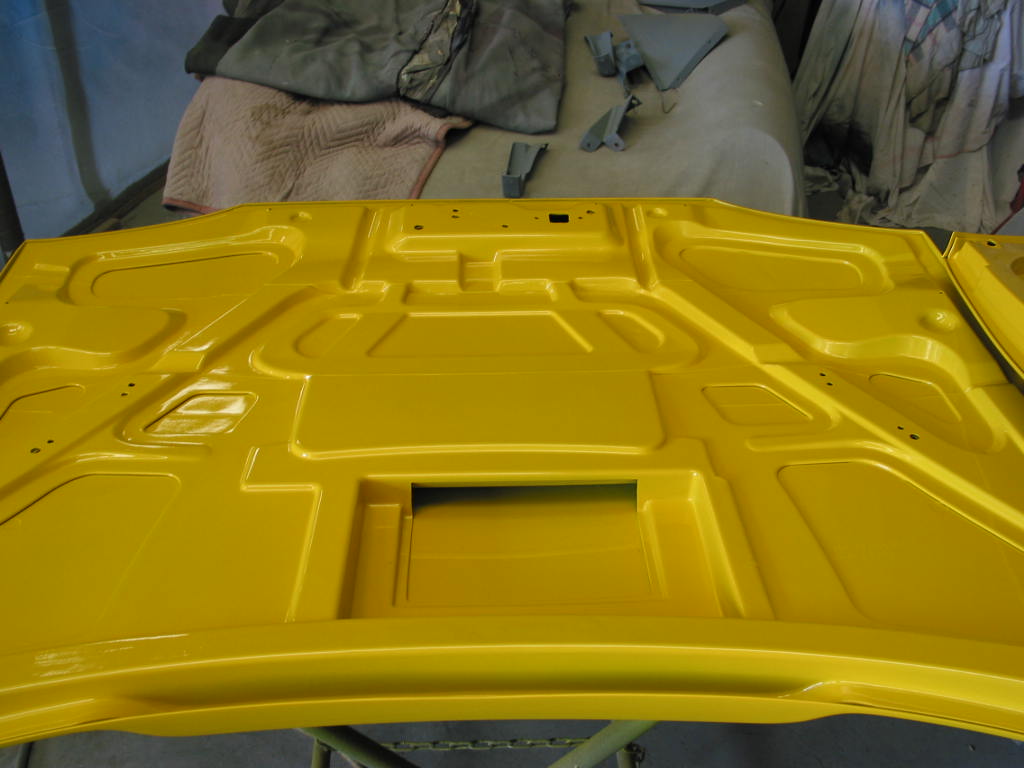
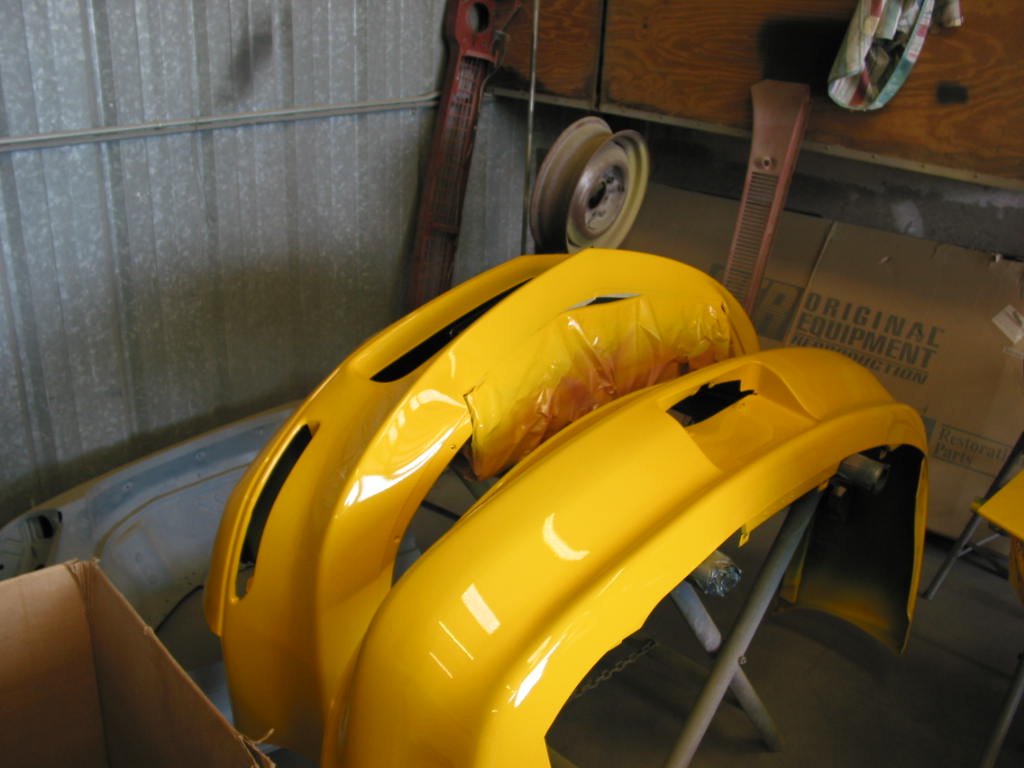
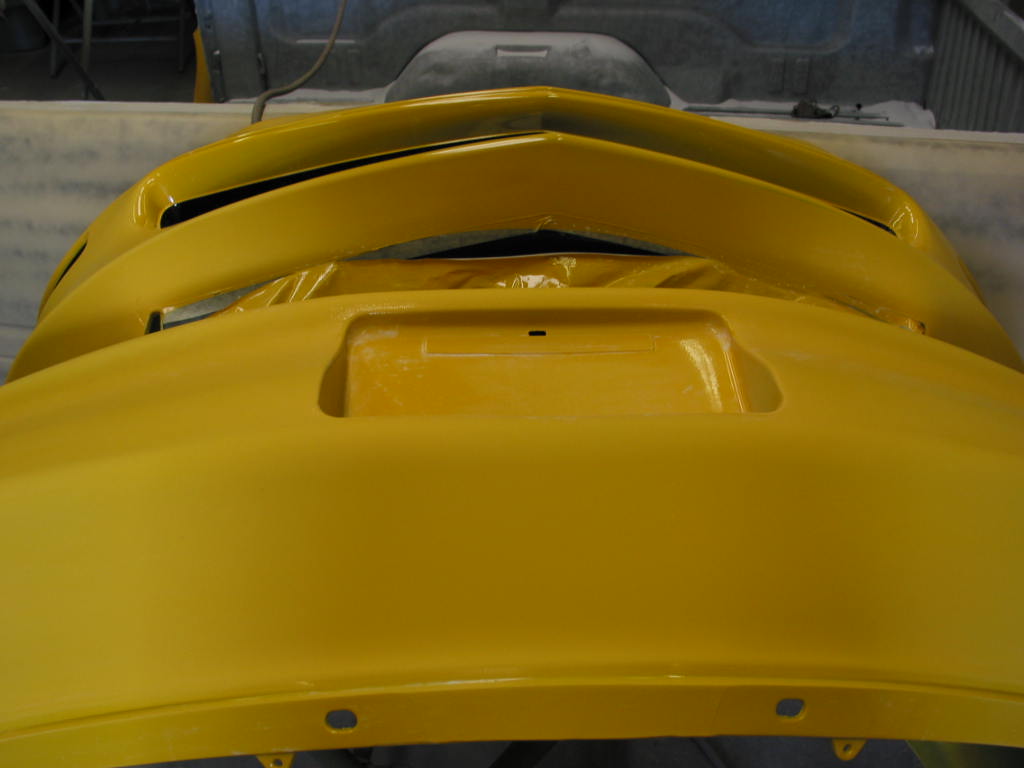
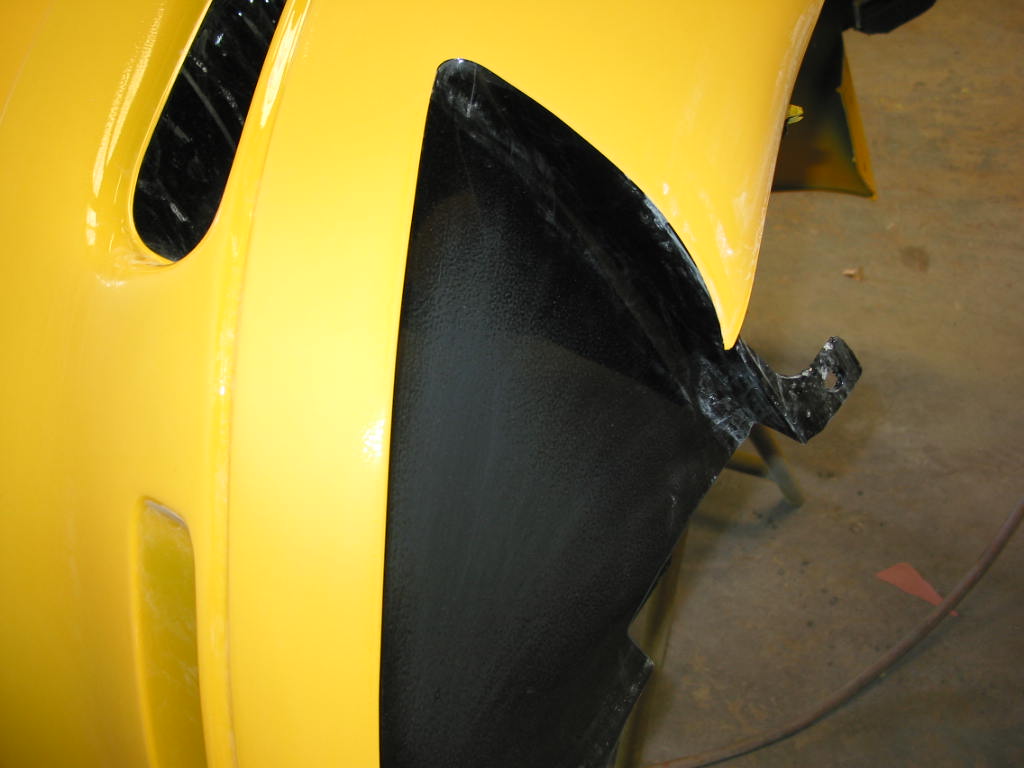
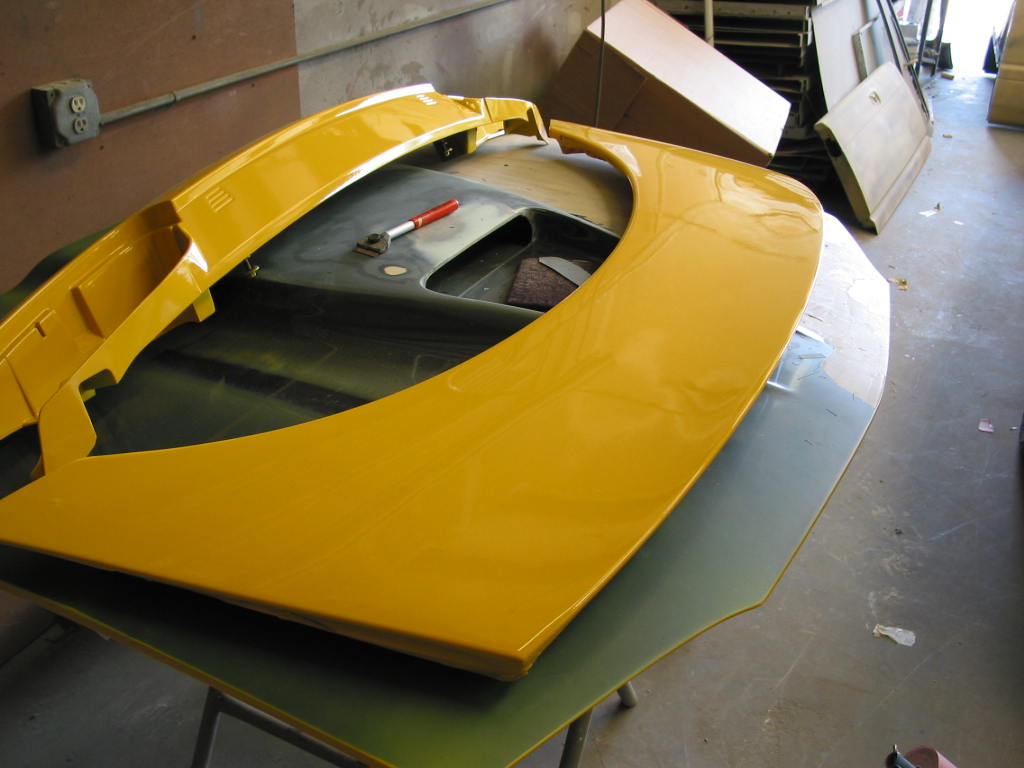
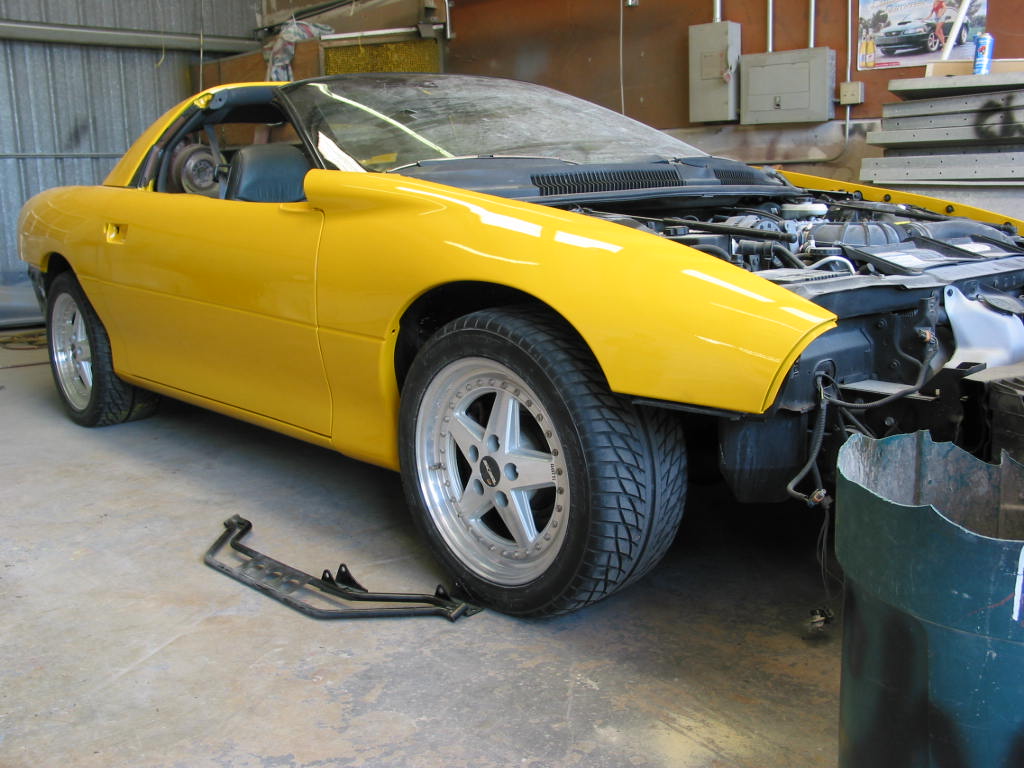
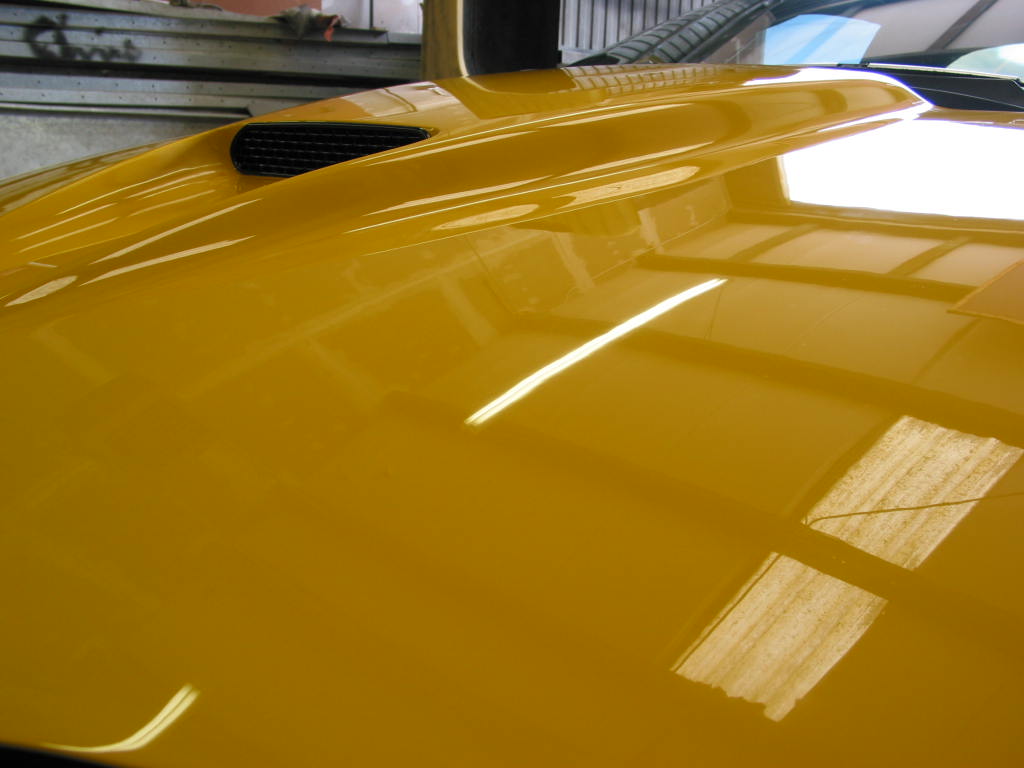
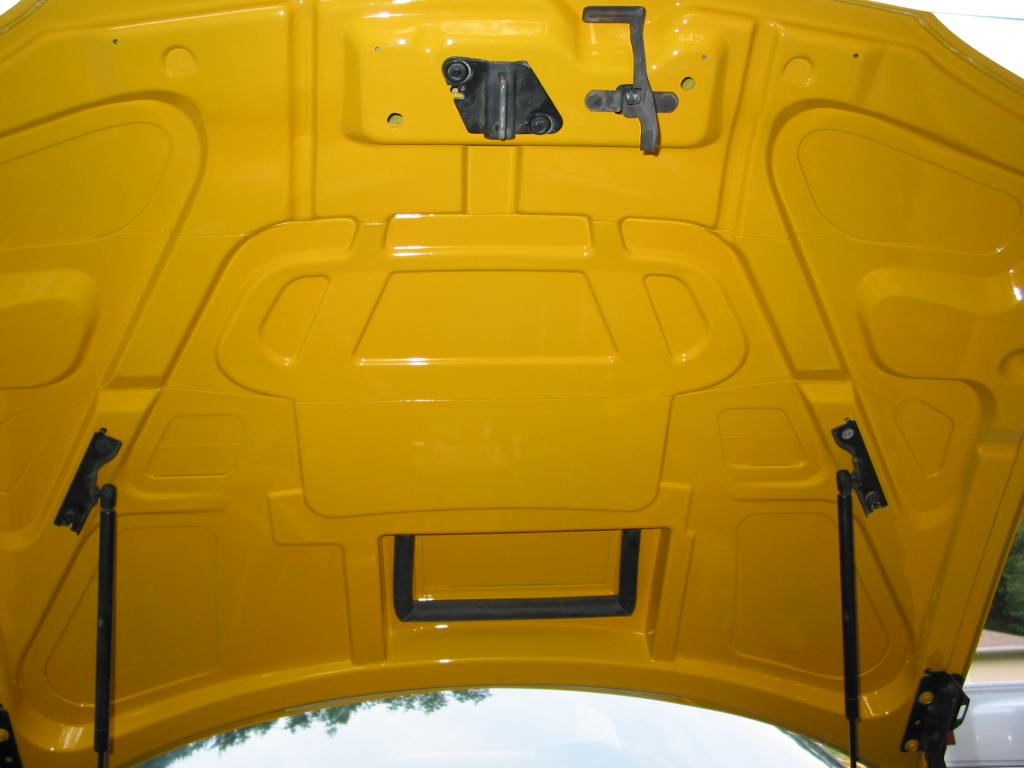
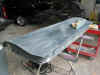
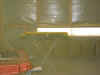
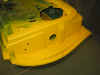
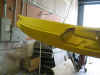
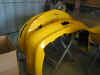
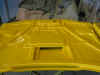
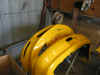
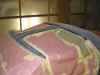
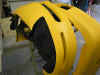
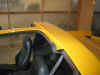
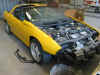
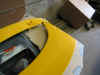
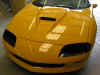
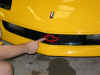
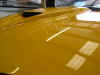
Here are some pics from day 10. The panels
have been sanded down but are looking real good so far! Repair has begun on the hood
and sanding is in progress.
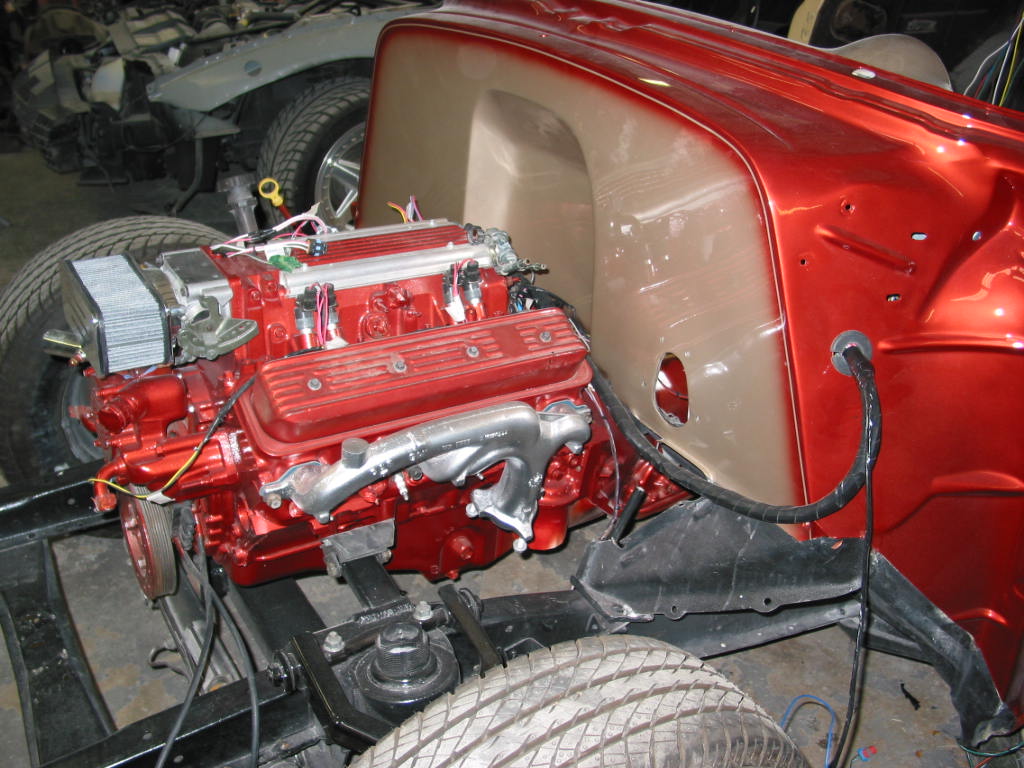
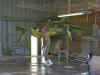
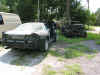
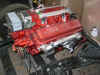
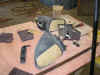
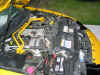
I had to snap some pics of another project they are
working on at this shop. Take a look at this LT1 Powered Street Rod! I only
took a couple shots of the engine because the back half of the car is still in primer.
Days 11 to 16
Yeah, yeah, I'm bad. I didn't get a chance to
stop by the shop much and take pictures... that damn thing called WORK kept getting in my
way. LOL!
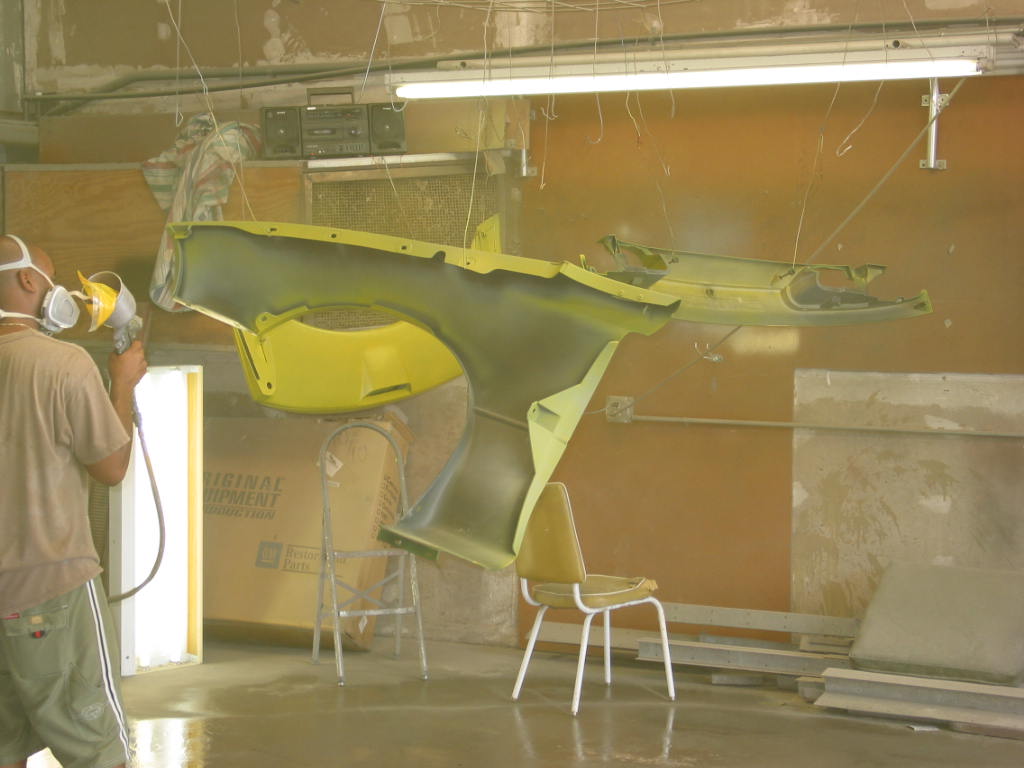
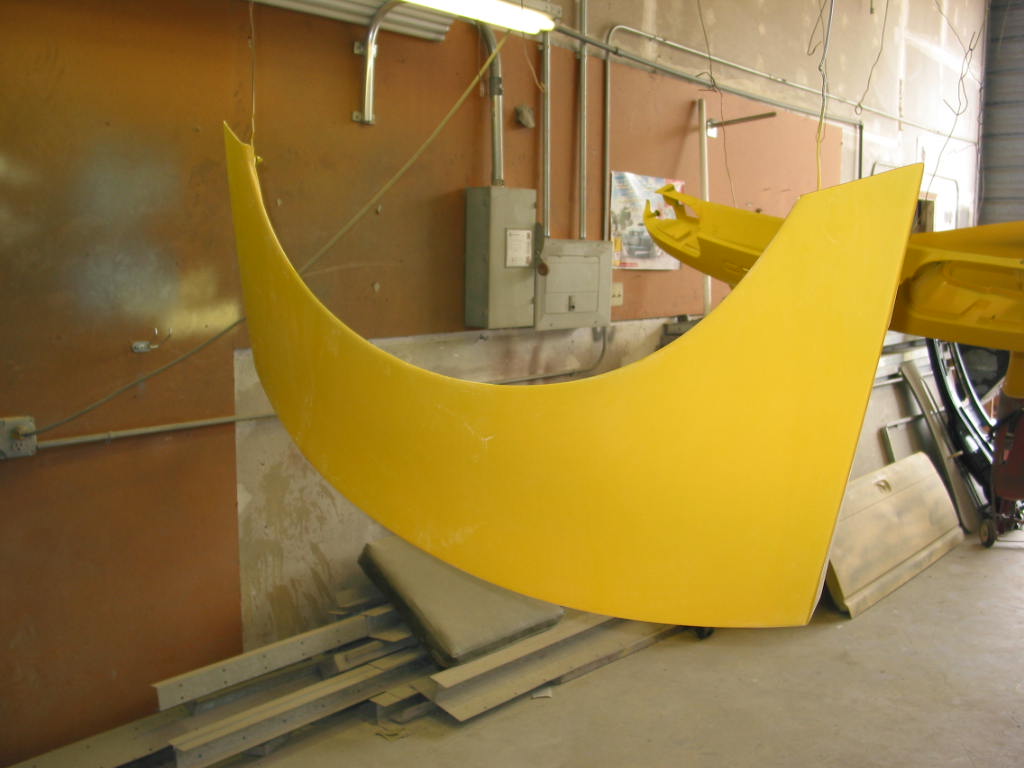
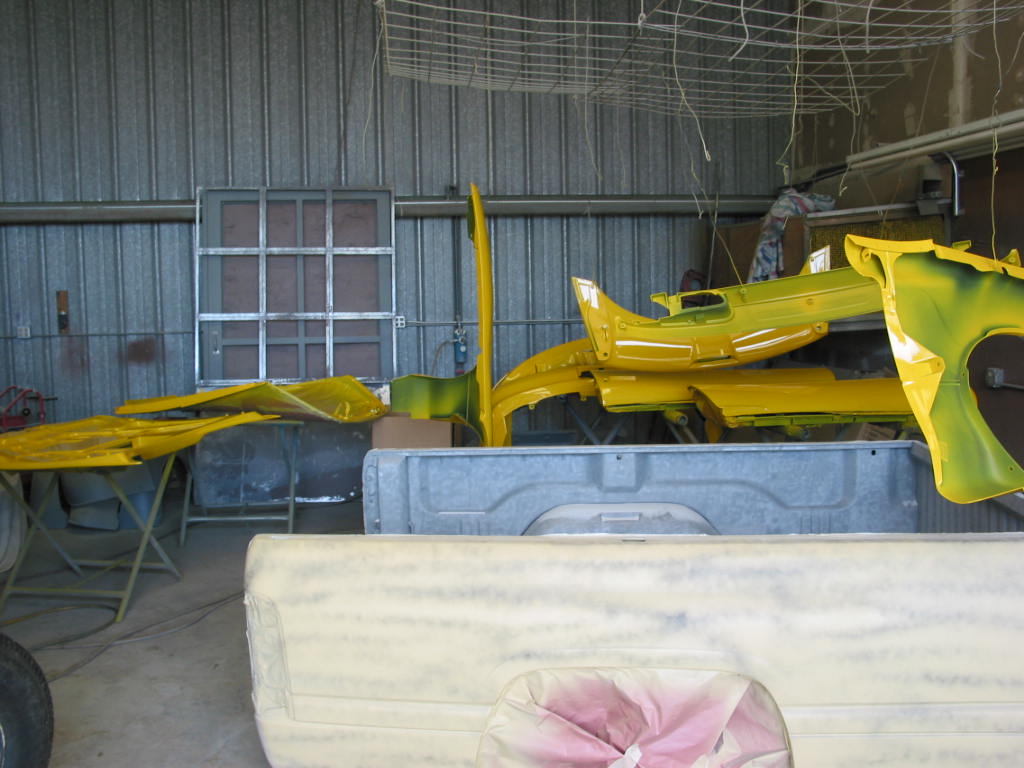
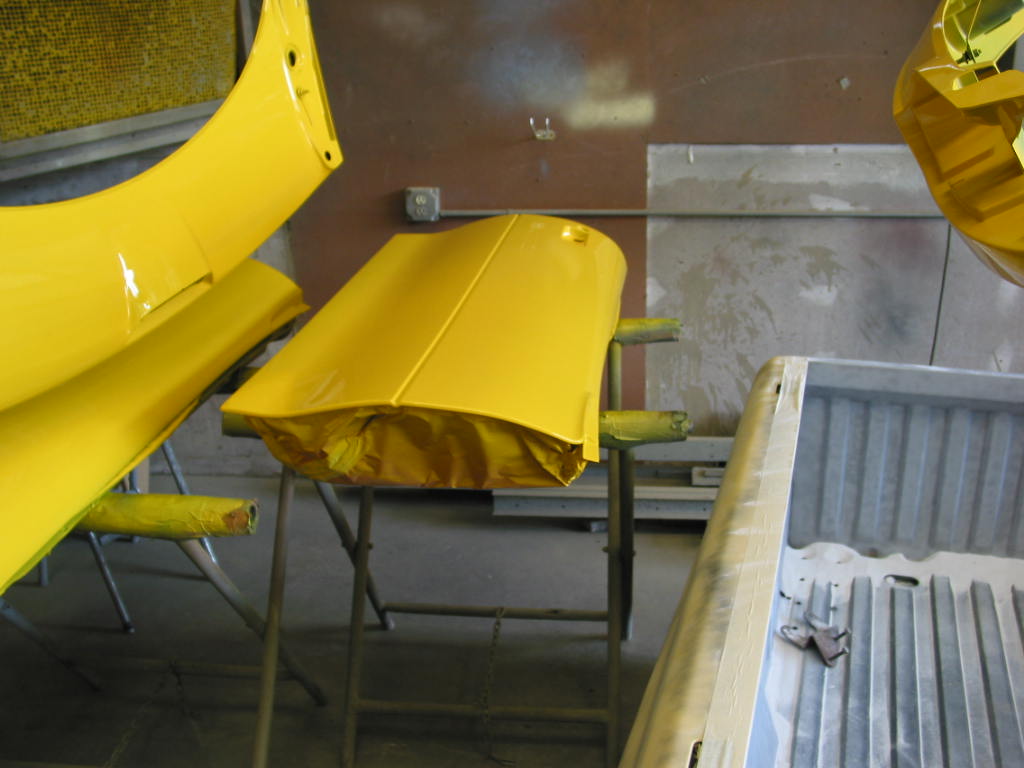
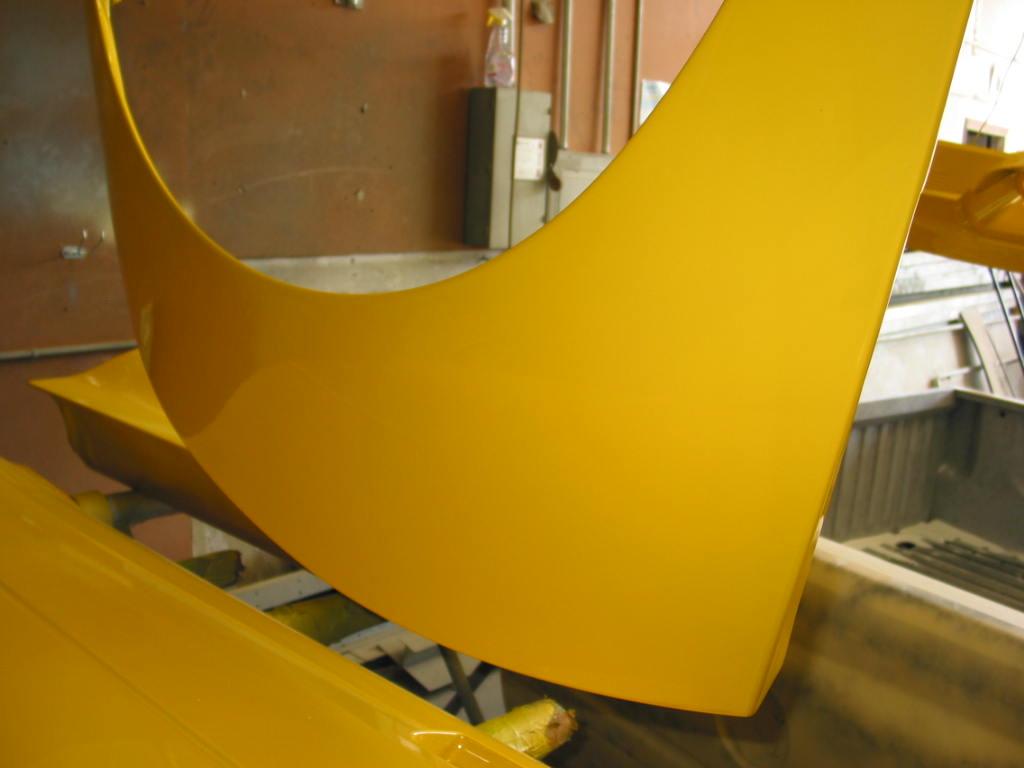
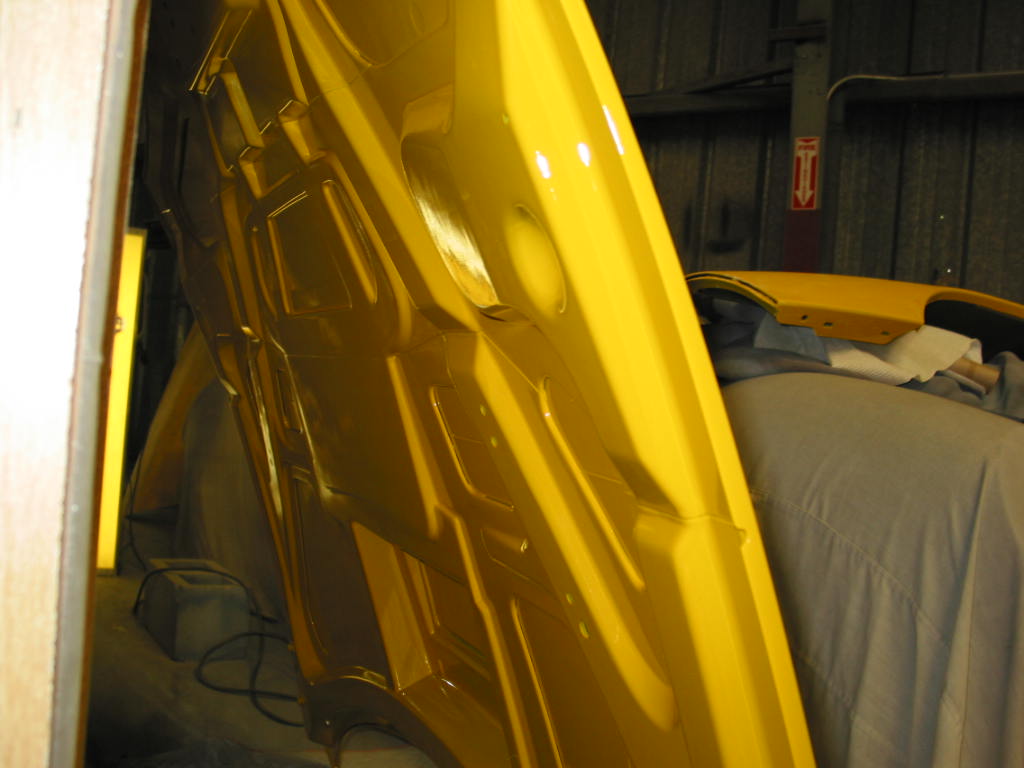
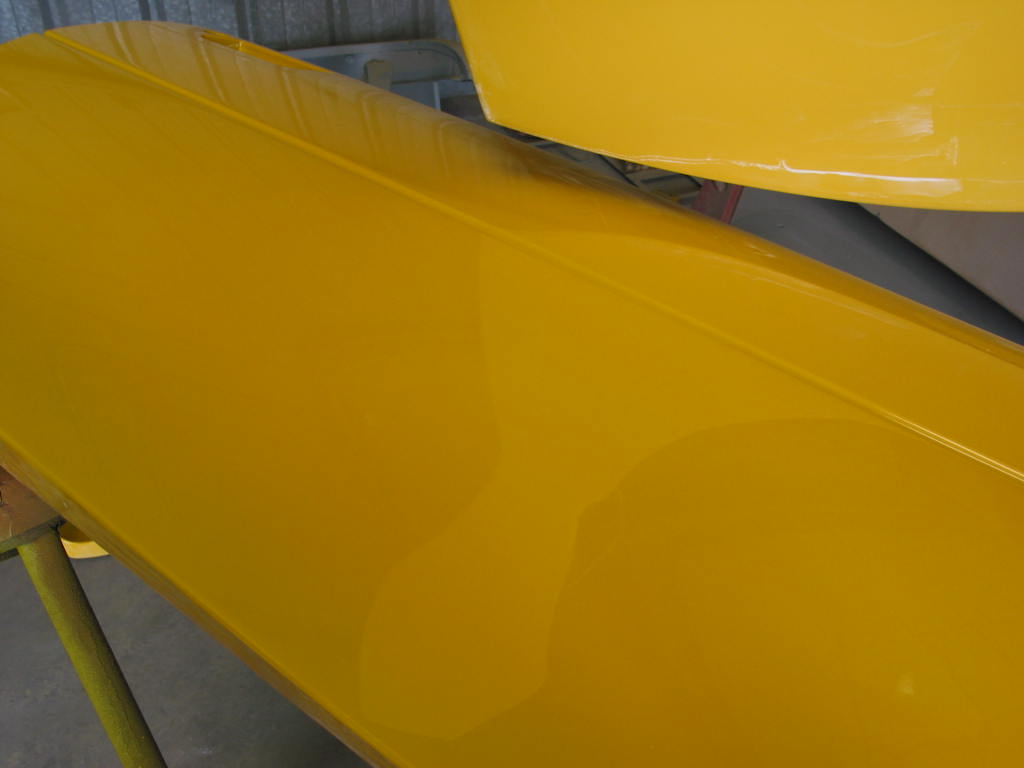
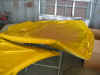
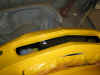
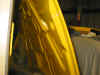
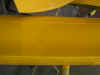
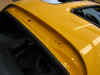
I am happy to report things are going along quite
well! The following pictures show the removable panels with one coat of clear.
Because of a minimal amount of orange peel, they'll be wet sanding this coat of
clear in the next day or two and applying two more coats. They think when they are
done there will be three double coats of clear on the car. You probably won't be
able to see the orange peel in these pictures because it is so minor but here is what they
had done when I was there today.
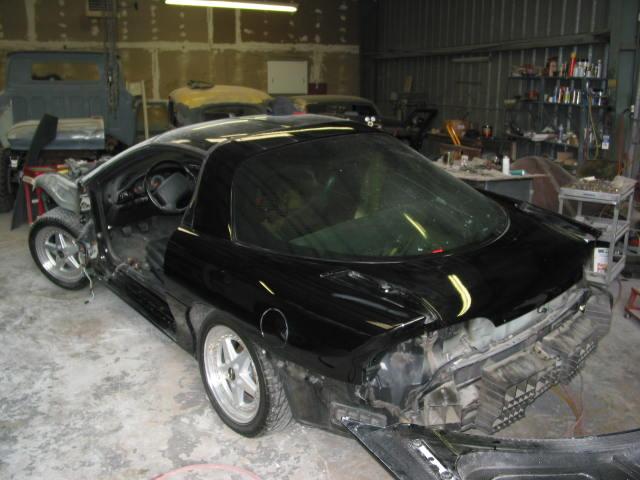
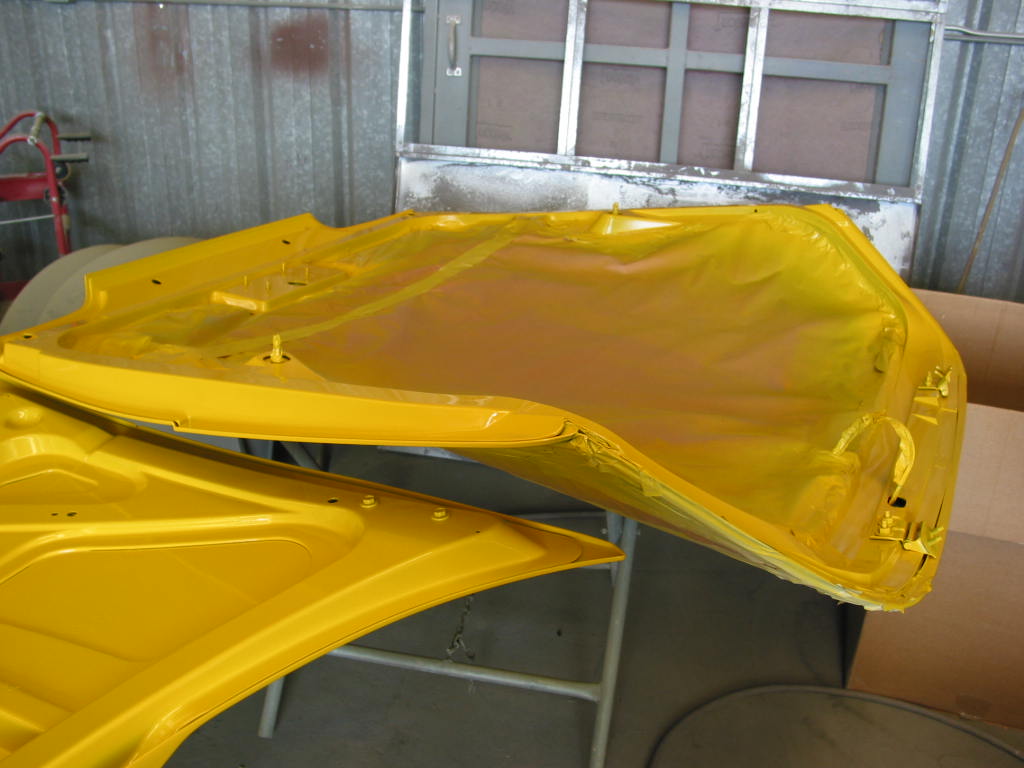
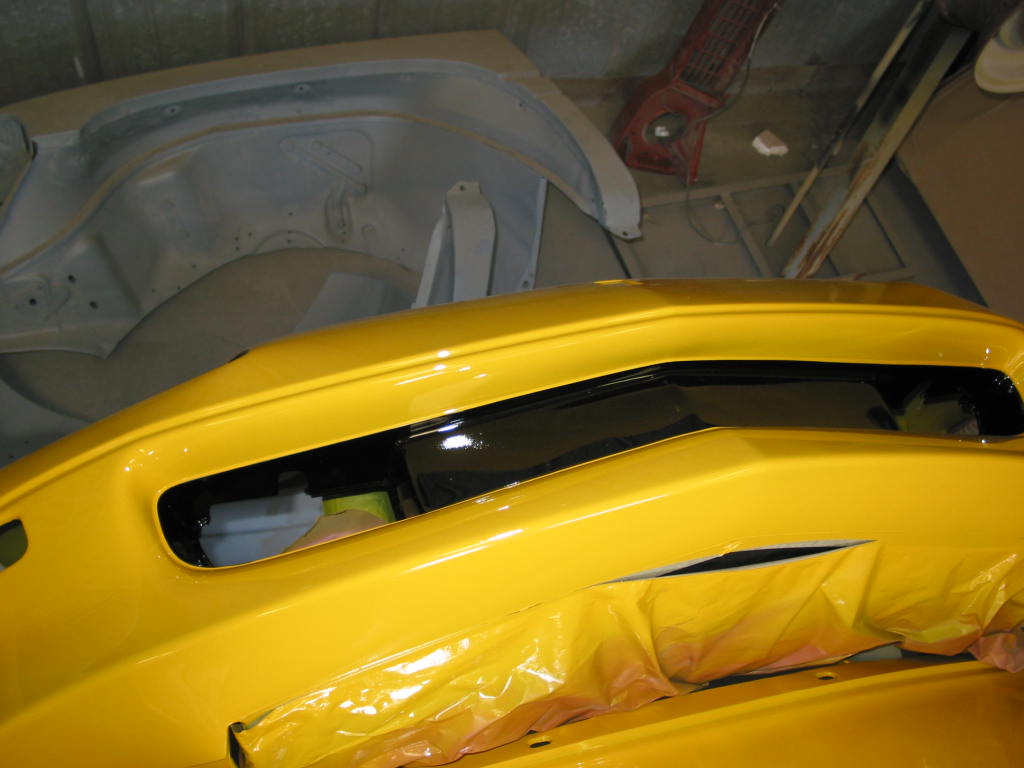
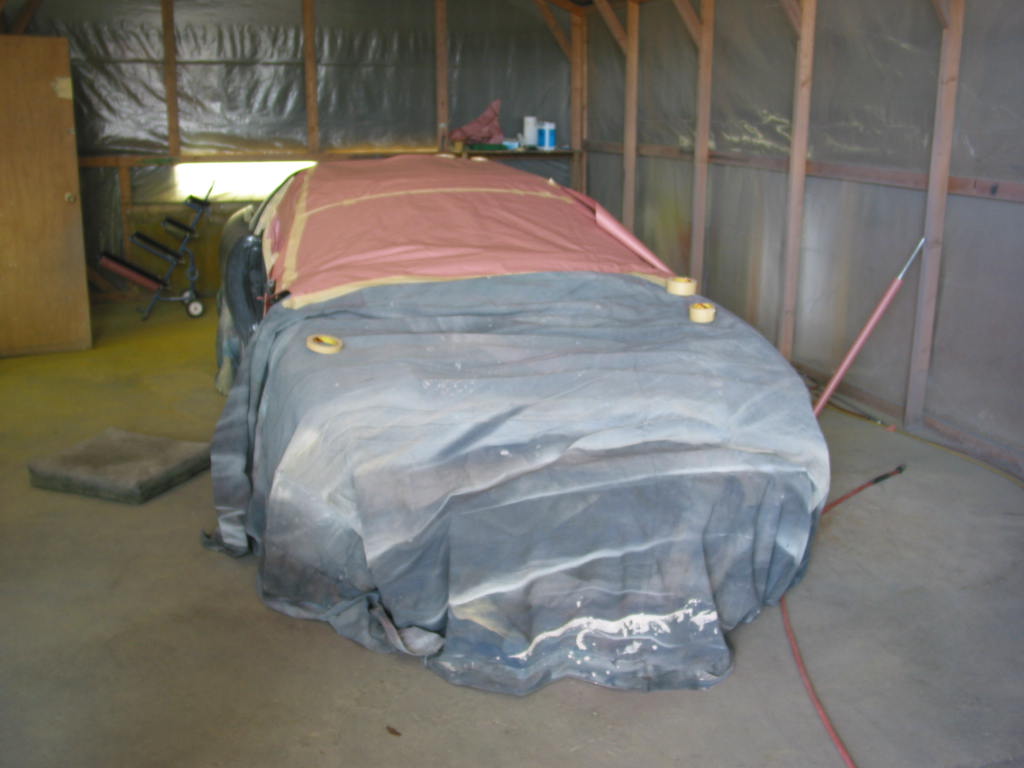
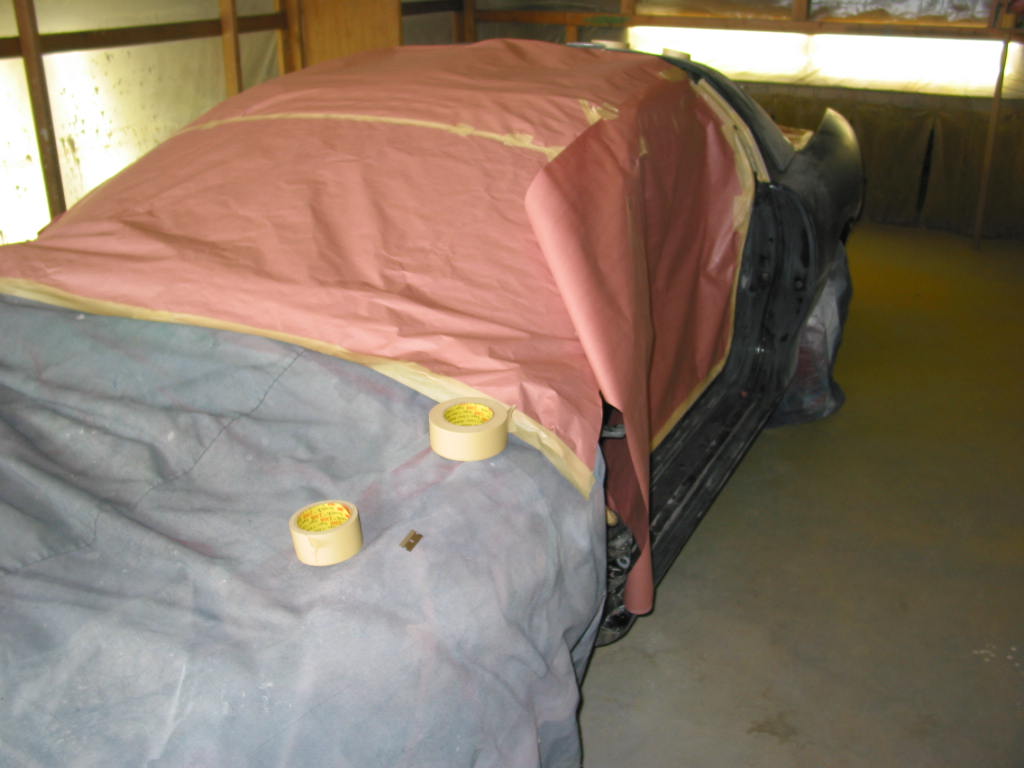
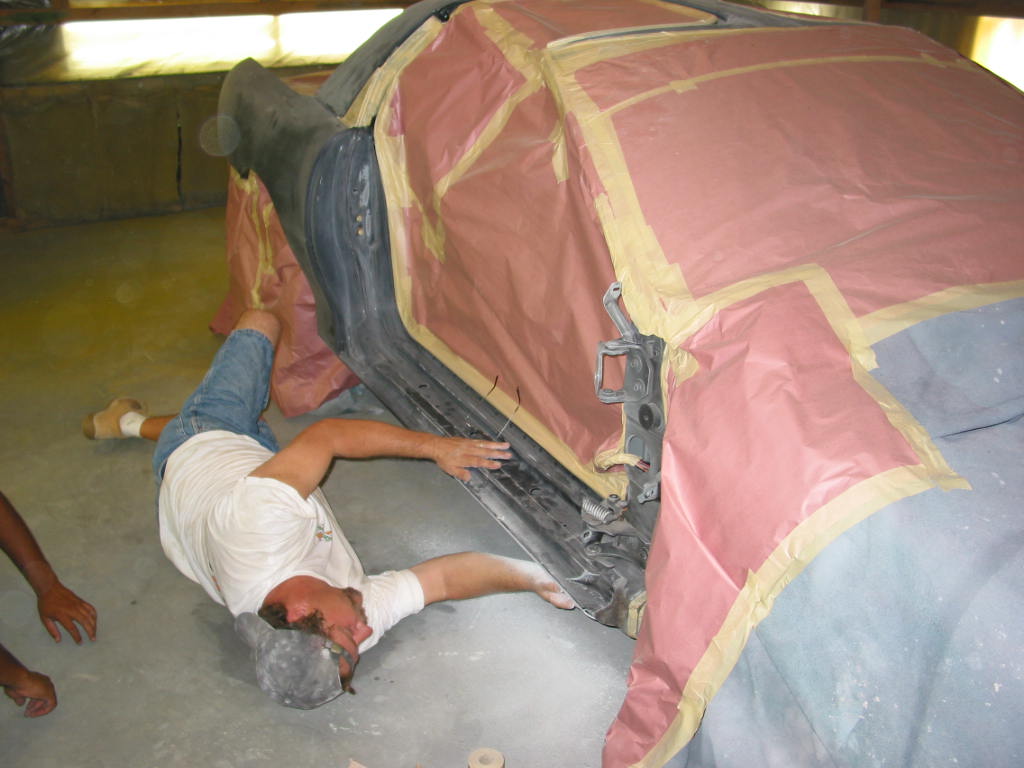
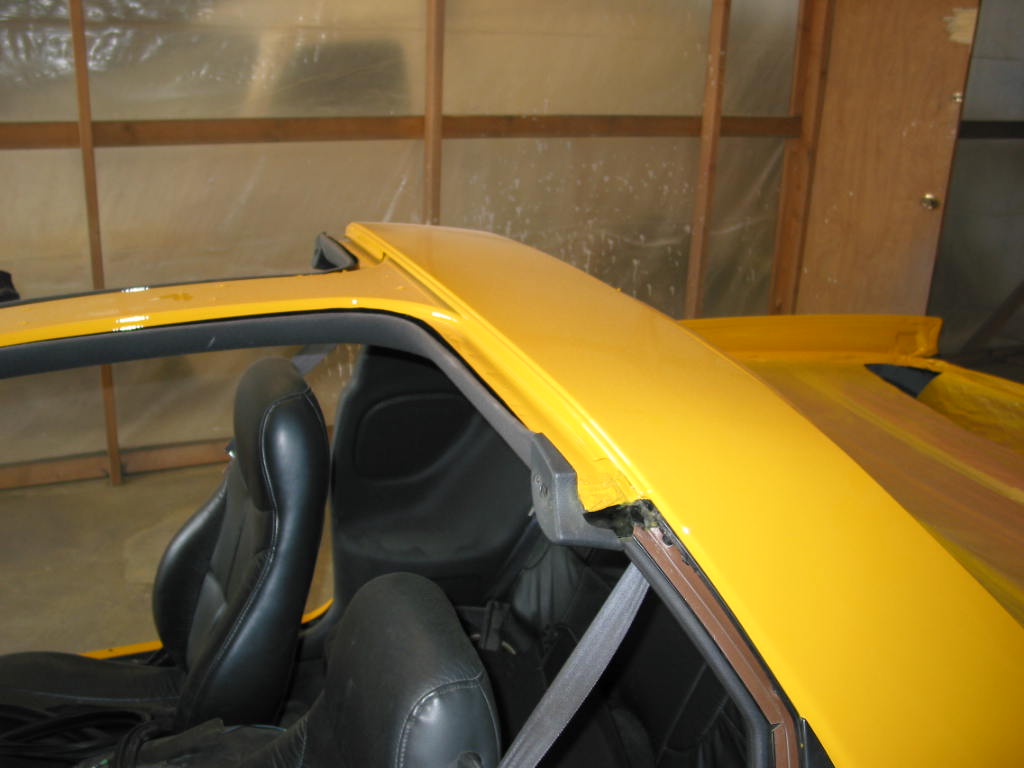
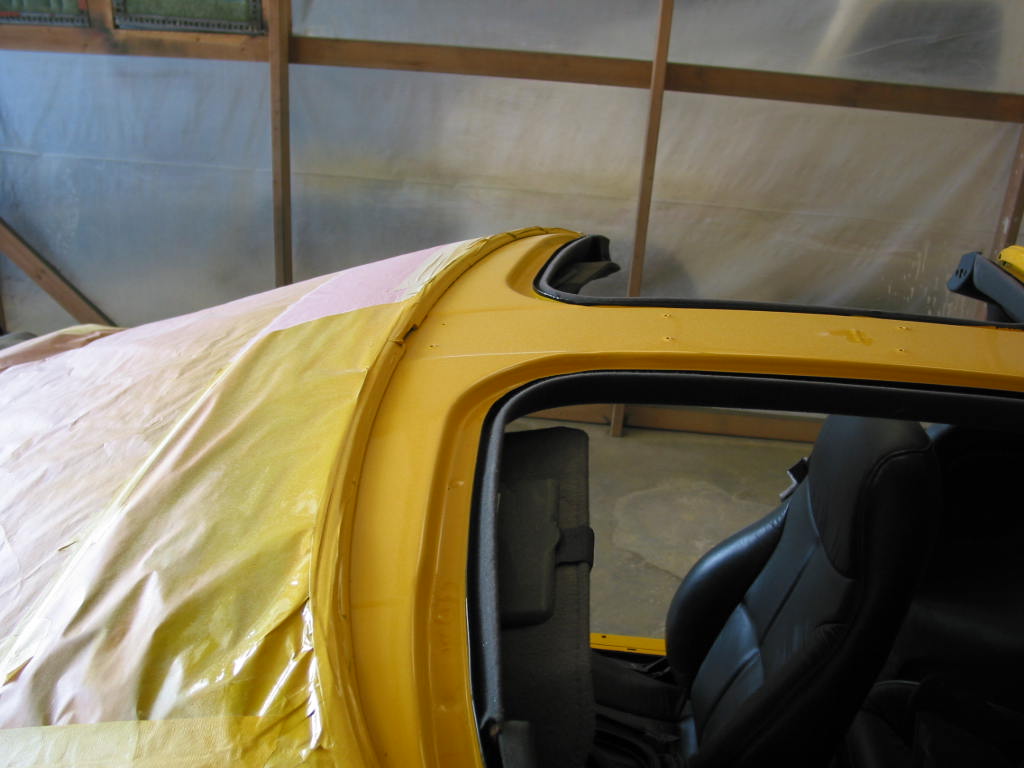
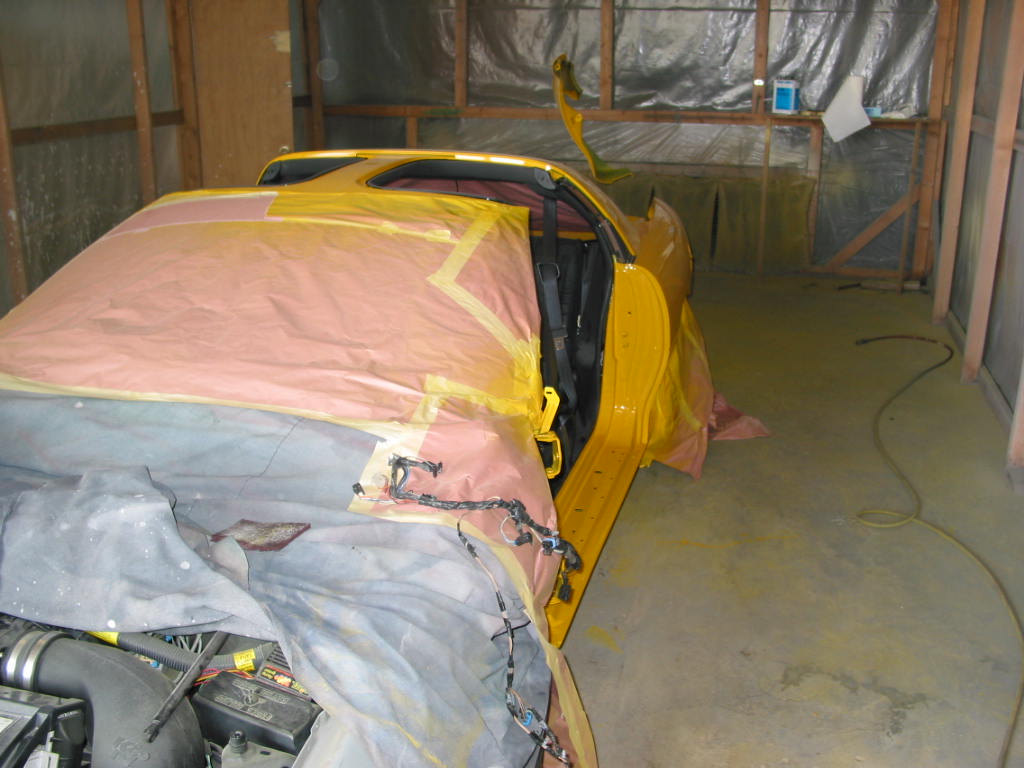
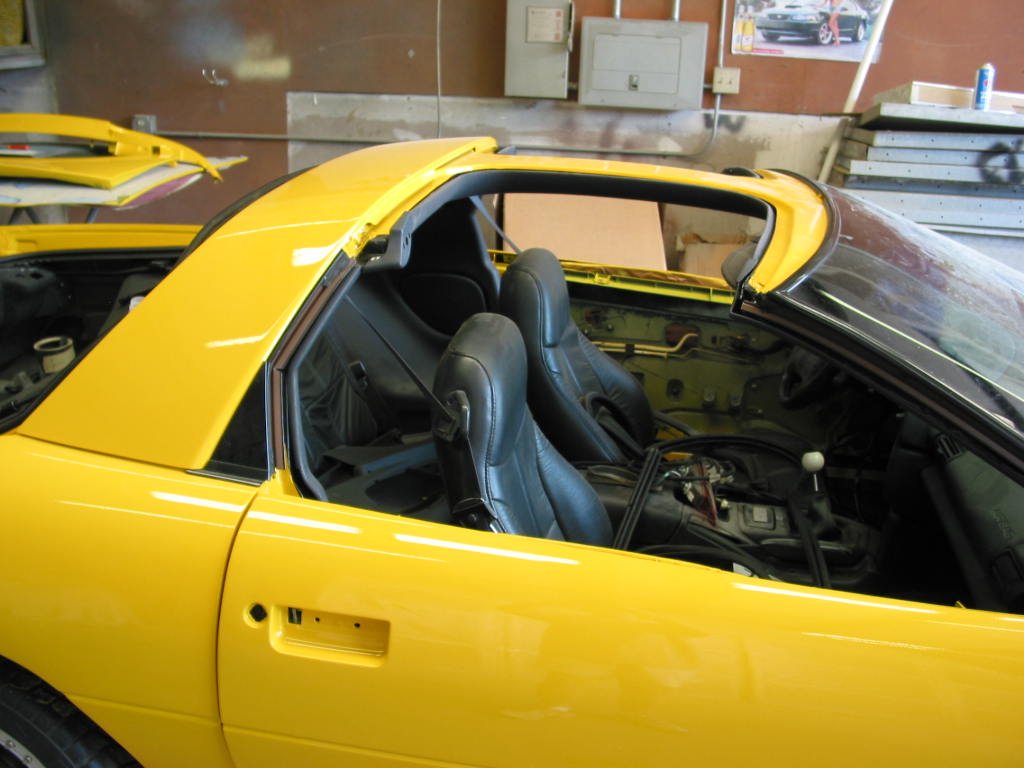
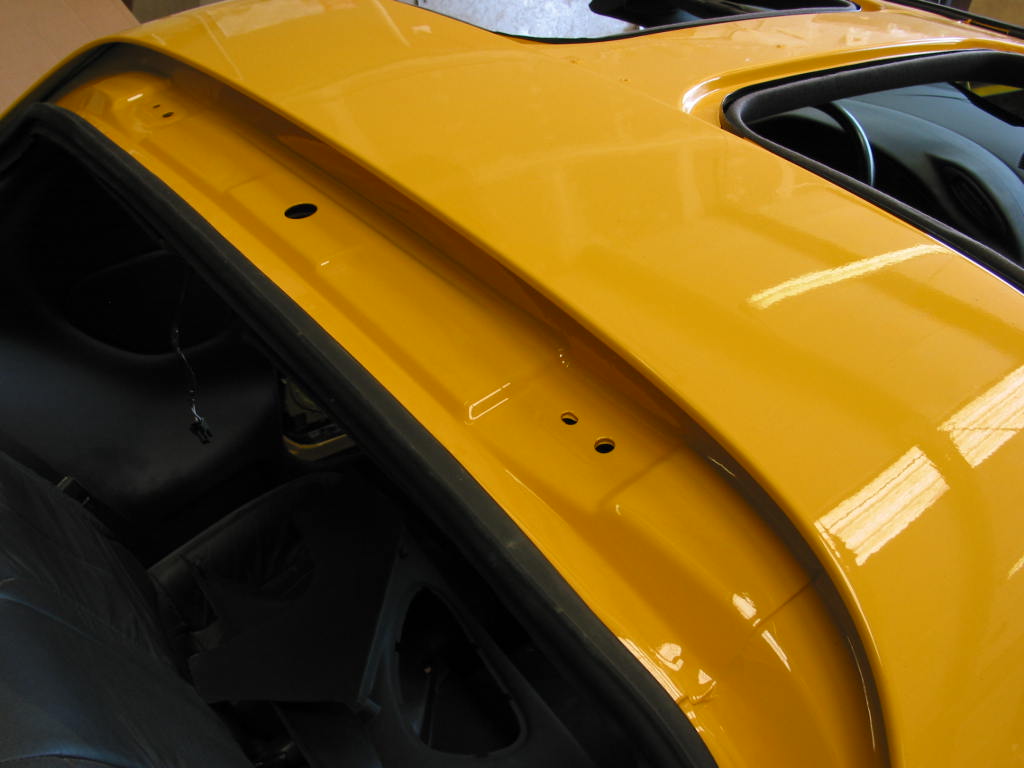
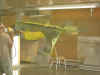
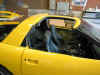
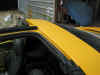
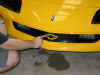
Now are some pics of the car in the paint booth!!!
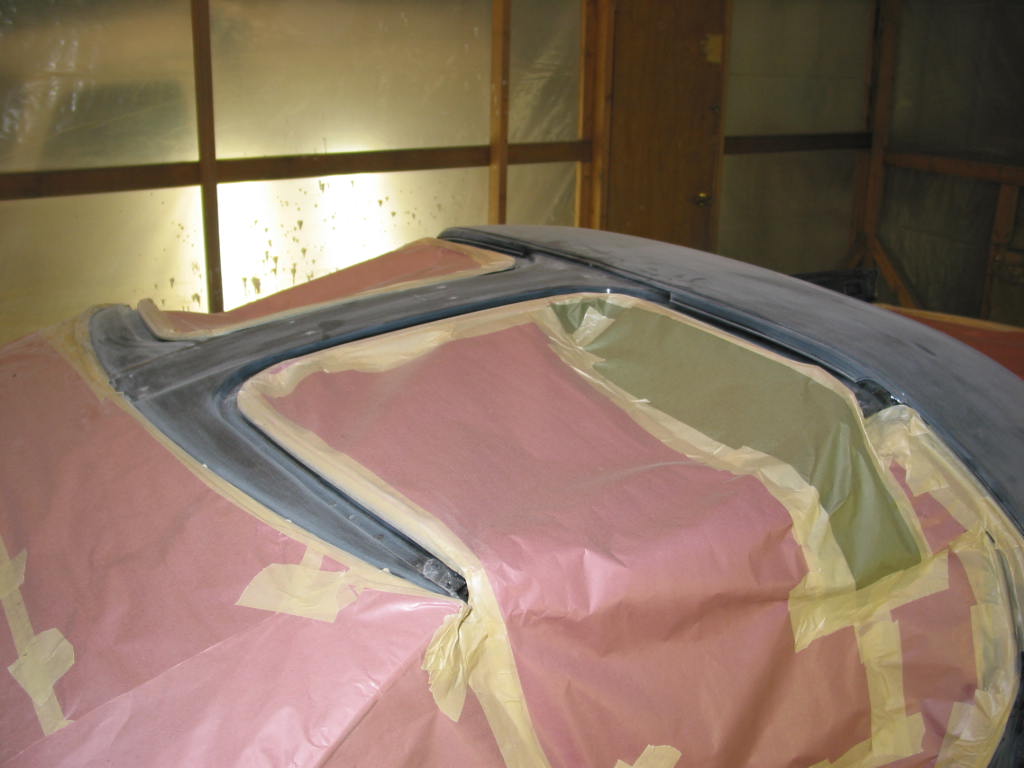
The top t-top area isn't masked correctly. I wanted the t-top areas to be
painted yellow as well. They said OK and were going to remask it when I left.
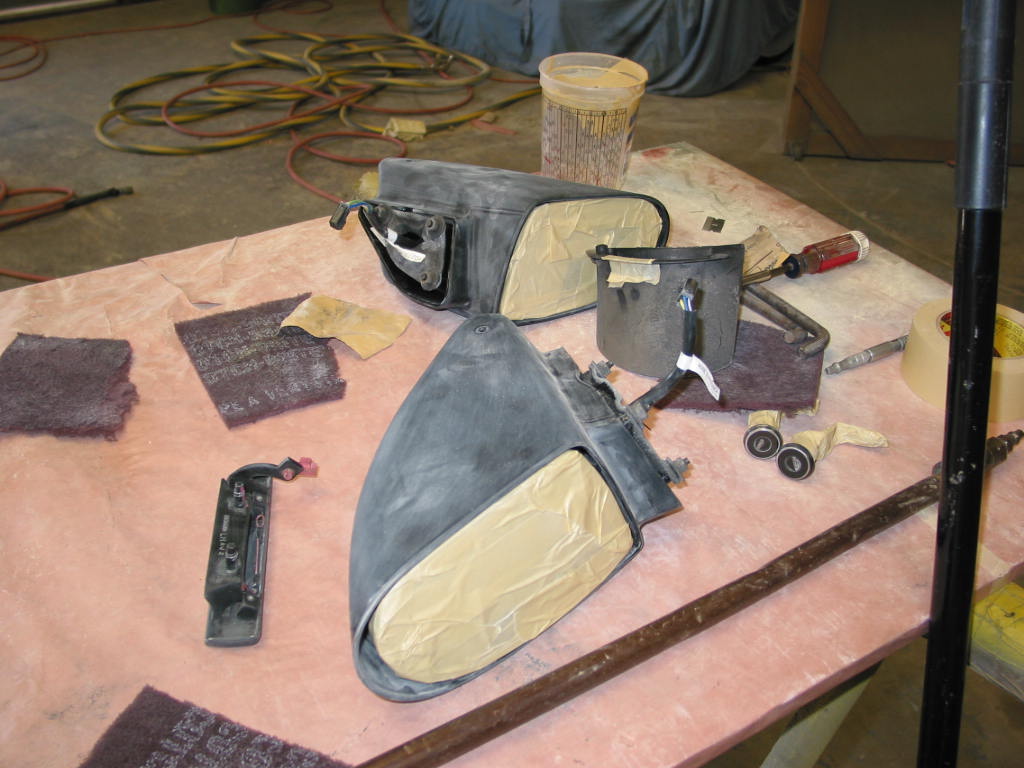
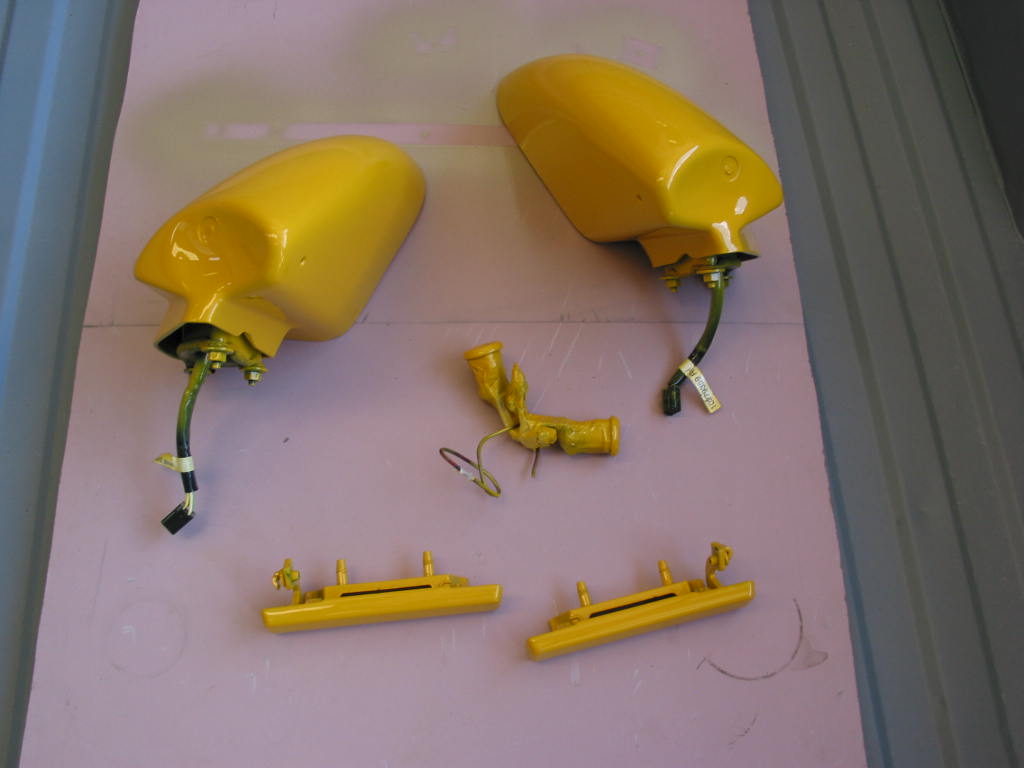
They wanted to make CERTAIN I wanted the door handles painted yellow as well. They
seem to think they would look better black but I disagree. Also, I told them, if I
decide I don't like them yellow, it is MUCH easier for you guys to take them off and paint
them black than it is to take them off and try to match this very difficult yellow... if I
didn't like them yellow. They did agree with me on that one ;)

Days 17 &
18
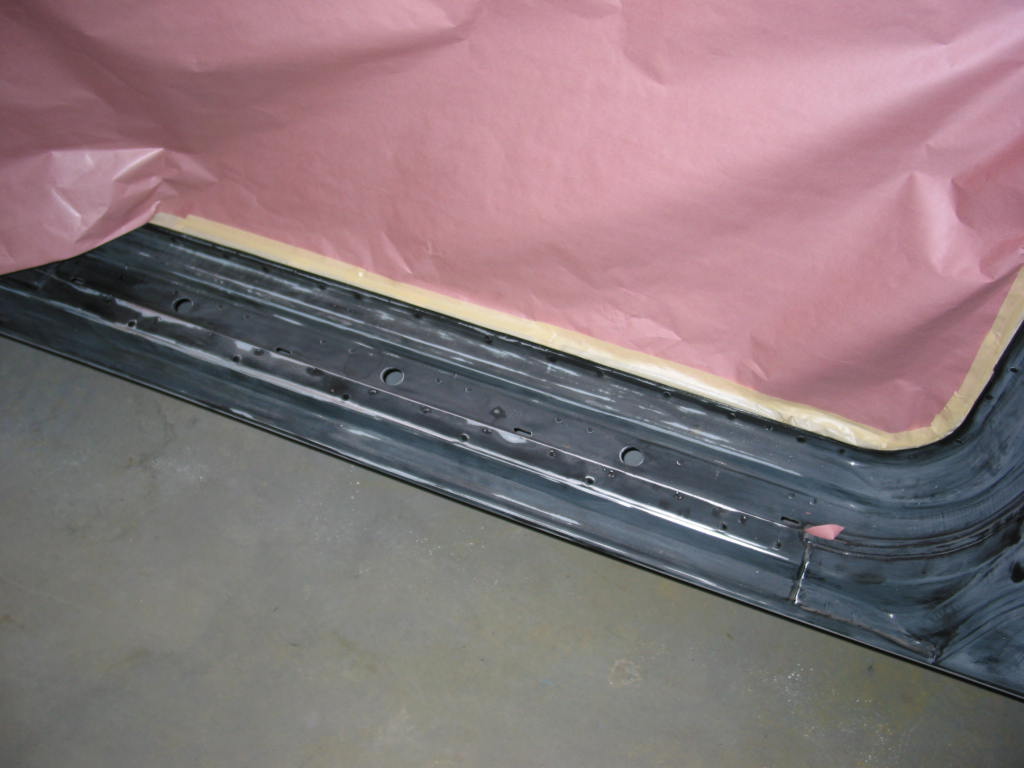
The weather hasn't been cooperating lately but they
are still making good progress! The car has been re-taped on the top so the area
under the t-tops will be yellow. The removed panels have been wet sanded and are
awaiting the final two coats of clear. Now, if it would just quit raining, we'd be
in good shape! LOL!
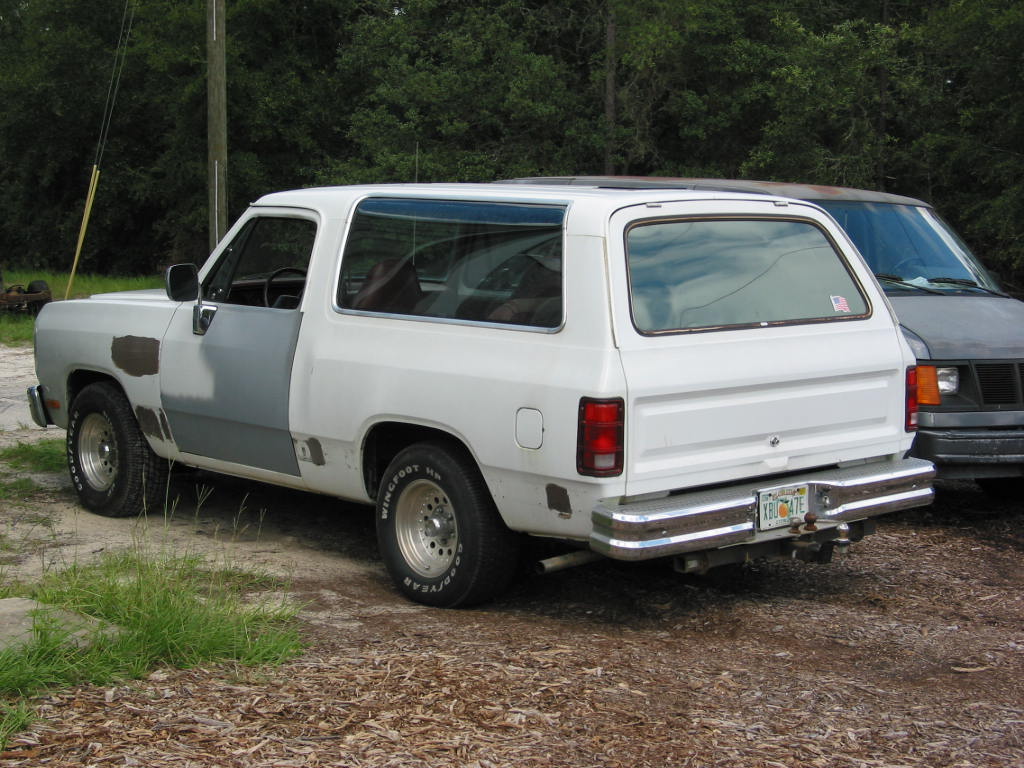
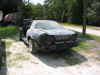
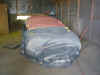
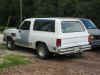
I used to own a detailing business. Everyone
commented on how my detailing van was one of the dirtier vehicles on the block.
Well, I never had enough time to clean my own damn vehicles because I was so busy cleaning
vehicles for everyone else!!! I'm happy to see that somebody else has the same
problem I have. Pictured below is the body shop owner's vehicle. It has looked
like this for many months. His shop is so full of vehicles he has no time/room to do
his own!!! ;-) LOL!
Days 19 to 22
Things are still coming along nice. Looks
like I might have the car for the weekend! They are really struggling with this
paint. They are on their 4th GALLON and don't think they will have enough to finish.
So, the original estimate of 3 gallons of paint is already out the window and now
heading towards 5 gallons of paint. DOH!!! He did say he hopes nobody else wants
their car painted Millennium Yellow because, now that he knows what to expect out of this
paint, the price has gone up considerably. LOL!
The car is so far looking real good. Because
there are so many coats on the car, there is some orange peel in the clear. We were
hoping to not have to wet sand/buff the car but, such is not the case :( They will
spend some time on it after all the clear is on the car and get it slicked out like glass.
These guys are doing a top notch job and definitely want to make sure I'm happy.
At this point they could be frustrated and rushing as it is turing out to take a
bit more work and material than originally expected, but they aren't... they are still
taking their time and making sure they do things right without taking short cuts and, to
me, that says something about the shop. This is the first time I've used this shop.
They came highly recommended and I can now see why.

 
They hope to be putting it back together mid week.
With any luck, I'll have it by the weekend! I've been driving my pick-up
truck for over 3 weeks now... lots different than the SS :)
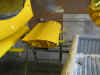
Days 23 to 26
Well, I'm way behind! I haven't had much of a
chance to get to the shop. In fact, as I'm typing this there is actually way more
done on the car but I don't have the pictures taken yet so, I'm just going to day 26.
I'm going to try and get some more pics SOON and then it'll jump up a few more
days. LOL! The car is really coming together now.

Days - Lost
track. LOL!
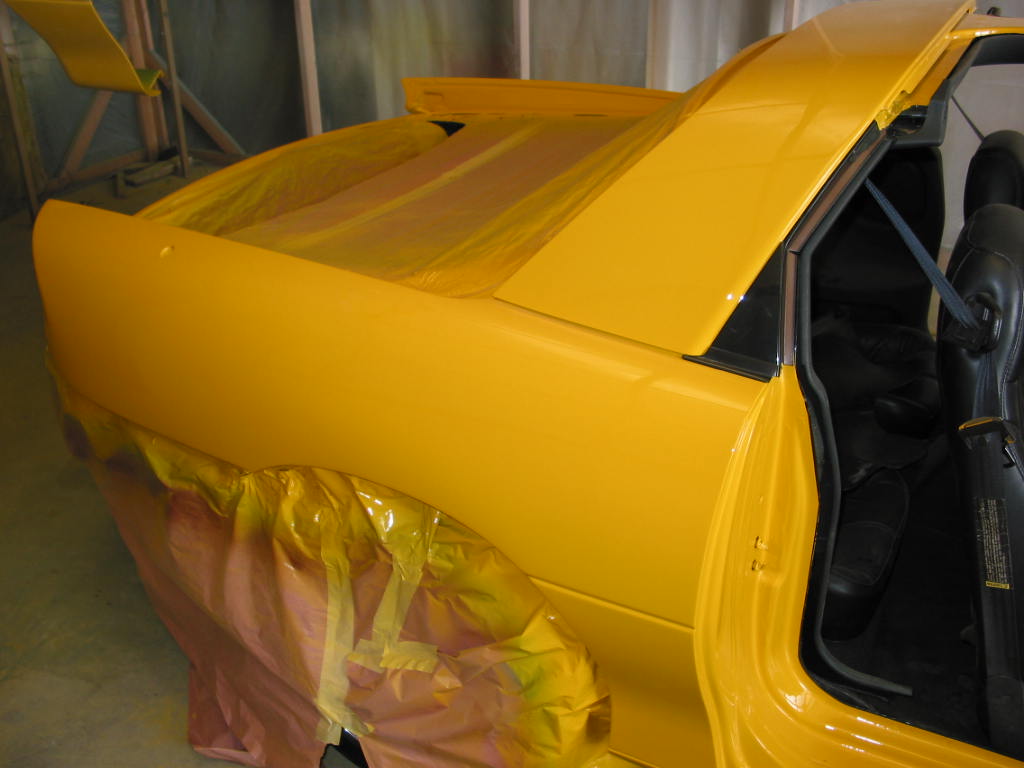
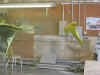
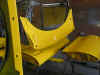
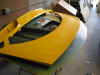
Here are probably the last pictures you will see
with the car in an unfinished state. It has been a little over a month since they
first took the car. The car would have been done a week earlier but, if you've been
reading, they ran into some unexpected problems with the paint and how much was being
used. They tried a couple different things to see if they could determine why so
much paint was being used and that delayed it about a week. Either way, it doesn't
really matter because the end result is going to be very good :) I'm very picky and
so far I'm pretty darn satisfied. Here are the latest pictures I have. The
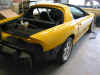
next pictures will likely be pictures of the completed project!
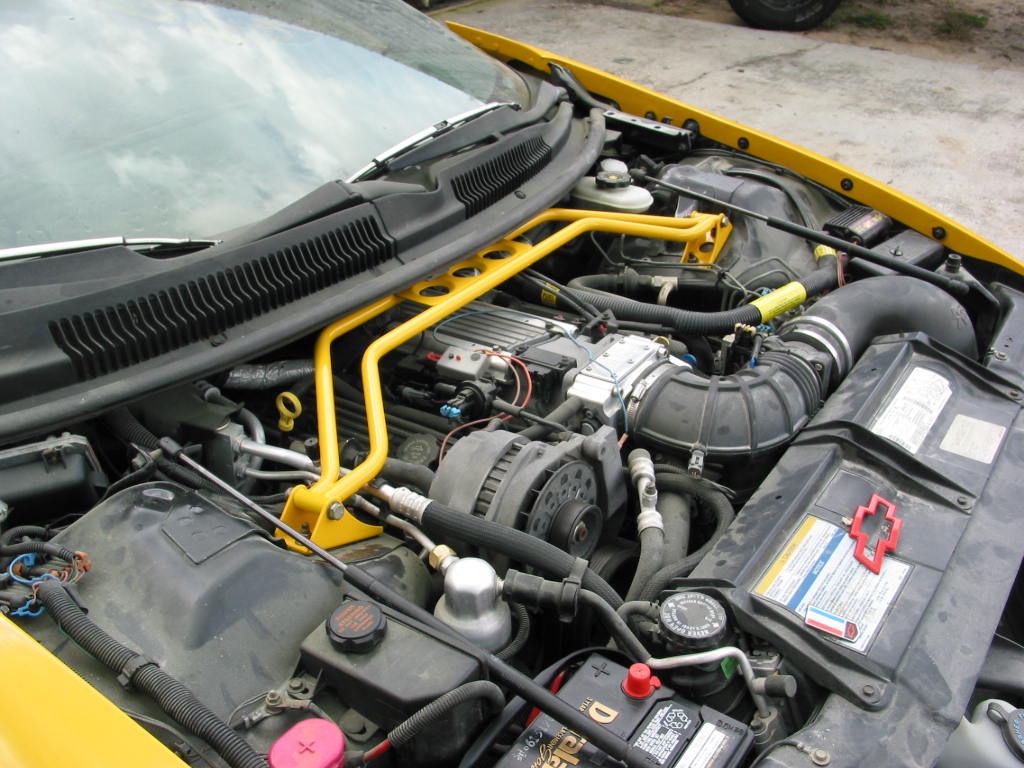
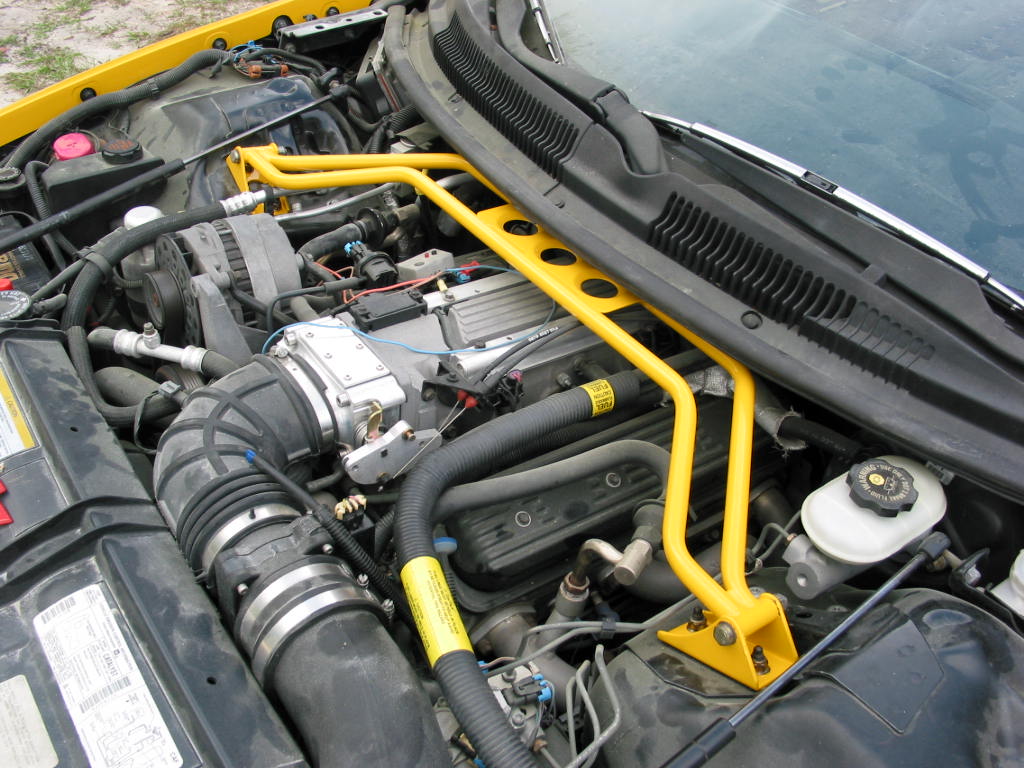
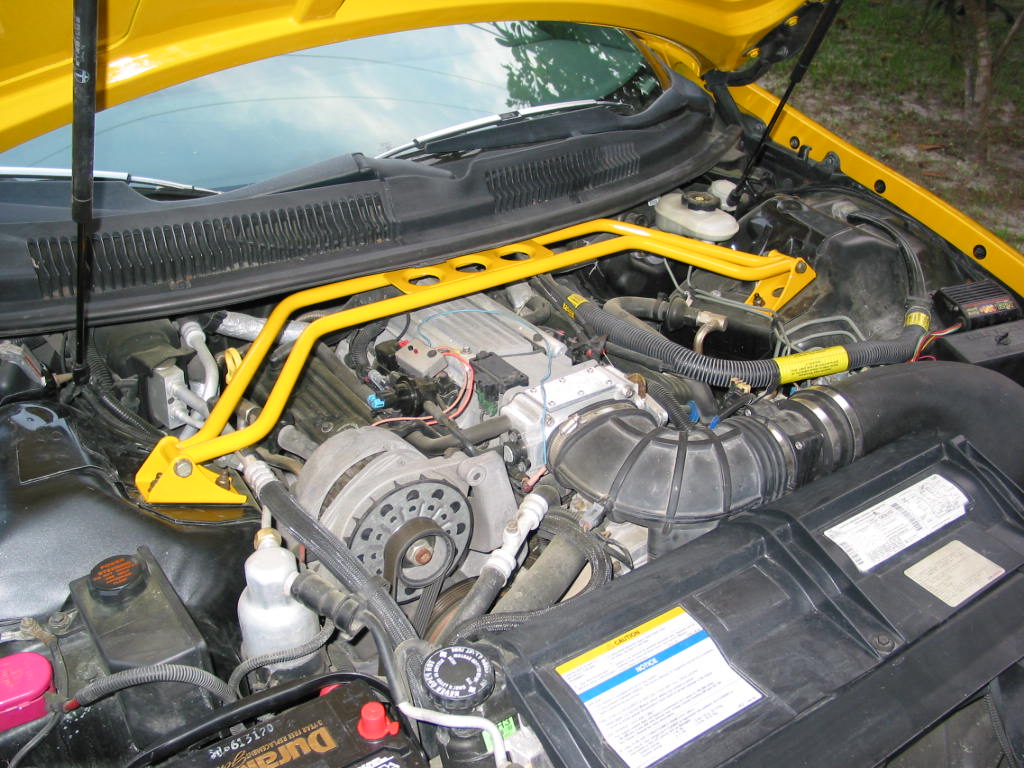
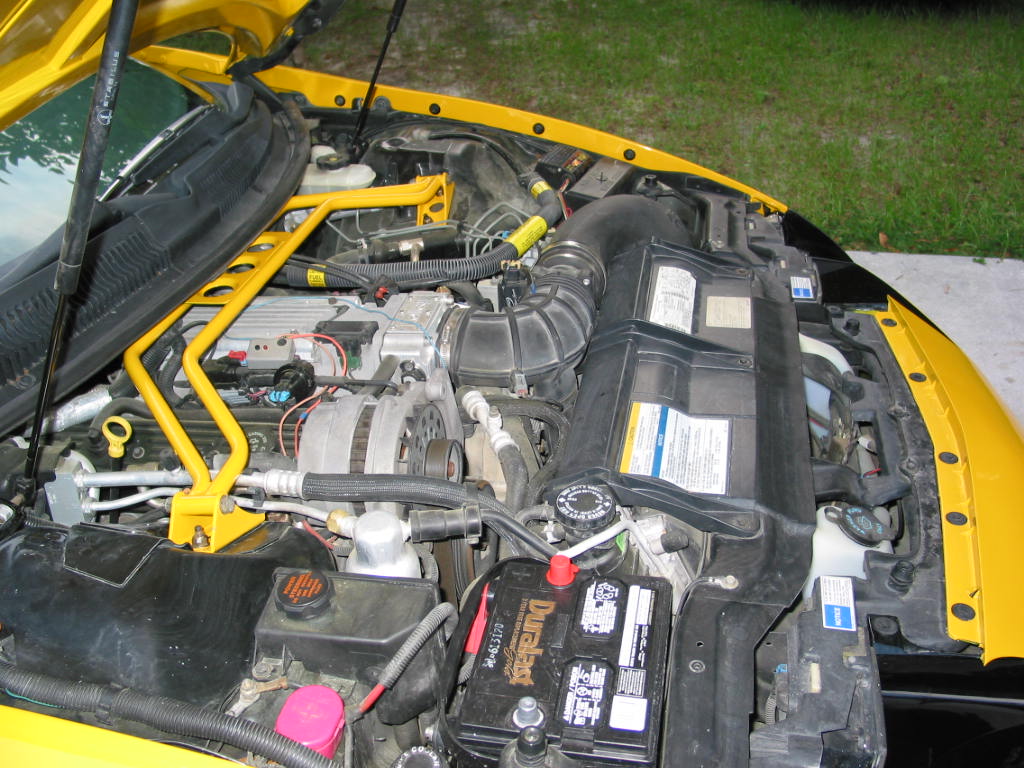
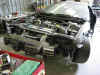
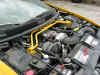
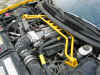
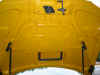
I had them paint the strut tower brace. I
wanted to offset the all black engine compartment just a little :)
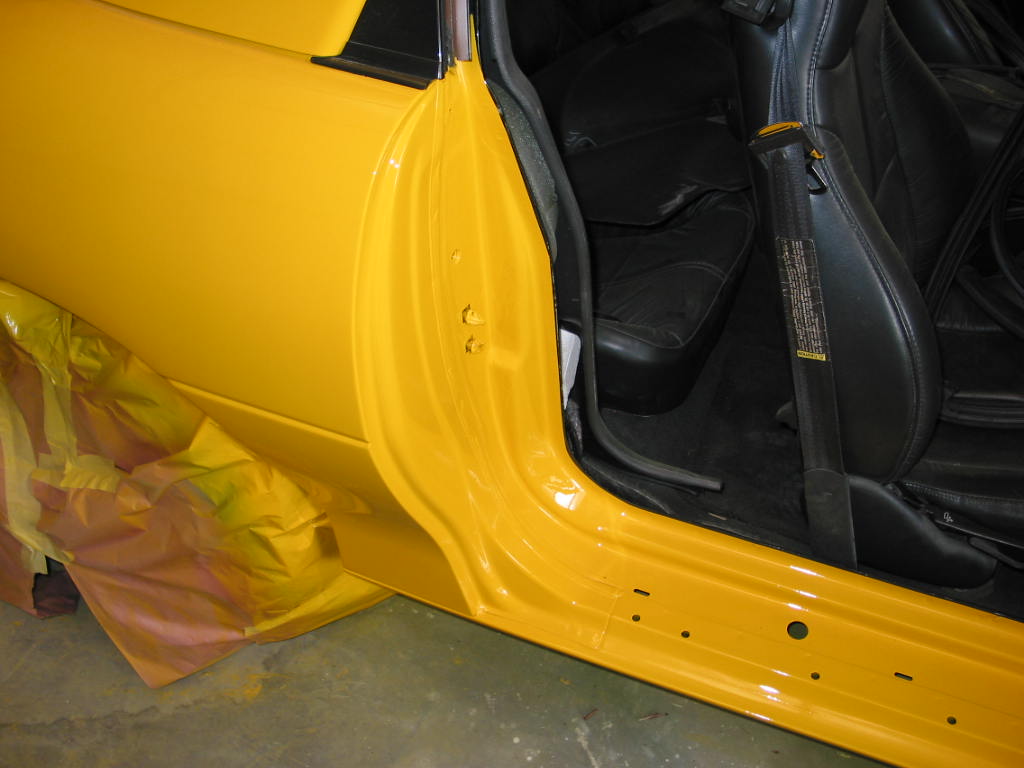
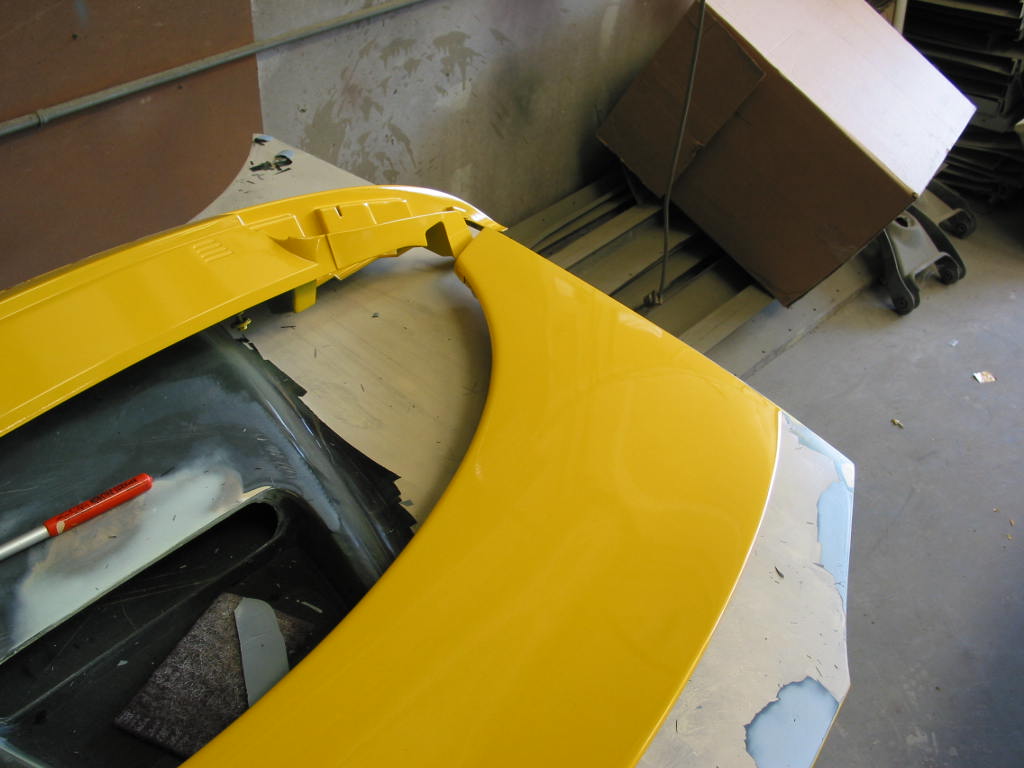
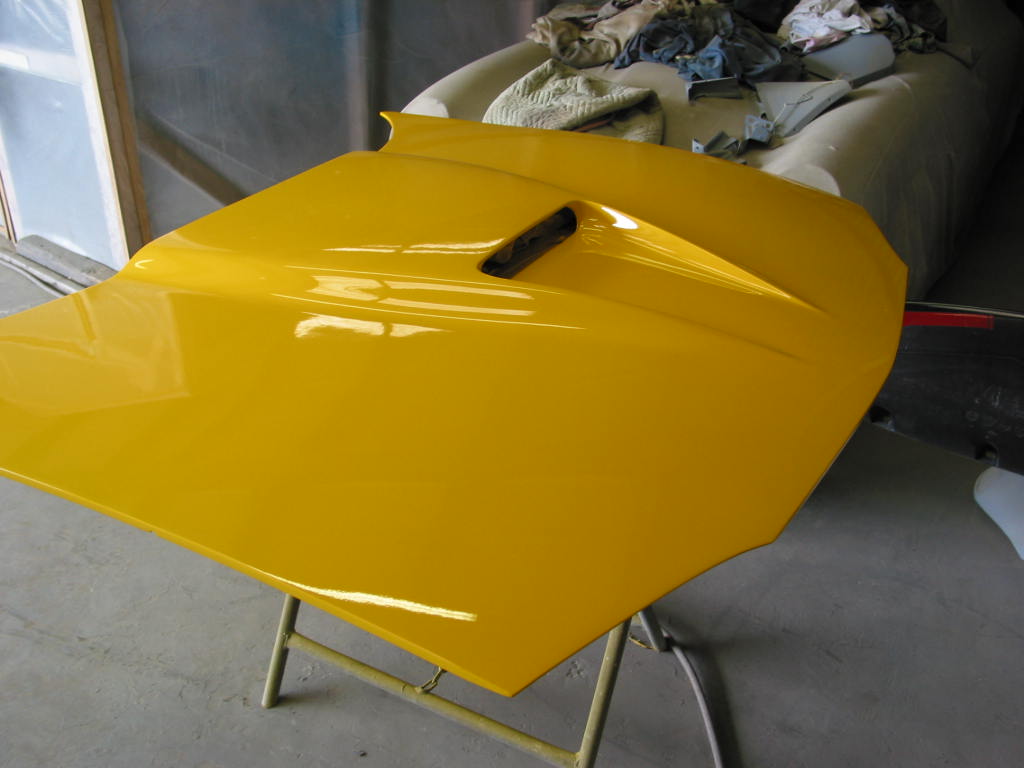
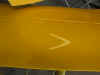
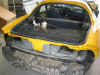
You may notice in some of these pics a difference
between the panels. That's because some of them are in the middle of being sanded
down while the adjacent panels have not been sanded. Hood looks pretty good too, eh?
Can't wait to see it on the car!!!
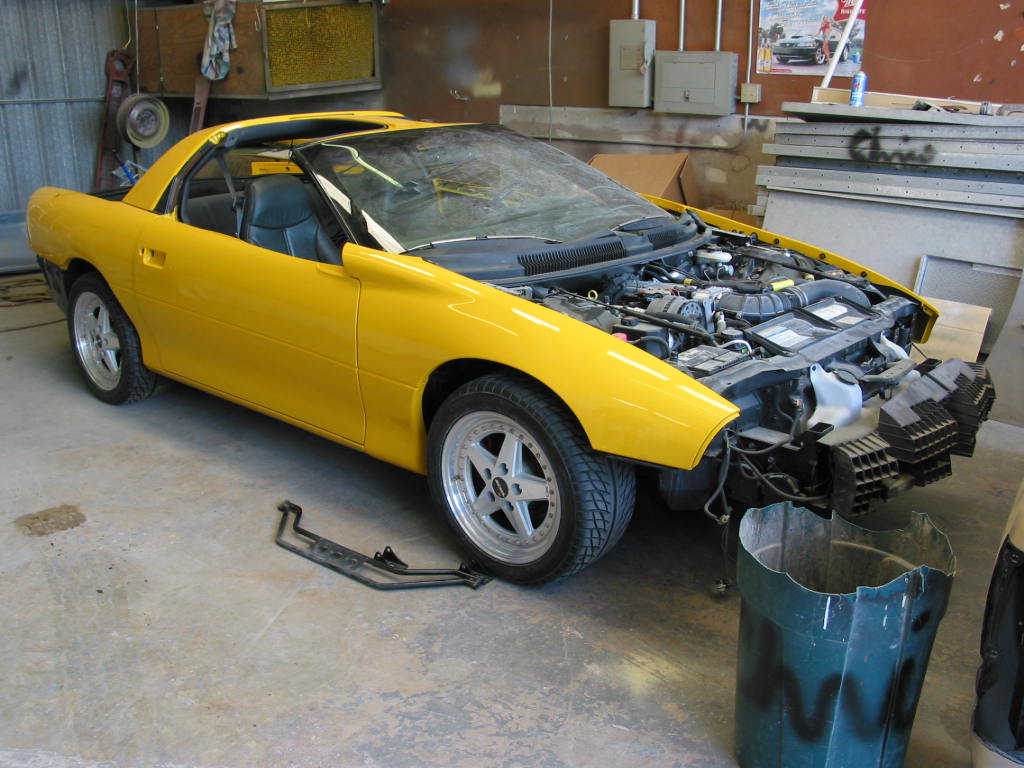
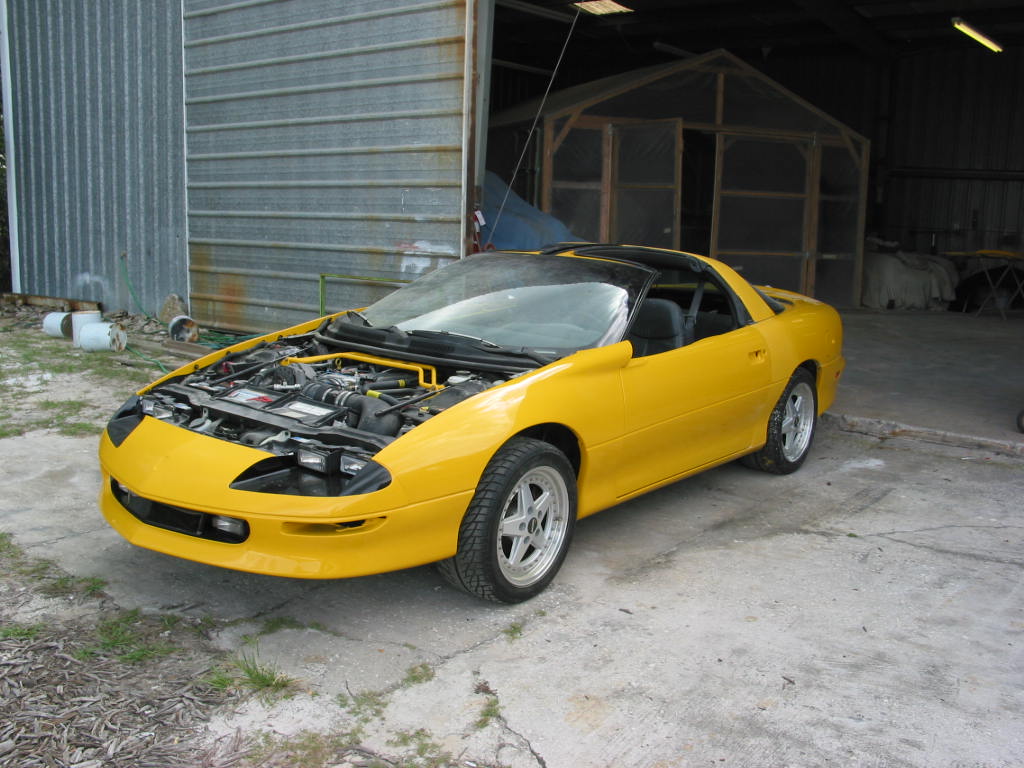
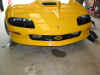
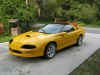
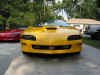
Sep 8th
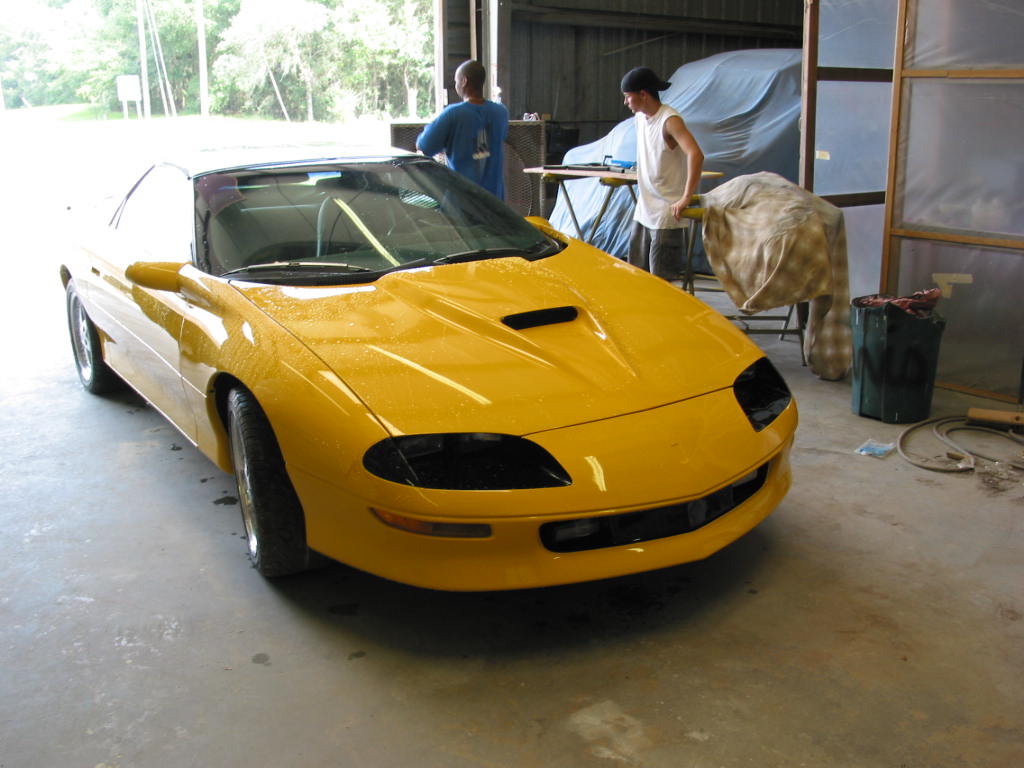
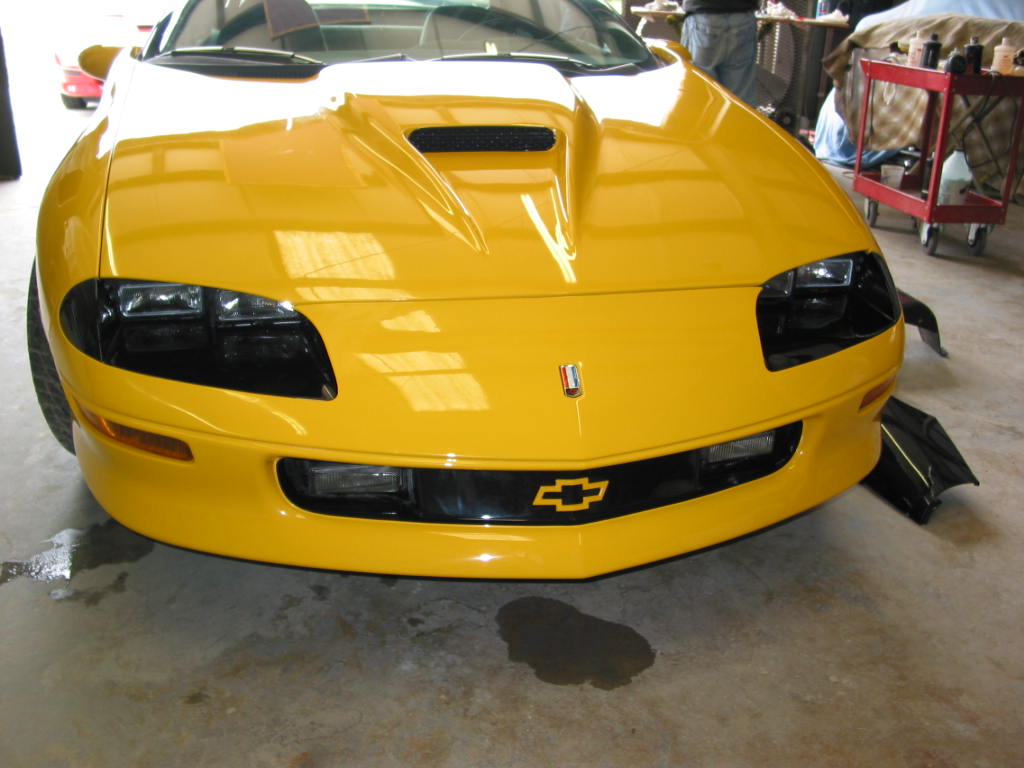
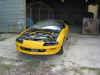
Finally picked the car up! I still have a
couple things left to do with the car and still need to shine it up a bit with a good coat
of Zaino but it doesn't look too bad right now :-)
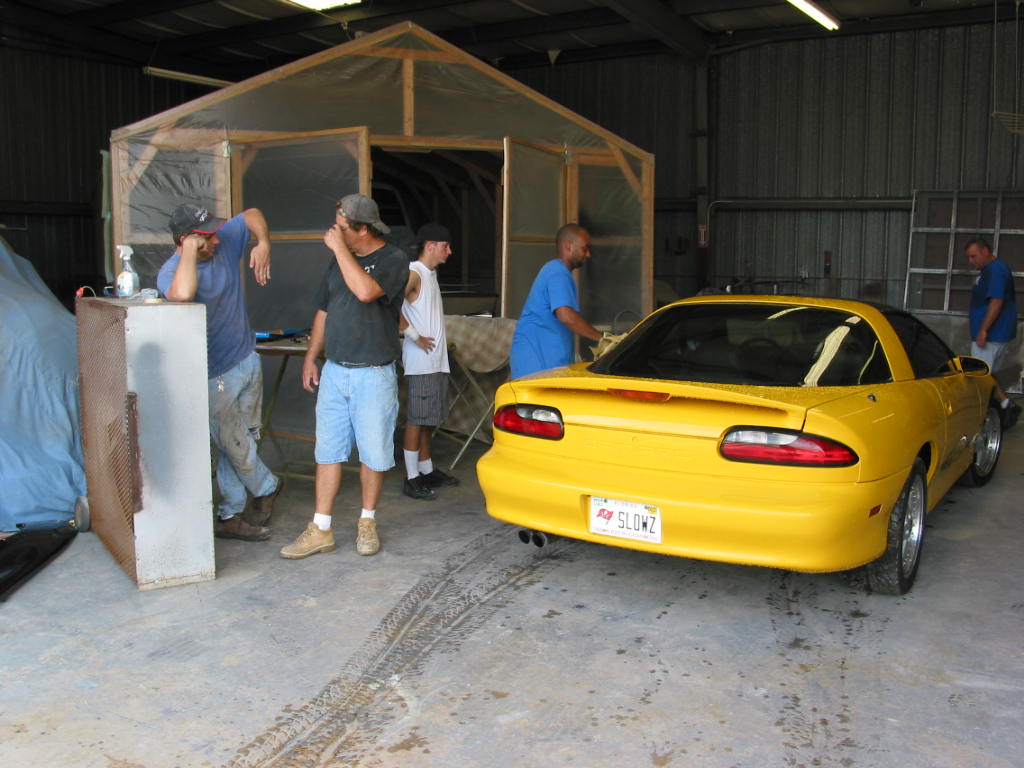
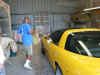
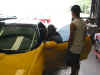
Here is the crew at Specialties by Chuck

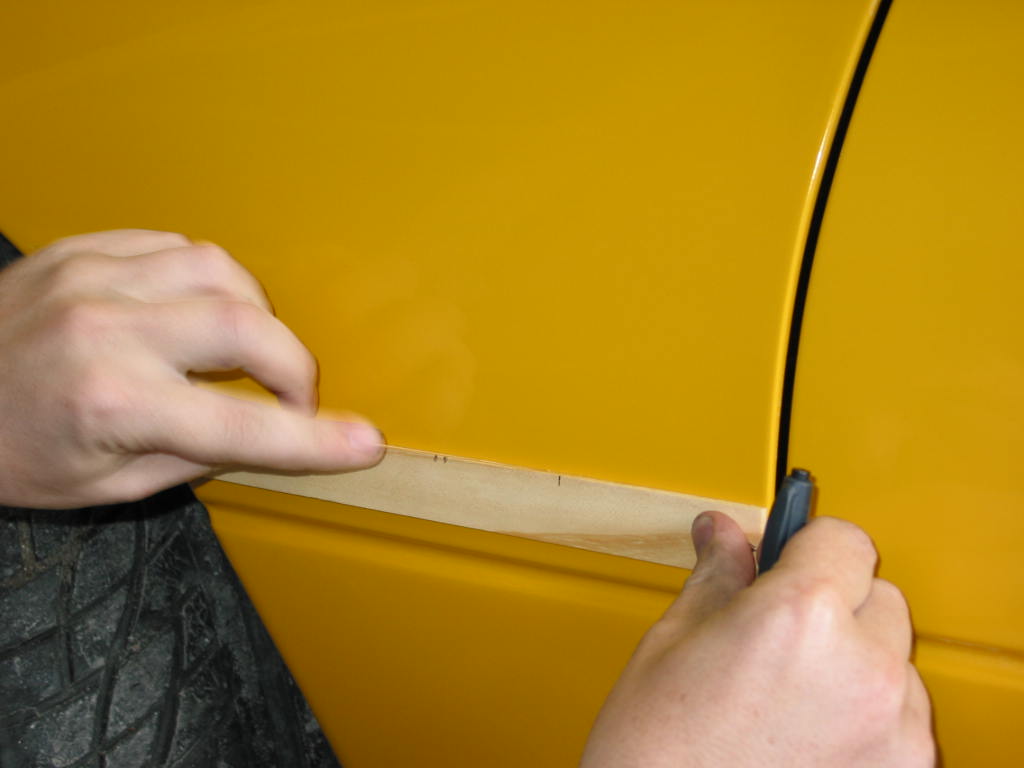
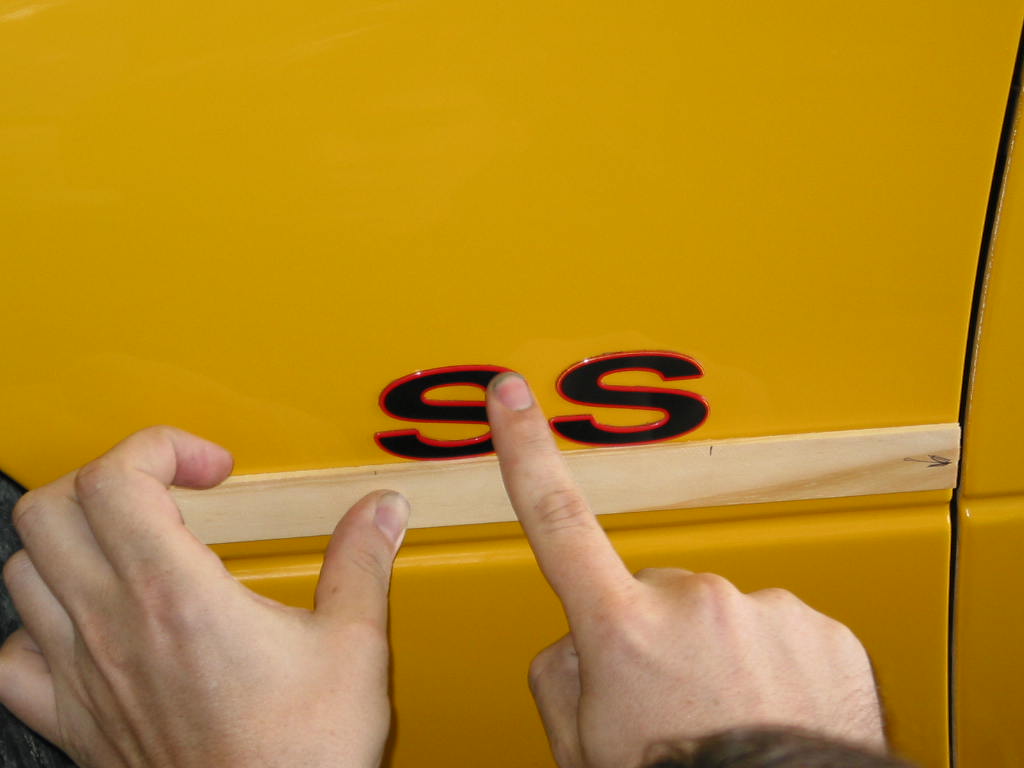
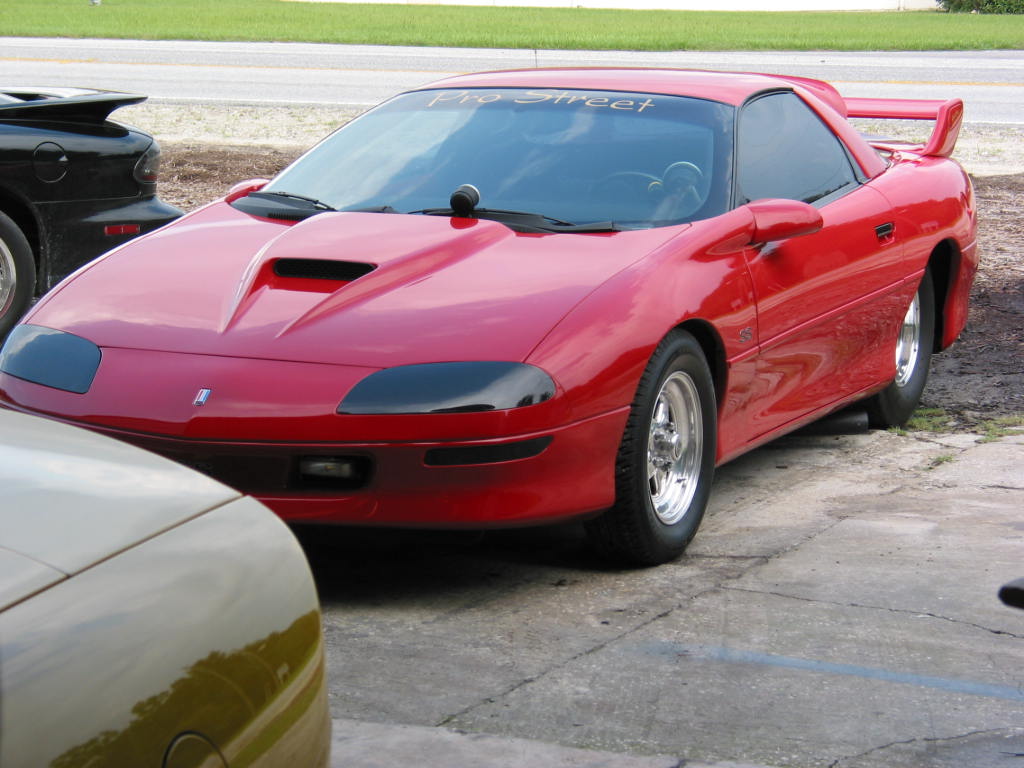
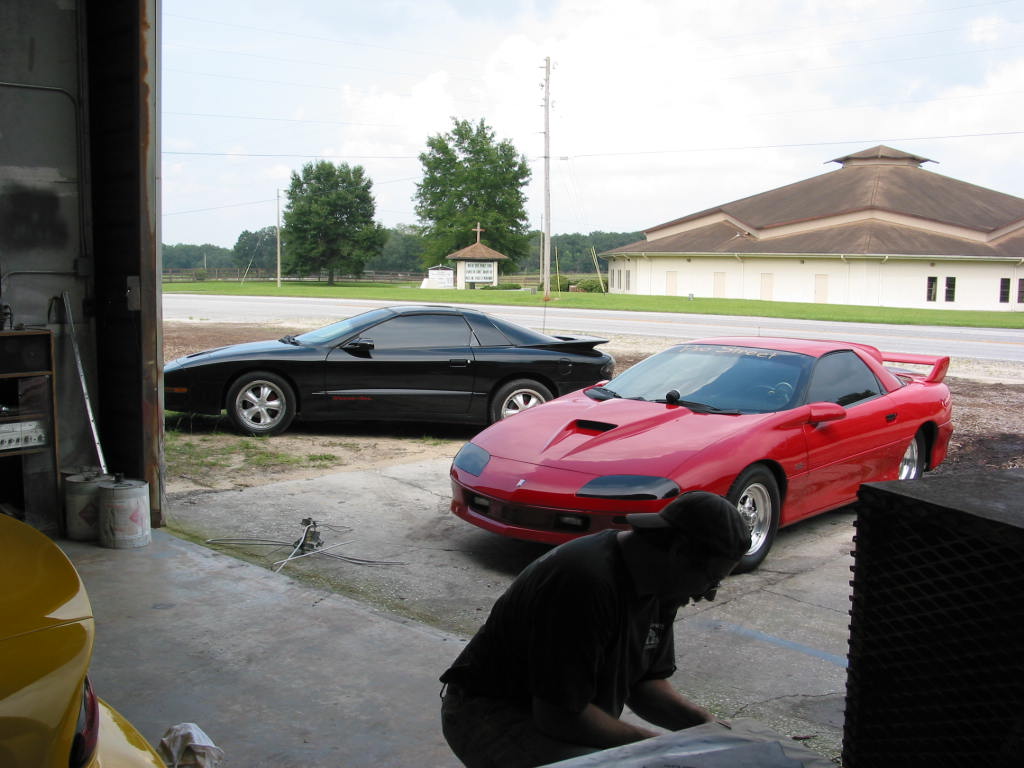
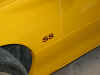
I'm installing the SS emblems back on the car
 
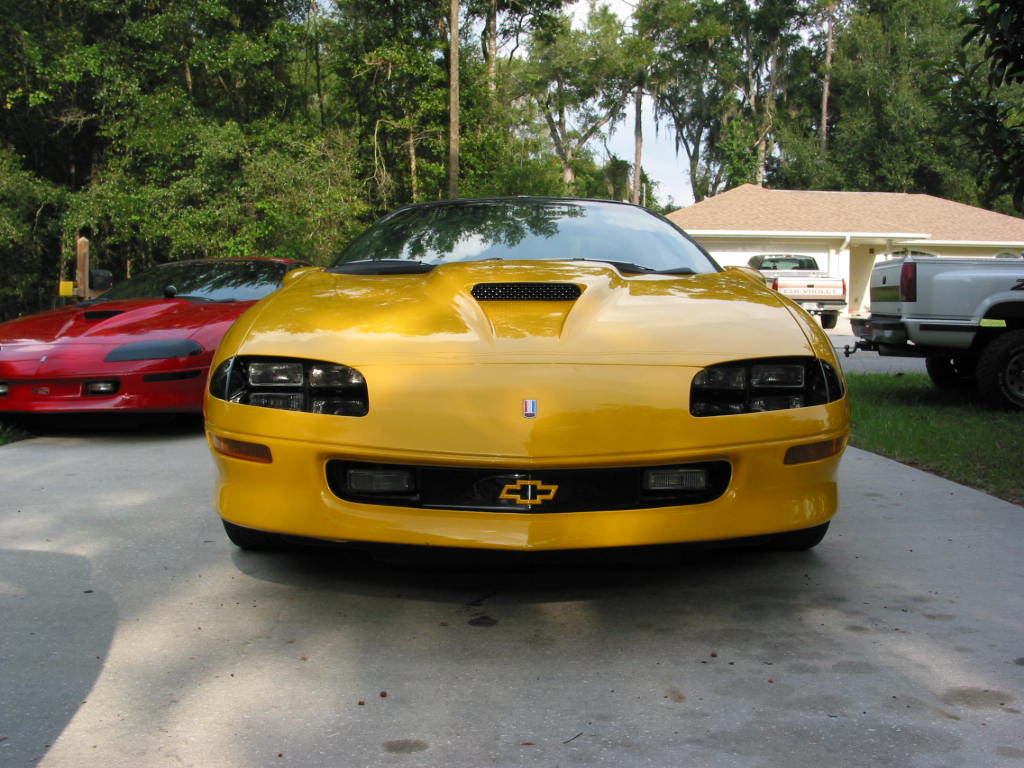
My buddy John with his red Pro Street SS showed up
as did Shawn with my old TA :)
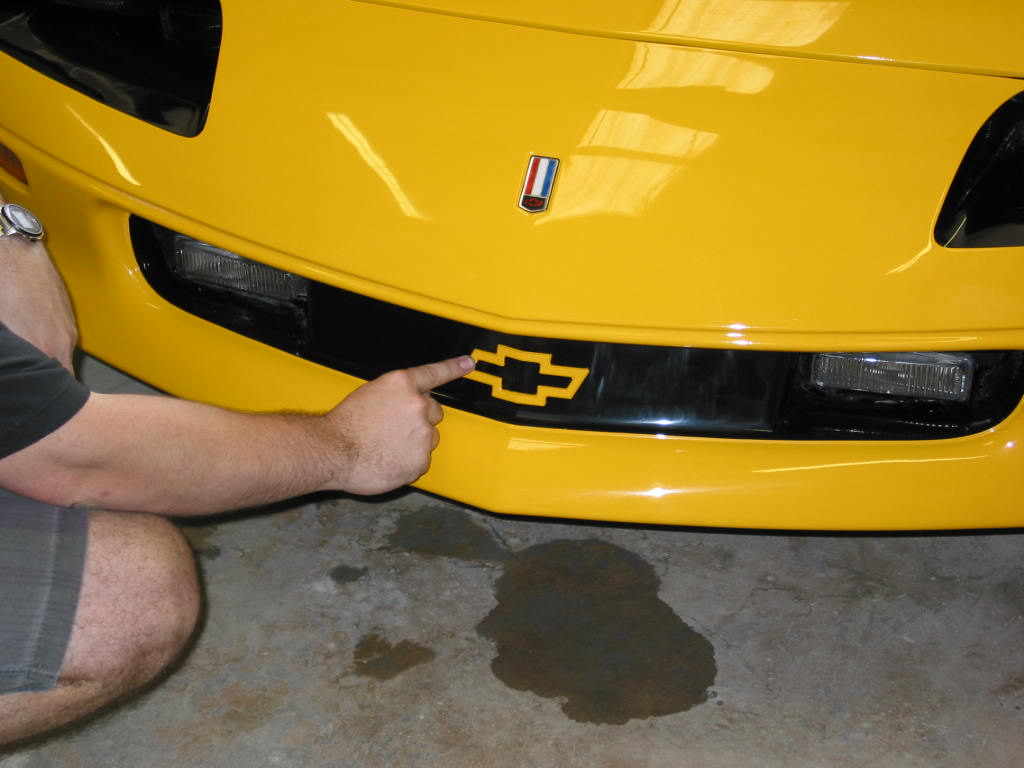
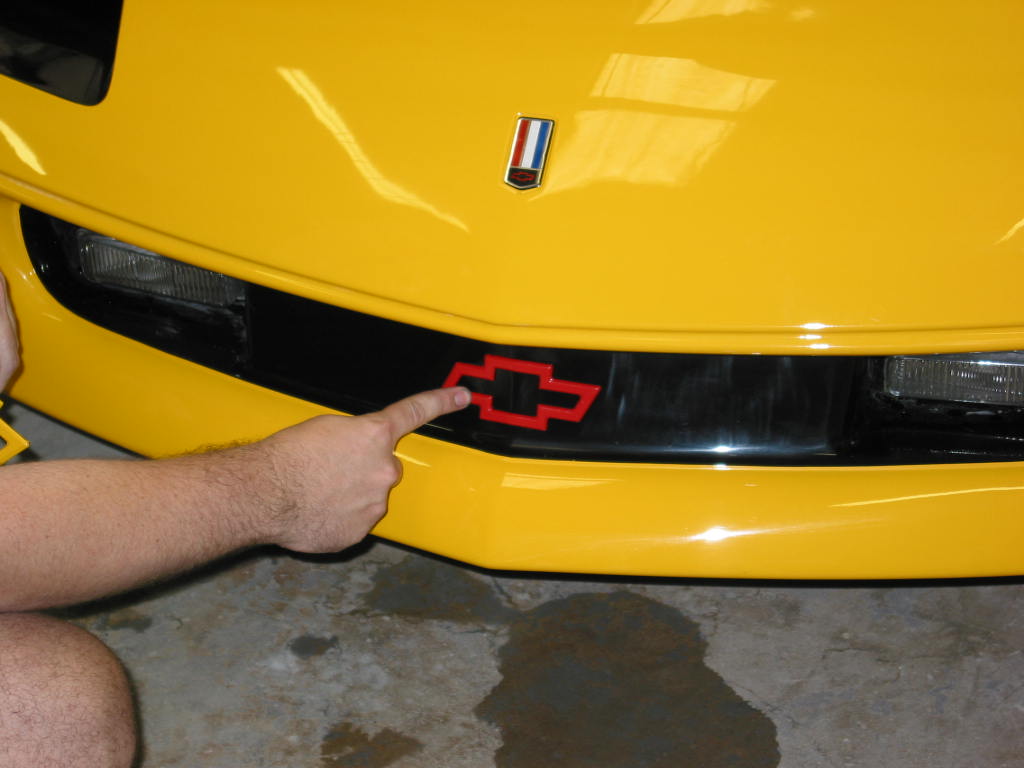
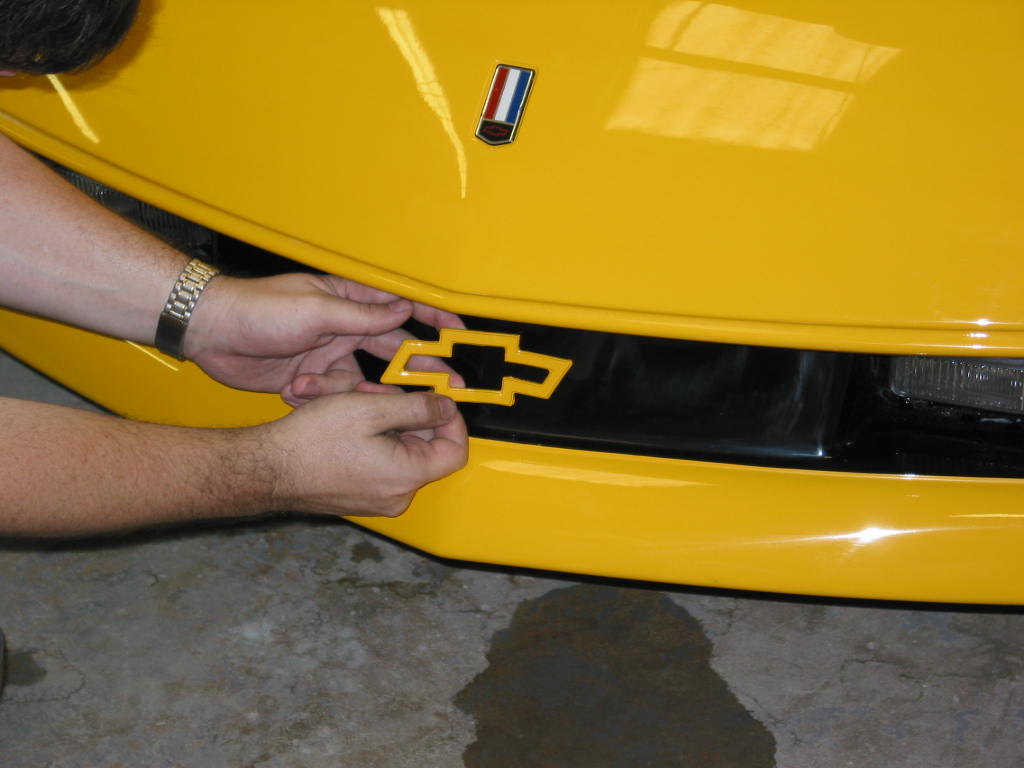
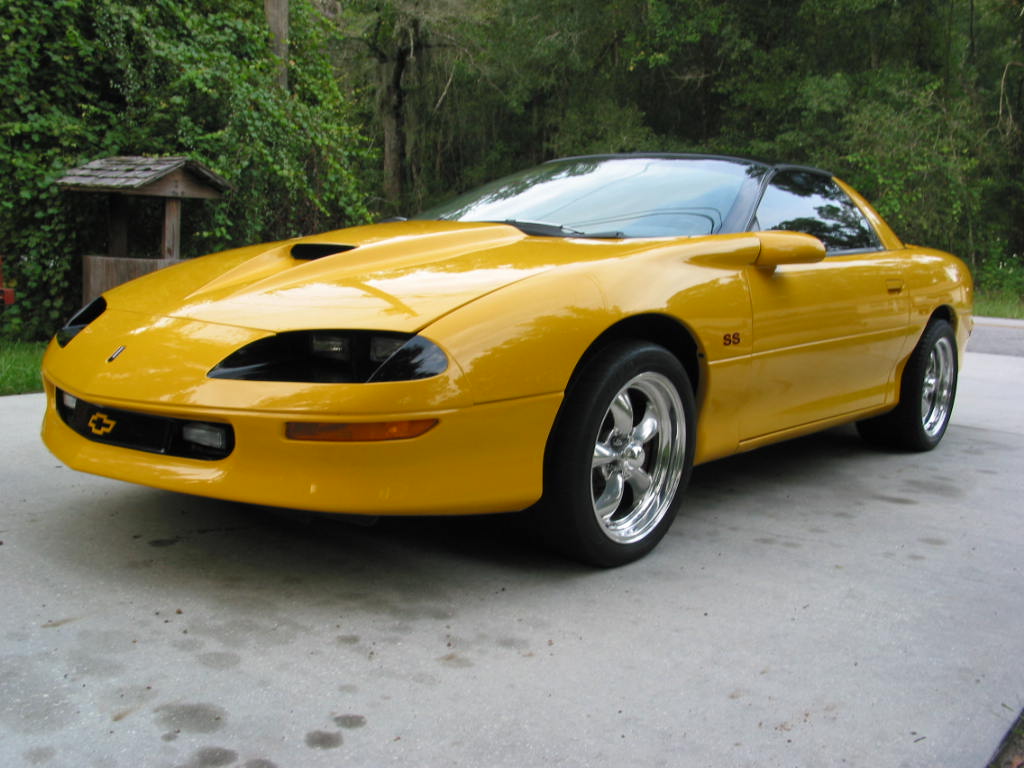
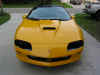
I'm trying to decide if I want to stick on the
Yellow emblem or the Red emblem. Decided to go with the Yellow. I like it!
However, after installing it, it looked "funny" and after extremely close
observation of both the red and the yellow laying on top of each other, I noticed I put
the yellow on upside down! Had to peel it off and redo it. I would have lost
money had I betted there was a top and bottom because it sure doesn't look like it by just
glancing at it but, believe it or not, there is a top and bottom to these front bowtie
emblems!
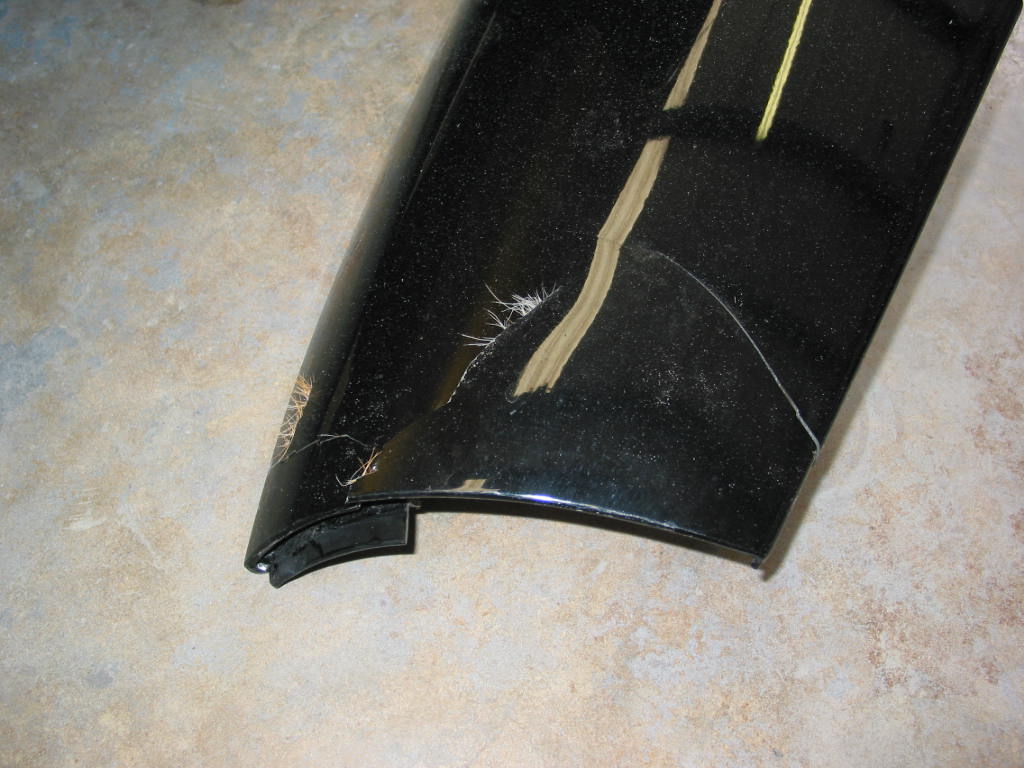
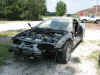
The Transformation and one last look at the deer
hair that started it all!
   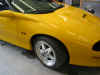 
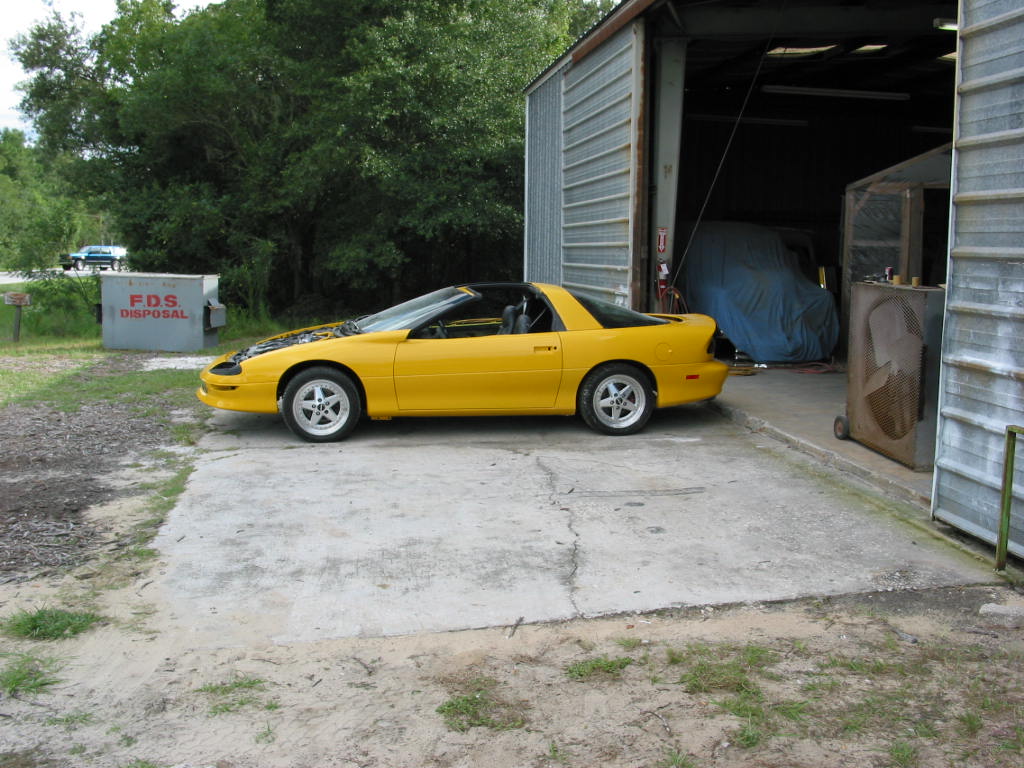
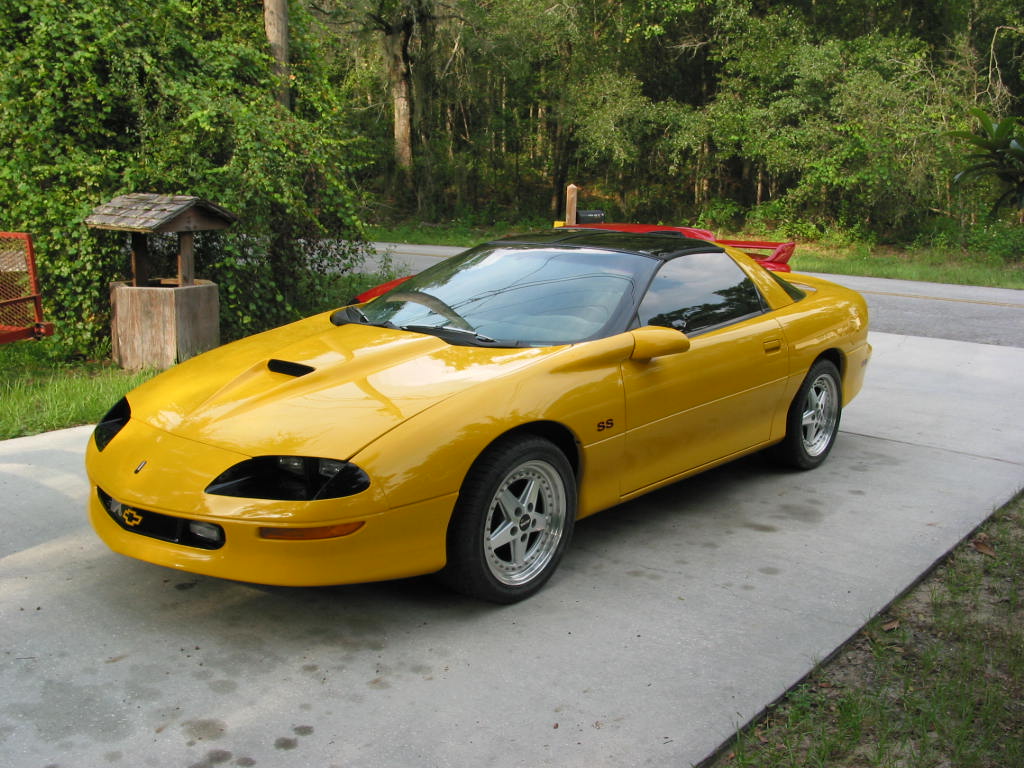
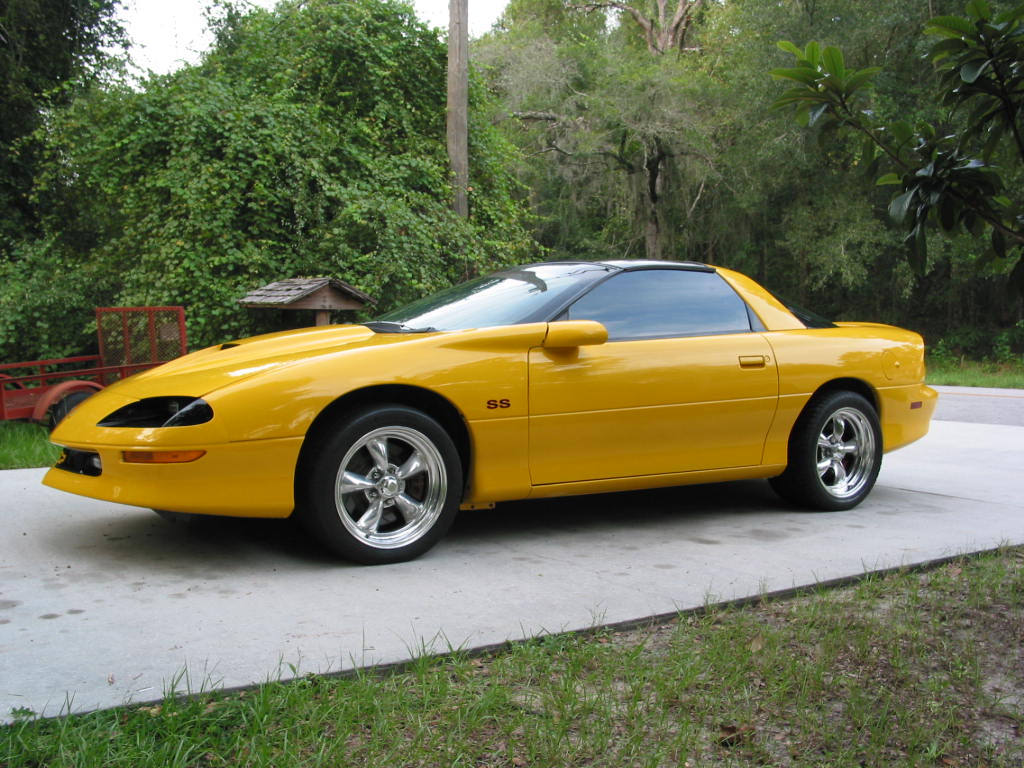
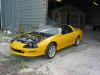
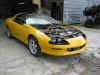
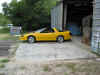
Back in the driveway!
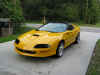
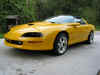
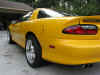
Switched out my other wheels with Torque Thrust
IIs. Will run these for a little while then switch out to the Boyds. Not sure
at this point which one I'll like better. Most my buds are divided... some like
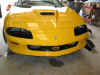
these and others like the Boyds. For now, I like the TTIIs :) You'll also
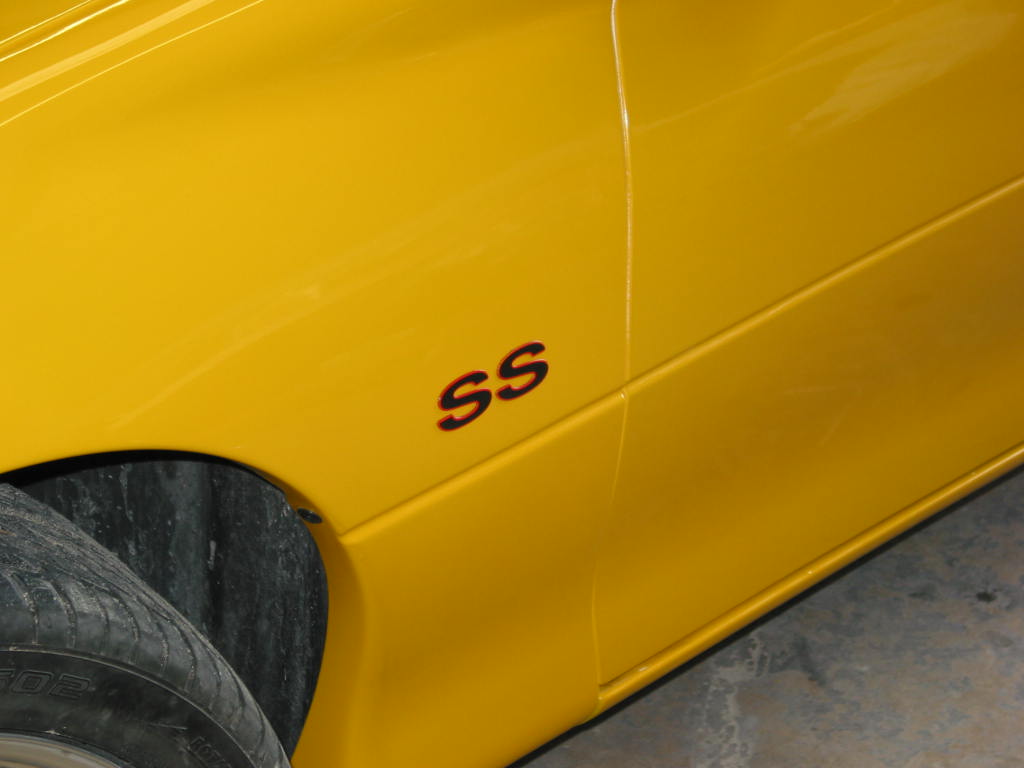
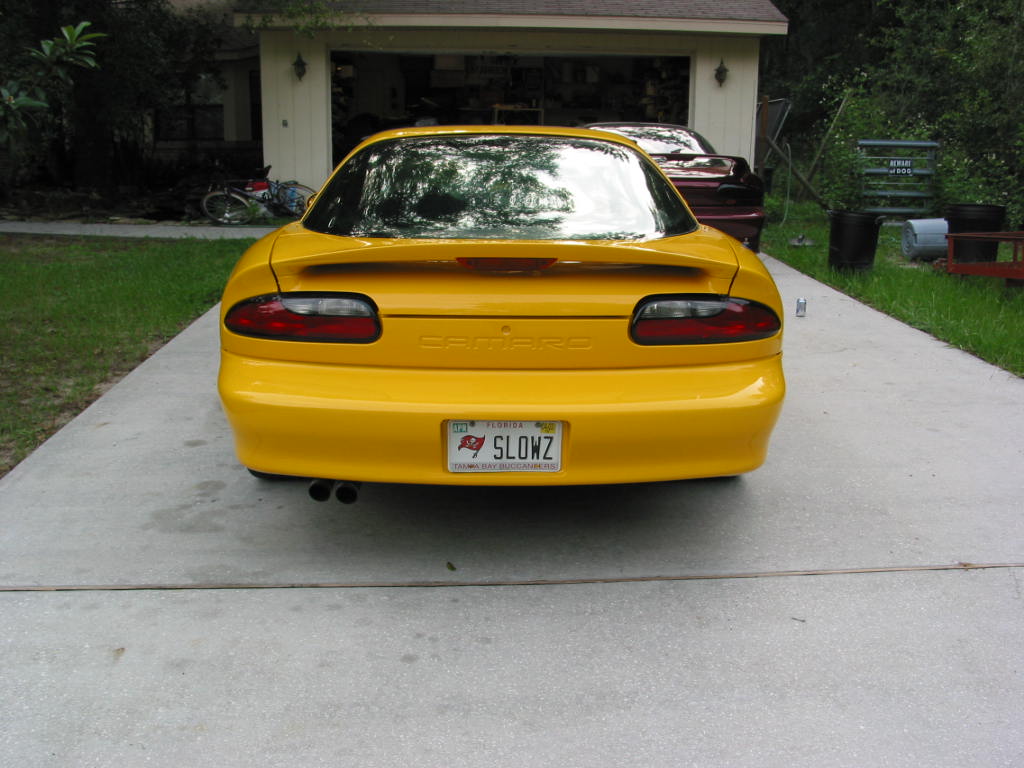
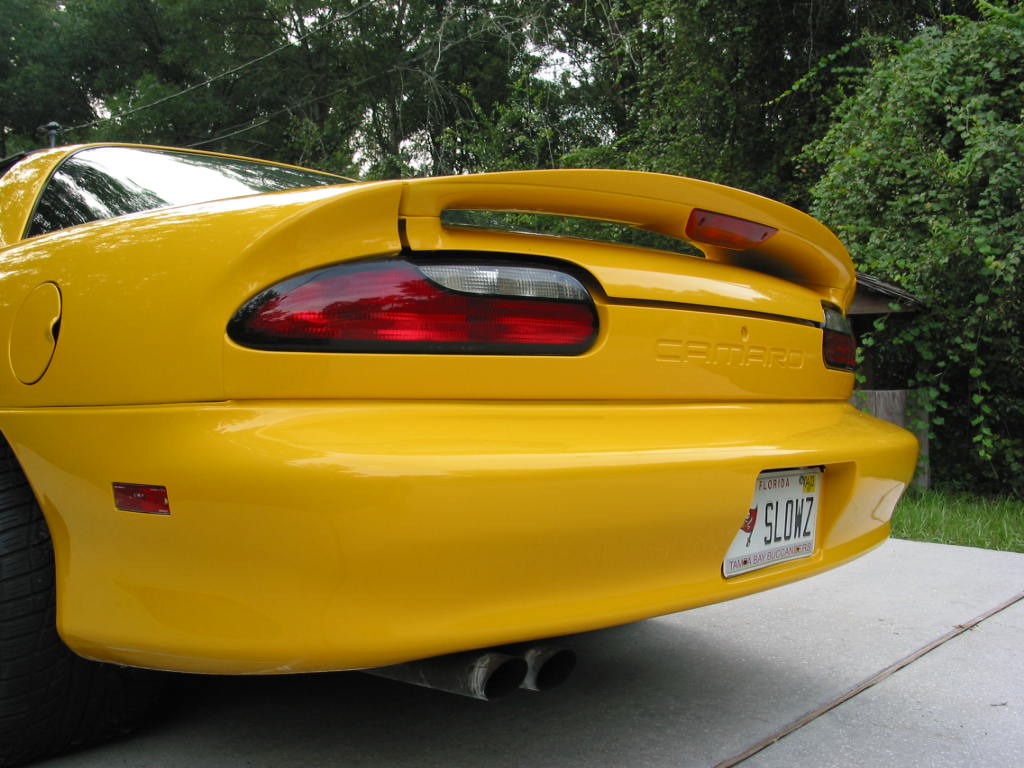
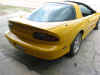
notice I need to get my rear CAMARO inserts in and get the SS emblems on the back still.
  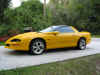   
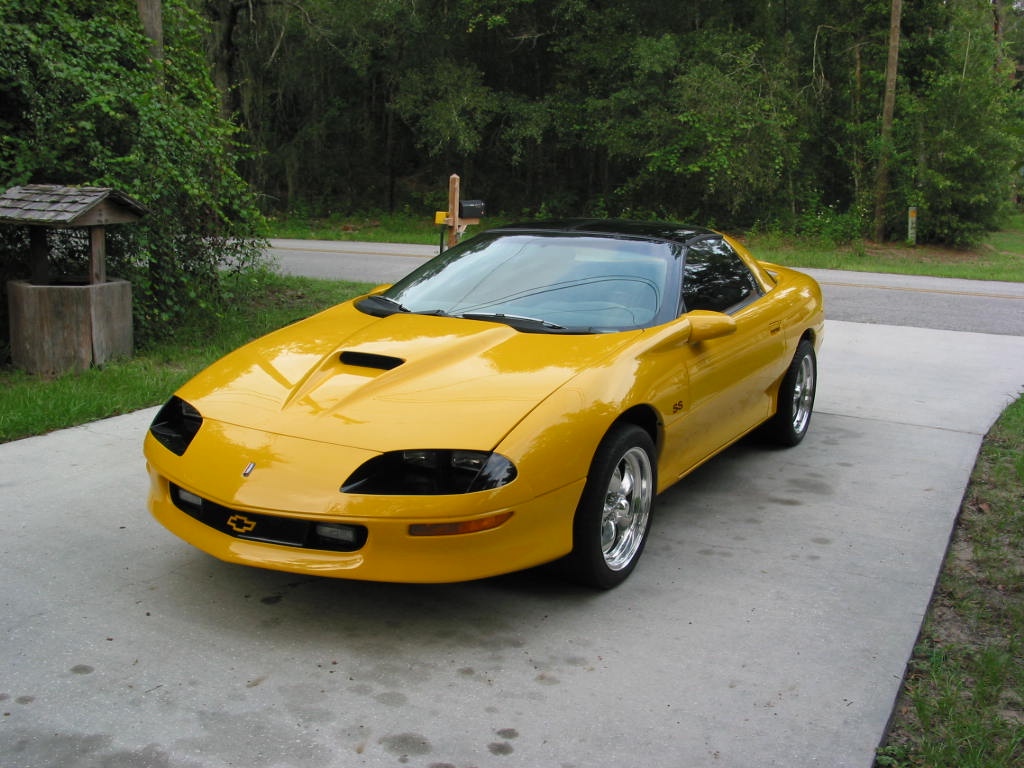
I'm going to try and get it cleaned up and then
take some really nice pictures of it!
Well, this has been quite the experience!
I've always liked doing things a little different and this is definitely different.
I know of one other Millennium Yellow 4th Gen Camaro out there and I'm pretty sure
it isn't even in Florida. I'm very pleased with the results and very happy with the
color choice. When changing colors you can do pretty much anything... I don't regret
for a second going with this color!
|