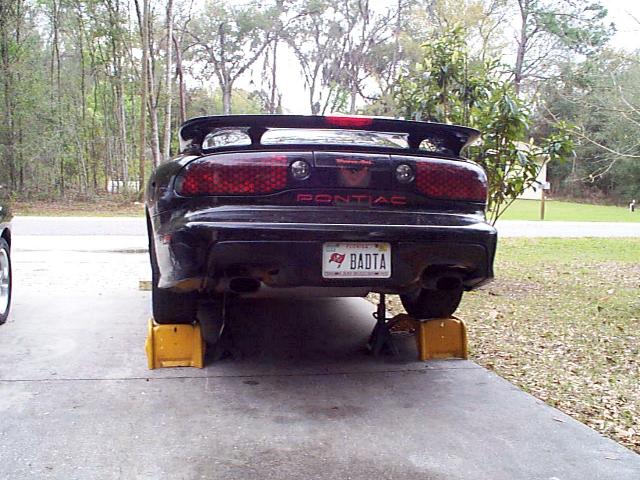
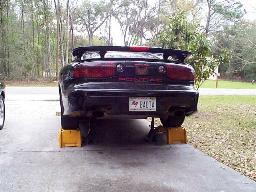
| You need to get the car up as high as
possible. In the picture the car is actually on the jack stands. The ramps are under
there for added safety. You'll be yanking on things, pushing, and pulling, and the
ramps are a good precaution to take. Also be sure that prior to jacking the car, you
put some type of block(s) under the front tires because when you start to jack the rear up
if the car is on any type of hill it could start to move. |
Any of these pics may be clicked for larger image

|
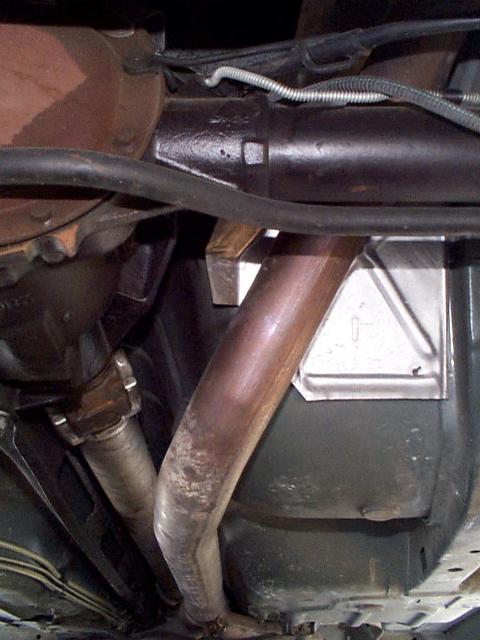
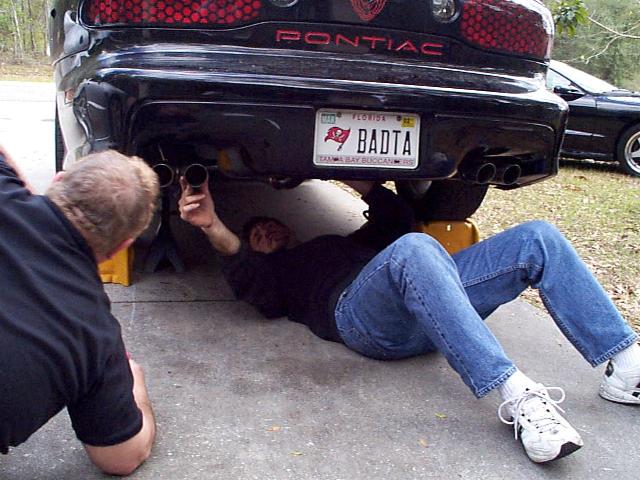
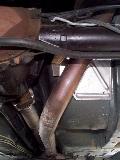
| Remove the band clamp on the y-pipe.
This might look easy but it wasn't until we got the right tool! First we tried a
ratchet, then an air ratchet. Neither of those worked so dug out the impact
wrench. Got it off with that :) All you want to do now is just loosen the band
clamp. |

|
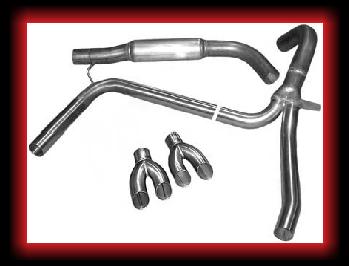
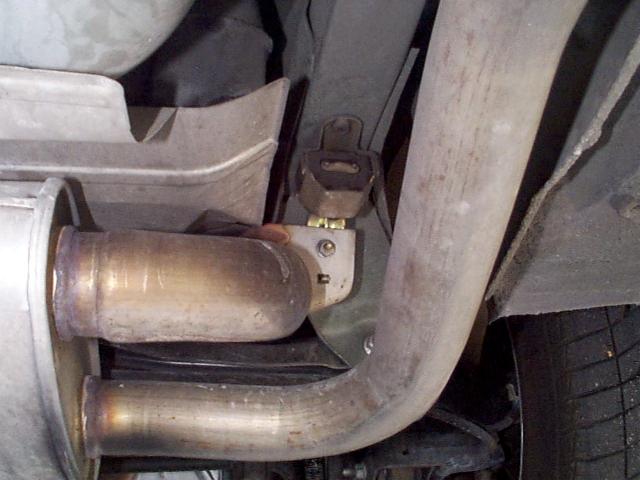
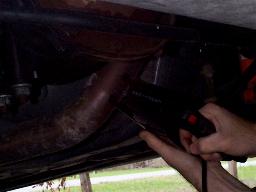
| This is just a picture of the stock exhaust. |
|
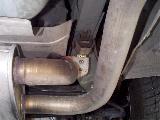
| We didn't have a lift and didn't want to mess
with taking a bunch of the rear components off the car to take the stock exhaust out in
one piece so decided to just cut it off. You'll want to leave the rear brackets
tight and in place. This will help to hold the pipes steady while you make your
cuts. We made a three cuts but could have most likely got by with just two.
First off, let me just say this was a pain without the correct tools. All I had at
the time was a jig saw with metal blade and a hack saw. To make the minimal amount
of cuts we needed to cut the pipe in an area where neither of these tools would fit.
argggh. So, we made an extra cut in order to be able to move the pipe enough to get
to it with the hack saw. The ideal tool for this is a sawz-all. With a
sawz-all we could have easily cut the pipe clean through in the location shown to the
right. Then, the only other cut needed would have been at the muffler.
However, we couldn't get either saw in a position to fully make this cut so we made
another cut closer to the y-pipe on the horizontal section of the pipe. The day
after we did this I went out and bought one... didn't want to be stuck without one ever
again! :) |
|
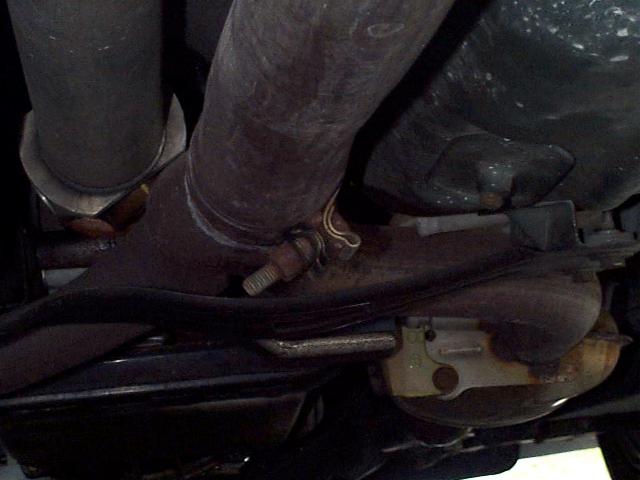
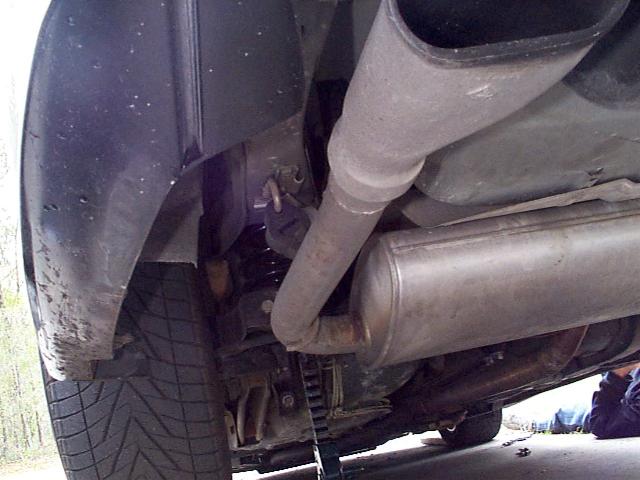
| The bracket on the passenger side is removed
by removing a nut. This will allow you to separate the bracket and pull the exhaust
off of the bracket. You will need to save this loose piece as it is used with the
SLP cat-back. You don't need to remove any
nuts/bolts from the driver side bracket. It simply has a rod that slides into a
rubber piece. You only have to slide the rod out of the rubber piece. To make
this super simple, spray some silicone lubricant on both sides of the rod and rubber and
it will slip right out. If you don't do this, you'll probably fight with it a bit! |
|
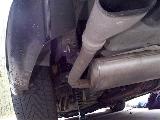
| With the brackets removed and a couple of cuts
made, the only problem now is removing it from over the axle. This is the biggest
hassle with this install and is why the different cuts are required. If you made
your cuts in the correct places, you can finagle the exhaust out with little problems.
You may find you'll need to make another cut. |

|
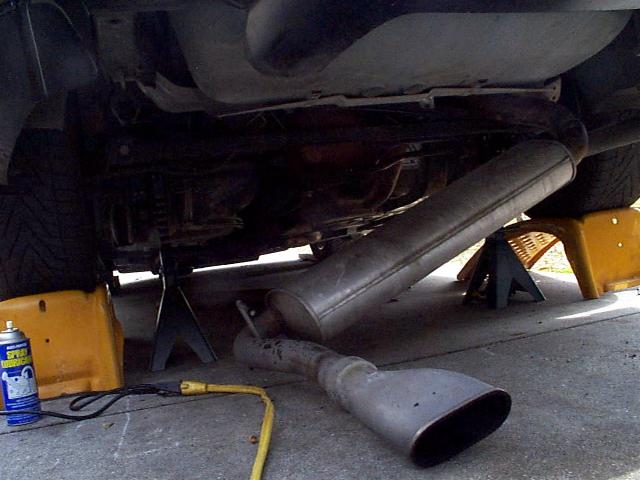
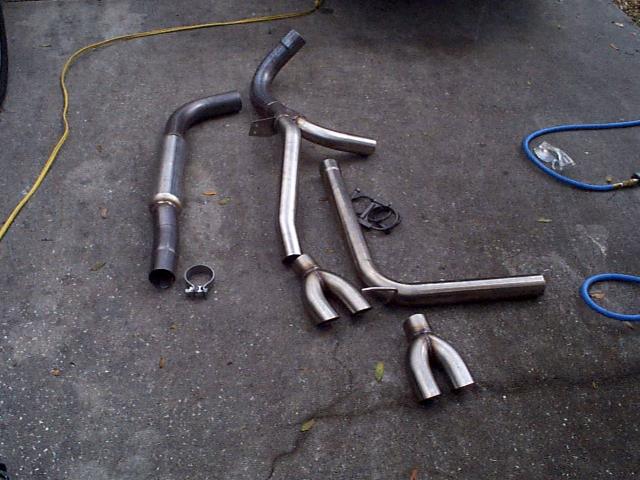
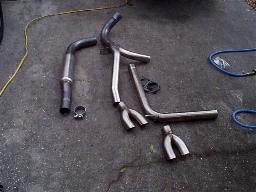
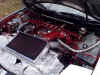
| With the stock exhaust removed, the job is
almost finished. Installing the SLP exhaust is the easy part! This picture
just shows the exhaust laid out to make sure we had all the parts. We also started
the car with nothing past the y-pipe :) We were surprised at how quiet the car was. |
|
| I didn't take any further pictures of actually
bolting up the SLP exhaust. Before you start putting the SLP components in place, I
recommend test fitting the intermediate pipe with the pipe that goes over the rear axle.
Ours was slightly out of round and we couldn't get it together from under the car.
We had to take it back out, and force the parts together. Once this was done
it "fixed" the connection and we were able to easily slip the pipes together
from under the car. It is best to put all pieces in place but don't bolt any of it
together. You'll need to play with it a bit to get the intermediate pipe connected
to the pipe that goes over the axle. Once you have these two pipes together (don't
forget to slide on your clamp first!) you can connect the pipe that goes over to the
driver side tip. With all this together, loosely put on your tips and align the
exhaust. It helps to have somebody help you to eyeball it in place. Once you
have it in place and where you want it, tighten up all your clamps and start it up! |

|
| Now I suppose you want to hear a before and
after, huh? Well, this 99 Trans Am was completely stock prior to this install.
I made a recording of the completely stock 99 Trans Am sound then made an after
recording at the same distance as the stock recording. When converted over to the
mp3 format I did not adjust any of the sound levels, etc, so the before and after
recording should be very accurate. Take note of how the Loud Mouth interrupted the
peaceful birds chirping in the background :-) |
Stock 99 Trans Am
99 Trans Am with
SLP Loud Mouth
(both recordings in MP3 format)
|
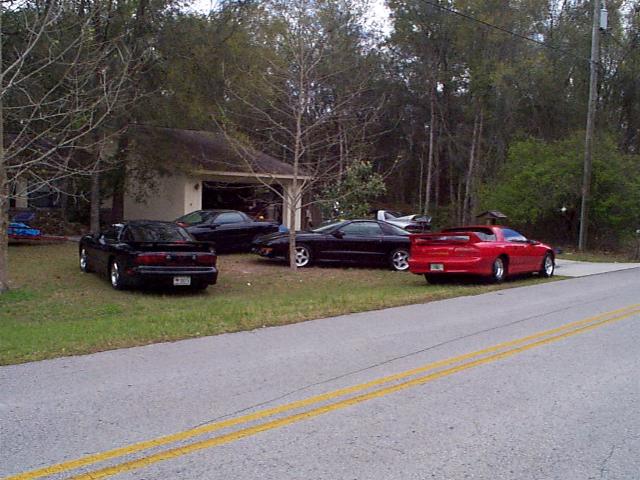
While installing
this exhaust system a few friends stopped by and I took some pics. Could this be
called
F-Body Insanity??? :-)
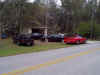
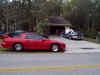
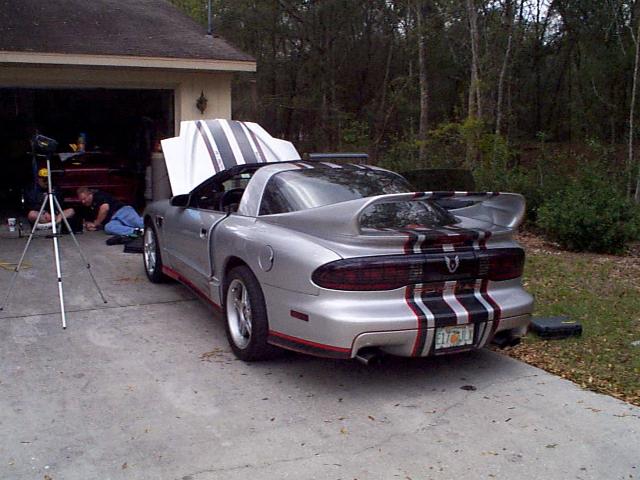
Here are some pics of Fred's car. The
wing is a custom made wing that started out as an A&A wing for a Camaro!


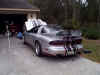
Fred Russell with his highly modified silver
95 Trans Am drove about three hours and we helped set him up with a nitrous program using
LT1 Edit. The Red tubb'd SS is owned by my buddy John. Charlie has the 99
Trans Am we installed the exhaust on and I'm the fool with the other three :) A 5.0
stock Mustang drove by and revved his engine at us. BWHAAHHAAA!!!
Hope you enjoyed the page. If for nothing
else, you can hear a comparison between the stock exhaust and the SLP Loud Mouth.
After having it on for a few days now, my bud still really likes it and does recommend
it. SOTP feel for power is difficult to tell for sure but when he left that day, he
laid down two black marks in front of my house over 100 feet long :)
|