Installing
F-Body Vinyl Inserts/Overlays I'll give you some directions here on how best to install the vinyl inserts and overlays I have which I do not send with the application tape. Note: Application tape is put over the top of the vinyl and used to peel the vinyl away from the its backing and then apply the entire vinyl graphic at once. Once the vinyl is applied then the application tape is peeled away. Certain types of inserts and overlays I do not include the application tape with because it is easier to install them without the tape. Because there is no application tape, the installation is somewhat different than those inserts overlays and graphics which do include the application tape. Below you'll see specific details for installing a rear CAMARO insert but the theory will be the same for installing any vinyl graphics which will not be installed with the application tape. |
|
|
|
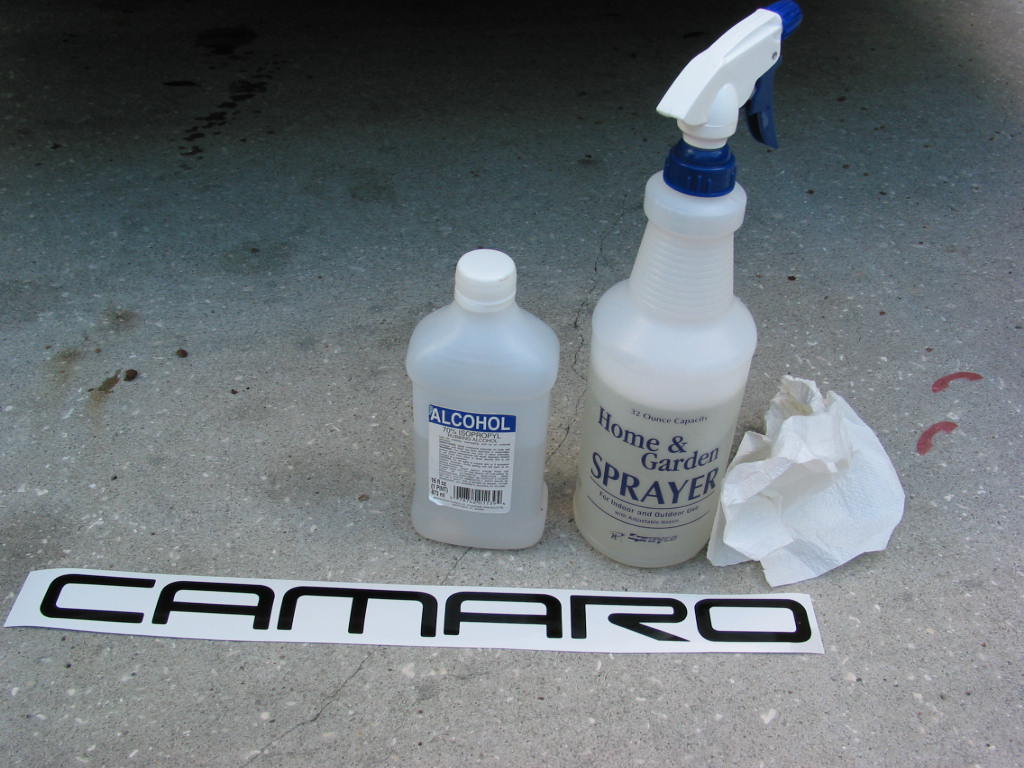
| You are going to need a few household supplies to do
the install. You'll need some rubbing alcohol, a sprayer, some cheap liquid
dishwashing soap, and some paper towels or cotton rags. NOTE: For reflective vinyl, do NOT use water as described on this page. The engineering grade reflective vinyl that I use has a different type adhesive. This adhesive sometimes doesn't respond well to installations done using water! Most times it works fine but in some cases the letters don't stick well and the edges start to peel. Not using water to aid in the installation will prevent this problem from happening (so long as the surface is clean and free of wax!). Take your CLEAN and preferably NEW sprayer bottle and fill it about 1/2 way with water. Now take your cheap (the cheaper the better!) liquid dishwashing soap and put ONE DROP in the sprayer bottle. Fill up the bottle the rest of the way with water. What this does for you is allows you some "screw up" room with your vinyl decal. The soap and water will allow you to adjust your vinyl if you don't get it perfect the first time. NOTE: Just because one drop of soap is good, don't think two drops will be better! If you get too much soap in your water (more than about a drop) it will take hours for your vinyl to dry and stick good to the car and this can cause problems. |
 |
|
|
| You want to start with a clean car! Wash the car good like you normally would. After you have completed washing the car, take the rubbing alcohol and a paper towel or rag and go over the area where the vinyl will be placed. This will remove any wax and oil residue from the area and ensure the vinyl decal will stick good. | 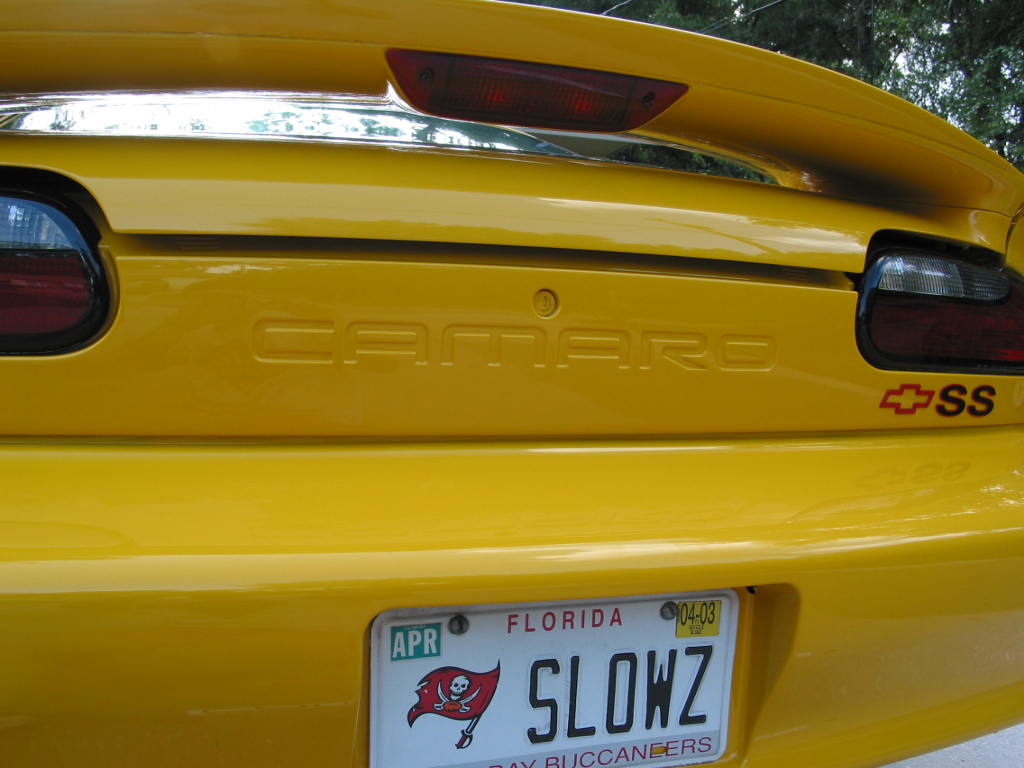 |
|
|
| With a good clean area, take your spray bottle soap/water mixture and liberally spray one of the areas where you will be placing the vinyl. In this case, spray the "C" so it is very wet. Don't skimp with the water... it is cheap and will allow you to correct your mistakes :) | 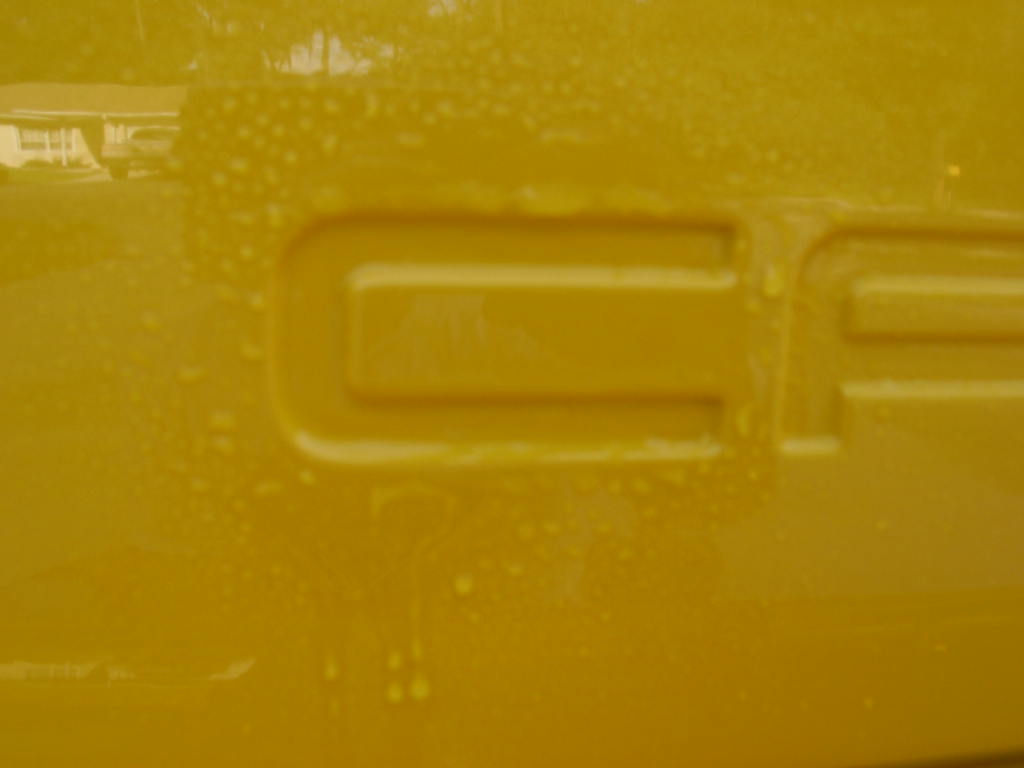 |
|
|
| Without delaying, take your piece of vinyl and peel it off its backing. With the sticky side up (i.e., not stuck to your hand!) Spray this with the soapy water mixture as well. Spraying both the vinyl and the surface where you will be putting it ensures you get it good and wet. | 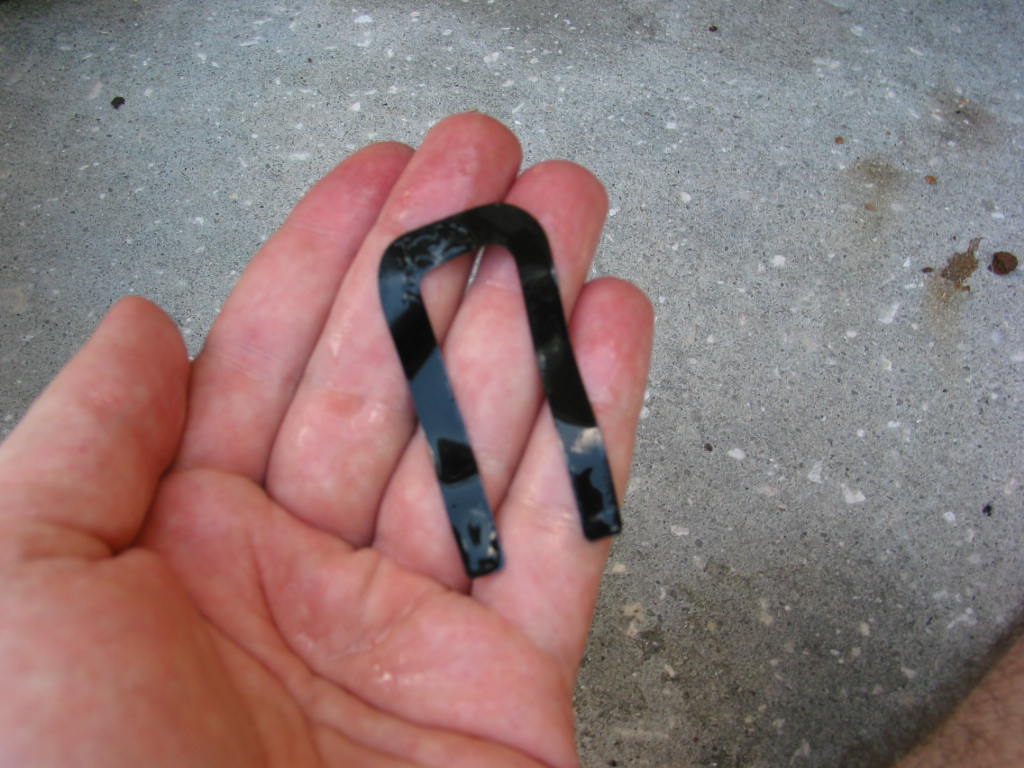 |
|
|
| Now take your vinyl and carefully put in place. DO
NOT push it in place until you are sure it is where you want it. If you are slightly
off and need to move it some, very gently pick it off the car, move it, and gently lay it
in place. If you did actually push it down there is a chance it stuck too good for
you to pick up without damaging. You can try but if you feel it sticking real good
you may end up stretching or ripping the vinyl when trying to remove it. Once you get the vinyl in place and it is aligned properly, gently PUSH it down in place. Push from the center out. This will help to remove any air bubbles caught between the vinyl and the car. At this point, depending on the weather and how much soap you used, the letter is probably stuck for good and you will not be able to peel it back up off the car without damaging the vinyl. |
 |
|
|
| This is a picture of pushing the vinyl down while starting in the center and moving towards the outside. Again, you want to make sure the vinyl is positioned properly before doing this because once the vinyl is firmly pressed against the car it is usually stuck for good. If it is very humid outside or you used too much soap, you may end up waiting a couple hours or so for it to stick real well. If this is the case, you might not want to drive your car right away and instead wait for the vinyl to stick good to the car. |  |
|
|
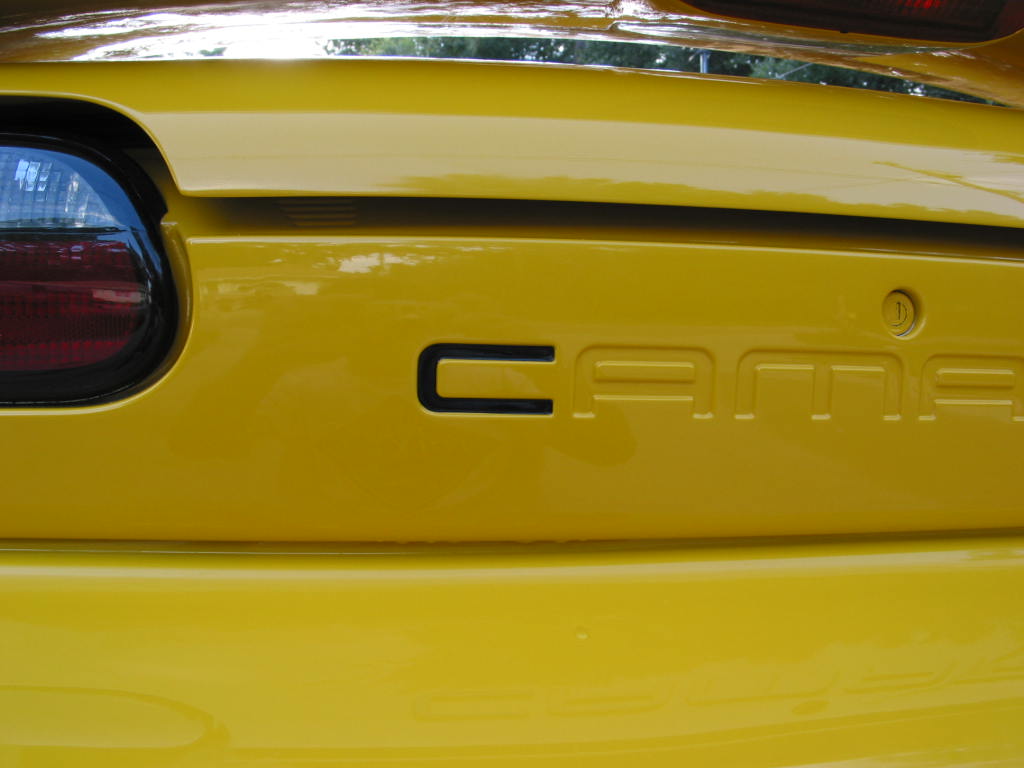
| Here is the completed project. Looks good and when done properly, the vinyl will most likely outlive the time you own the car :) |  |
|
|
|
|