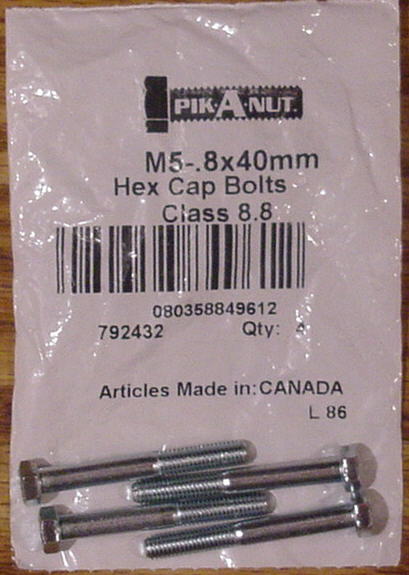
Figure 1 (shown with shank)
Install Guide for Pilot NV-504W Driving
Lights Into a ’93-’97 Camaro
by Dalton Blevins
www.camaroz28.com username: 94BlackBowtie
This install is relatively easy to do…It requires more patience in some areas than anything. The other good part about it is that it is relatively inexpensive. Here is a link to the Pilot website showing the lights that I used… http://www.pilotautomotive.com/pilot2eg.htm
These lights have a driving light pattern, so they shine much better than a fog light. For an explanation of the difference between lighting patterns, go here : http://www.pilotautomotive.com/beam.htm
To start with, there are just a few parts, and tools that you need to do this install…
Tools:
Parts:
Figure 1 (shown with shank)
You don’t have to use the sources I list here to get this stuff. This is just where I got mine, and what the pictures show…
Optional Preparation If you are concerned about the silver mounting brackets showing, then you can opt to paint them black. I first installed them without painting them, and it didn’t stand out too noticeably, but I decided to go back and repaint them later. I also painted (with a Testors black paint pen) the bolts and nuts that I used to mount the lights to the stock brackets with. I would suggest at least doing this, but it is just a personal preference. The look of the zinc-plated bolts sticking out was rather un-attractive, and they are hardly noticeable black.
If you opt to do this…All I did was painted directly over the silver coating that was on the Pilot brackets with zinc rich galvanizing primer (available at Lowes) and them painted over that with black paint. This has stuck fine, but that is mainly due to the nature of the primer. If you wish to do this, I would suggest sanding the brackets first if you are using a different primer.
Step 1: Removal of Stock Fog Lights
Other than recreate most of Brent Franker’s Guide on Fog Light bulb
replacement…I am going to use it here…I did receive permission from Brent to do
so.
The address for this is:
http://www.bfranker.badz28.com/fbody/fogs.htm
Please just use this guide as how to remove the stock fog light. You will need to go ahead and do “Method 2” as well as “Method 1”…not only does this make it easier, but it must be done in a little while anyways so that you can get to the wiring.
Step 2: Wiring Preparations
So that you will have a good connection between the new fog lights, and the *stock wiring
harness, you will need to put connectors on each end of the harness, and the new fog
lights.
*Note: The factory wiring harness will capacitate these lights with no problems. There should be no concern when it comes to burning up the factory wiring…
In order to put new ends on the factory wiring harness, you must clip the factory end off.
(See Fig. 2 – Next Page)

Figure 2
I would suggest leaving enough wire on the factory end to put a “butt-connector” on in the case that you ever want to go back to the factory fog lights…I left very little in the picture above, but it would be possible to tie it back into it if I ever wanted too. I would suggest leaving just a little bit more than what is shown here, just in case.
Now you need to put wire ends on the factory harness…
Where you put the male or female end is up to you…it makes no difference.
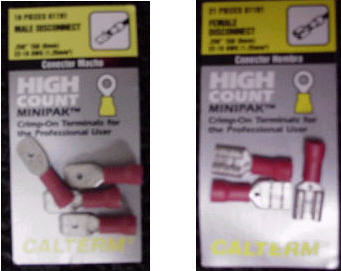
This is the kind of wire ends you will need to use (See Fig. 3 & 4)
 |
|
| Figure 3 Male Ends .250 tab (6mm) 22-18 AWG (1.25mm) |
Figure 4 Female Ends .250 tab (6mm) 22-18 AWG (1.25mm) |
This is the brand that Advance Auto Parts carries, although any brand will be fine.
Firmly clip the ends onto the ends of the stock harness (there’s a purple wire, and a black wire.)
Now you need to do the same for the new lights. There is a ground wire that is attached to the back of the lights (black wire) and also a hot wire that is wired into the bulb (white wire). Just clip the ends of both wires off, and put an end on each of them (the opposite of which you put on the stock harness – male or female…) You don’t have to worry about saving enough wire on the ends of these to be able use them later…when, and if you blow a bulb, you will have to do this part of the procedure again.
That is all of the wiring preparation that you can do to this point.
This is how I wired mine in so that I could use the factory fog light switch…If you would rather use the remote control, then you must follow the instructions for wiring that came with the lights.
Light Mounting Explanation
This is the most time consuming part of this install, although it is still fairly easy. It
requires more patience than anything.
The first thing you need to do here, is make sure you understand the way that the lights are going to mount into the stock brackets, and how you will stabilize the new lights, since they do not have a tensioned top screw like the factory fog lights. I apologize for not having more detailed “Install Pics” at the time, I hope to get some soon.
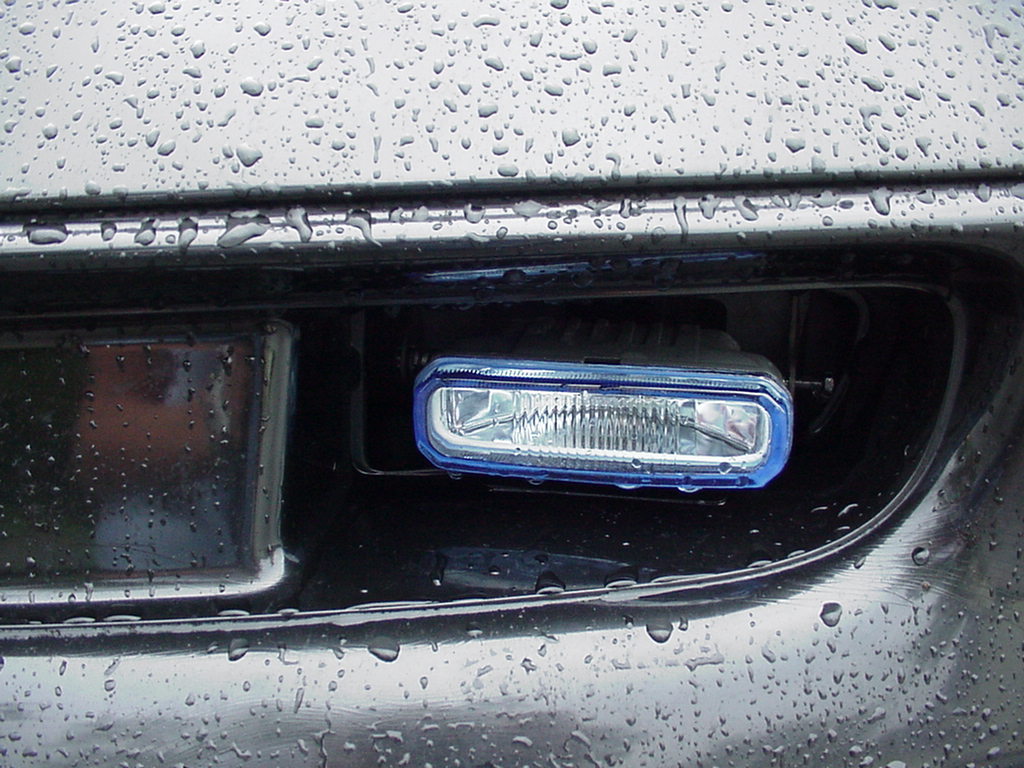
Take the Pilot lights, and arrange the bracket so that it faces frontward, with the tabbed side of the light up. What I mean by the tabbed side of the light, is where the lens meets the gray housing, there is a tab on one side. That side goes up, and the bracket goes down from it. (See Fig. 5)

Figure 5
You will not need to attach the bracket to light itself. This is how you will mount the light into the stock openings.
The next tidbit is the way the lights will remain stable. Most of this is explained in the below details, but just as a quick overview…
You will mount the lights (on the sides) with a bolt on each side through the openings that the little black clips went through that held the factory fog lights in place. On one side of the light, you will have a spring holding tension against the bracket/light, and on the other side, the bolt will be adjusted all the way in with a keeper nut on the end of the threads.
The vertical stabilizing of the lights will come via the bracket that came with the Pilot lights, and a small bolt (one of the allen headed bolts that originally held the bracket to the light) mounted through the bottom part of the front fascia around the fog light openings.
That is just an overall idea to see how the lights will be mounted, and how they will stay where they are. It is better to have an idea of what is going on before you start, and it also makes it easier.
Step 3: Light Installation
Now it’s time to mount the lights.
You will have to connect the wiring together first, as there will be no room to do this after the lights are in place. So connect the two black wires, and then connect the white and purple wire. I suggest wrapping these connections in electrical tape, just to avoid any moisture settling on them, and to keep them out of the elements. What can it hurt? So tape each connection individually, and then wrap them together (makes them easier to get back through the hole in the back of the factory mounting bracket).
Now set the lights in place, with the bracket just sitting underneath them (see Fig. 4 above)
Now you must bolt the lights to the factory mounting brackets.
Run one of the bolts through the side of the factory brackets (where the clips came out of) and
run a nut up it to the shank (if you bought shanked bolts like I did) or run it about ľ of the way up the threads, and also start the second nut on if you are using fully threaded bolts. The reason I suggest getting fully threaded bolts is so that they do not stick out past the factory mounting bracket. If you use bolts with threads all the way up, you will have to use a second nut on these bolts to “lock” the nuts in place. (See Fig. 6 and 7)
 |
|
| Figure 6 Bolt with shank |
Figure 7 Bolt without a shank (Bolt with shank shown...) |
| Run one nut up until the bolt-head (shown in Fig. 7 & 8) meets the factory bracket, then run the first to the edge of the Pilot housing, then tighten the next nut to it. This will prevent the nut from backing off. This is the suggested method. | |
Run the bolts into the back of the housing where the bracket was attached. The bracket will sit on the outside of the housing and the bolt will also run through it. Run your bolt in until it bottoms out on the factory mounting bracket, then tighten the two nuts up to the light, or, if using a shanked bolt, run it into the light until the nut is tight up against it. (See Fig. 8 & 9 – Next Page)
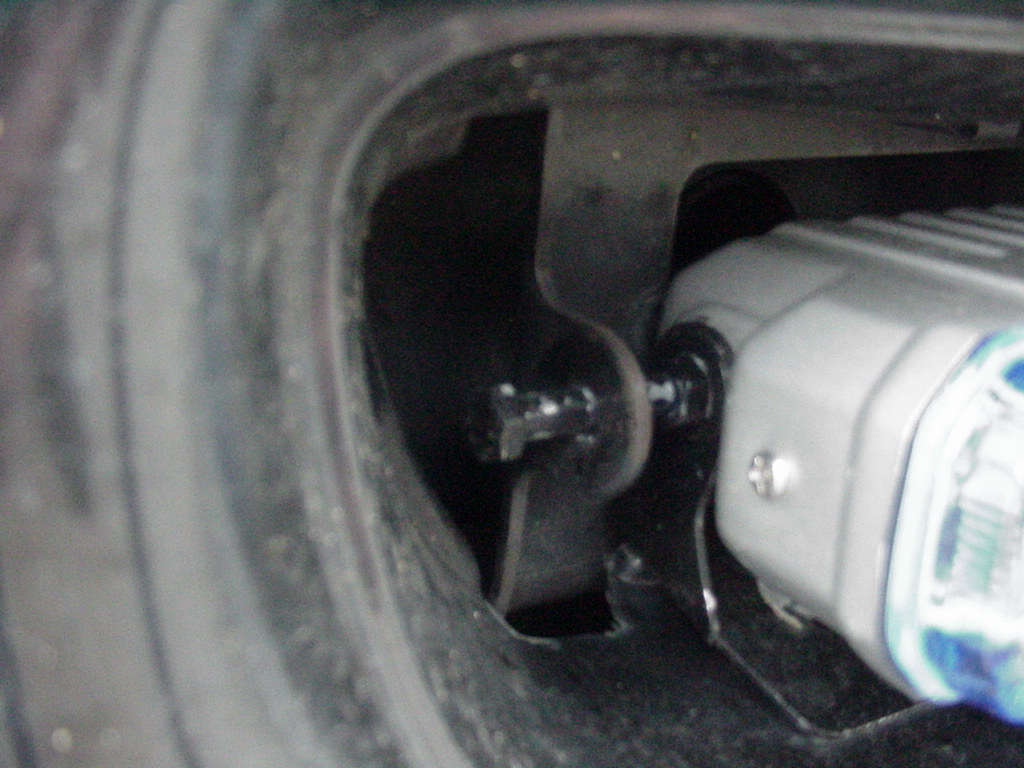
Figure 8 - Passenger Side
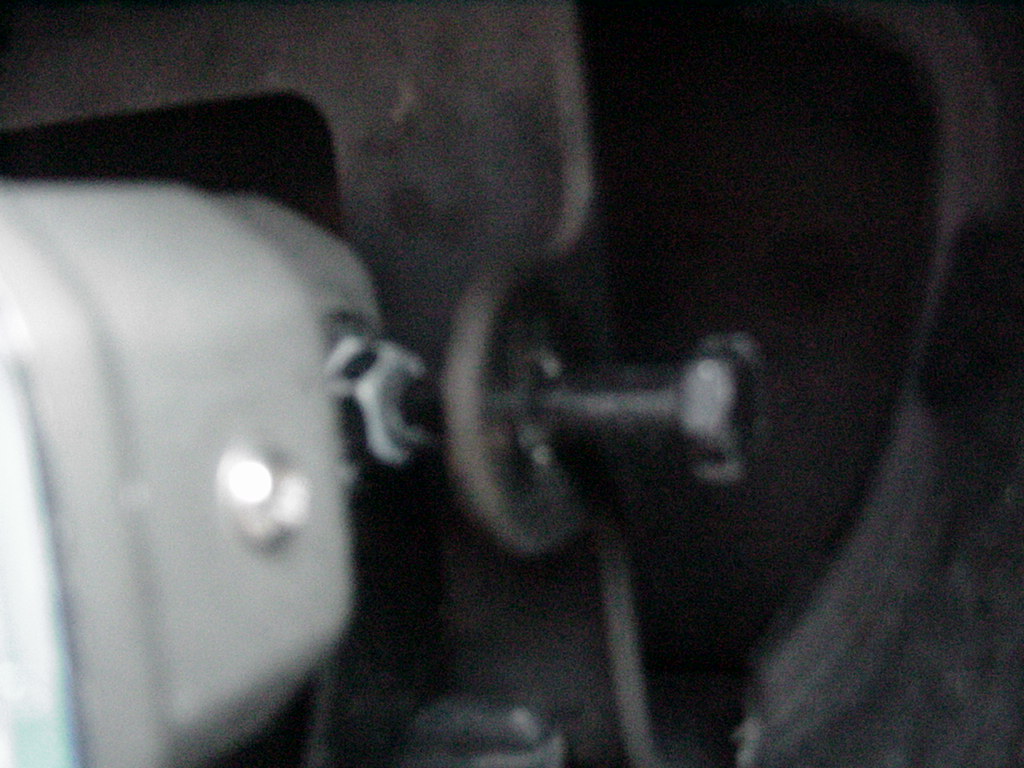
Figure 9 - Driver Side
I skinned both sides up not too long ago putting them back in after I put the wire ends on, but touch painting the bolts/nuts black def. takes away some of the attention. Excuse the filthiness of my car… :(
Next take another bolt, and slide it through the other side of the factory bracket, letting the spring (that was on the top of your factory fog lights) slide over it in between the factory bracket and light/bracket. Now tighten that bolt into the light a good bit. You will tighten it after you are done completely to make sure there is enough tension on it to keep the lights still. It works exceptionally well. (See Fig. 9 & 10 – Next Page)
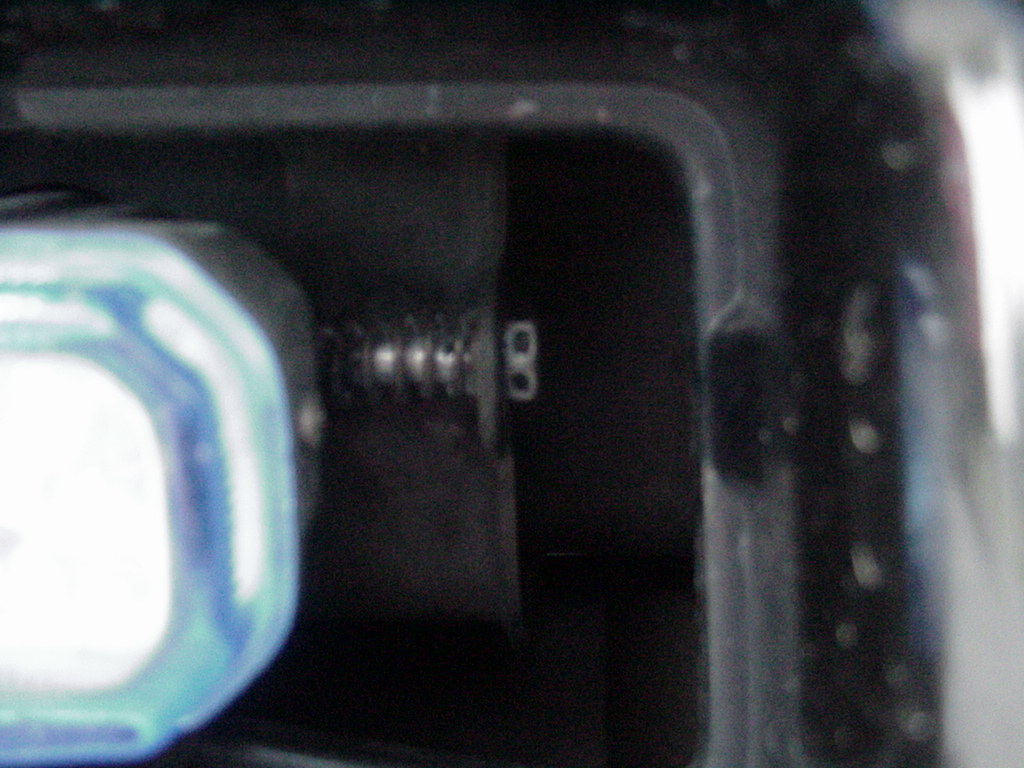
Figure 9 - Passenger Side
Figure 10 - Driver Side
With that done, you will need to drill a hole in the bottom of the fascia surrounding the fog light openings to hold the lights from bouncing up and down. This is the most painful part of the install because you have to put a whole in your Camaro, but it’s worth the lighting quality…
The easiest way to do this, is to get the lights tilted in about the position you want to run them. Then, fold the bracket down until it meets the bottom of the fascia. Now, if you have a 90° pick, take and puncture a hole through the fascia by through the mounting outside slot on the bracket. You can also just take a guess on where to drill your hole…as long as you get close, it will be fine, because the plastic is rather flimsy, and you can bend it up or over a little to bolt to it. Now take a small drill bit and drill a hole through the fascia that lines up with the outer mounting hole in the bracket (where you stuck the pick through). The bolt that you will use here is on of the allen bolts that was holding the bracket to lights originally. (See Fig. 11 & 12)
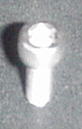
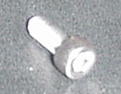
Figure 11 & 12
Push one of the allen bolts through from the bottom side, or thread it through if you used a smaller drill bit, putting it through the fascia and the bracket, and put one of the nuts on the end of it, and tighten the nut down. This will keep the lights from bouncing up and down.
You’re finished!
Now just adjust the lights to the position you want them to shine (up and down) and tighten the bolt with the tensioner spring so that they don’t move freely.
I tried to be as thorough as possible, and may have been too thorough, but hey, too much is better than not enough…
Good Luck, and enjoy those lights!
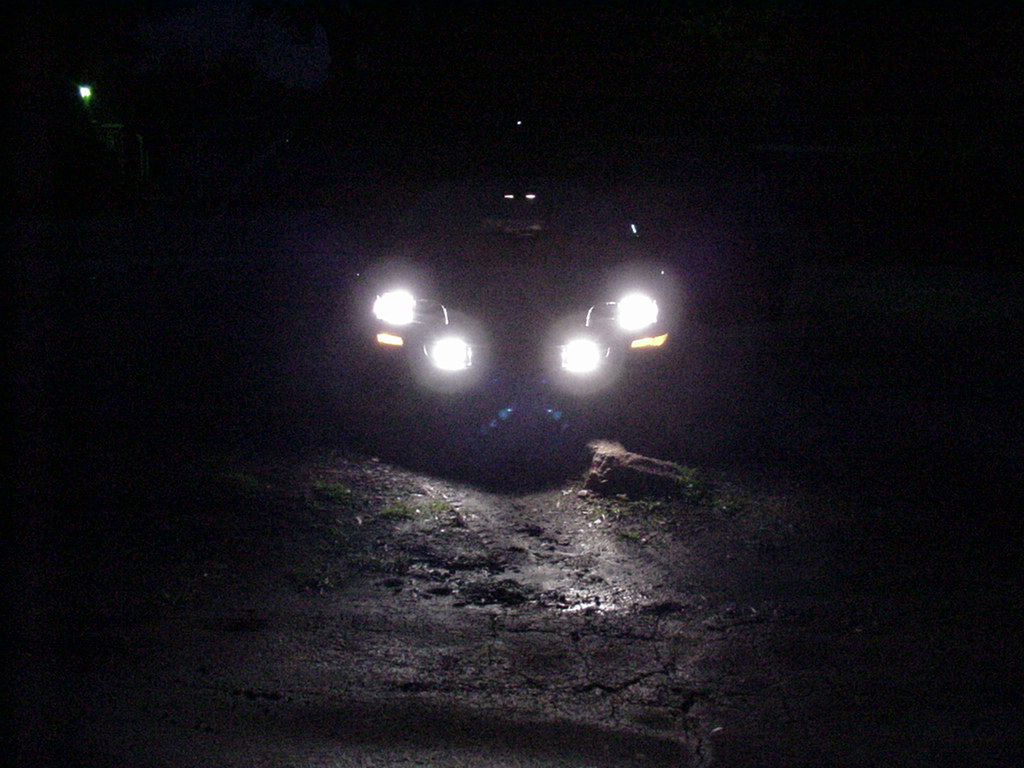
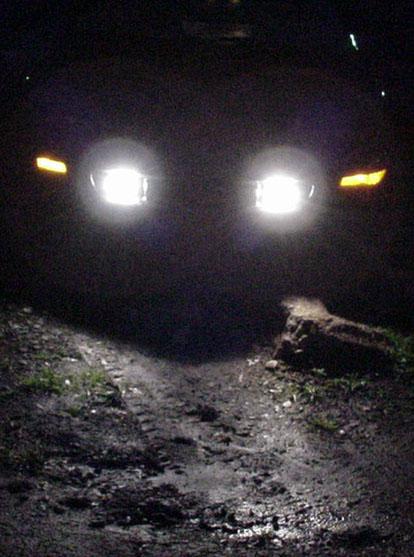
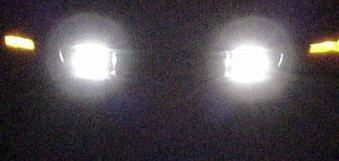
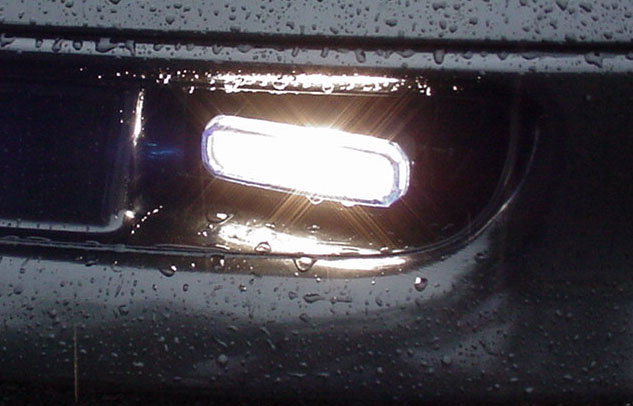
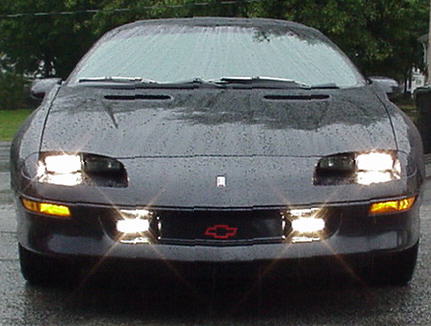
Here are some pictures of the installed lights...
![]()
Click on the image for a larger picture.