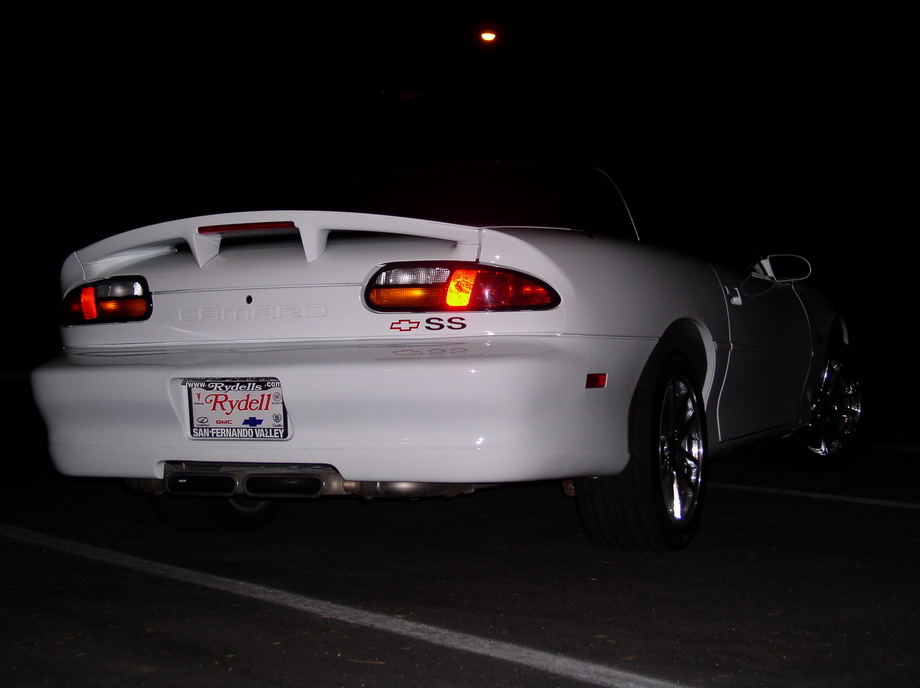
| This is what my Camaro started out as, just your basic SS with an ugly fixed mast antenna. Why do all the Pontiac guys get to have all the fun! This was an easy job that can be done in a couple of hours with simple hand tools. Let's begin. | 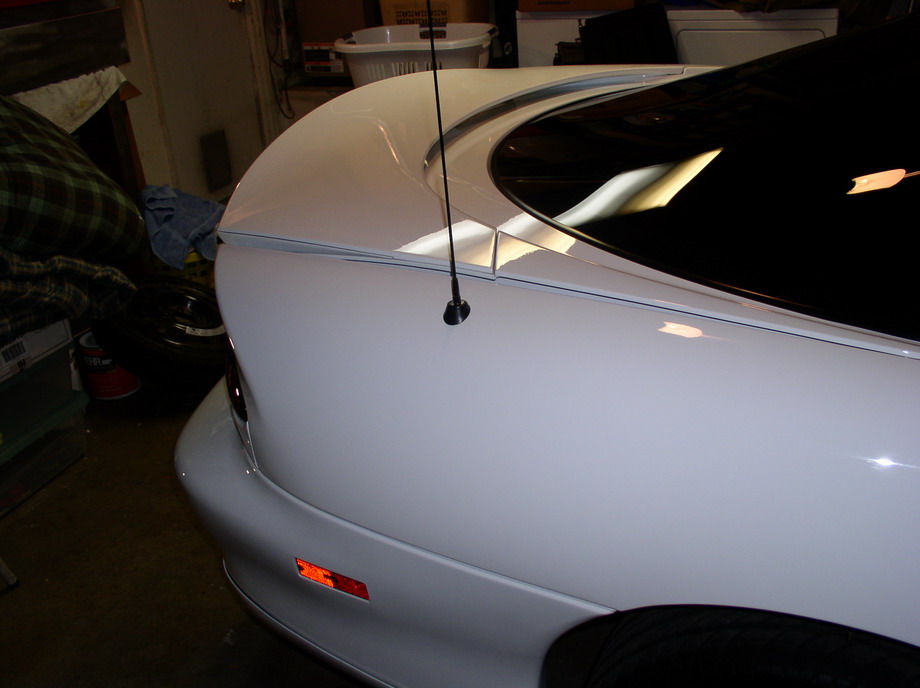 |
|
|
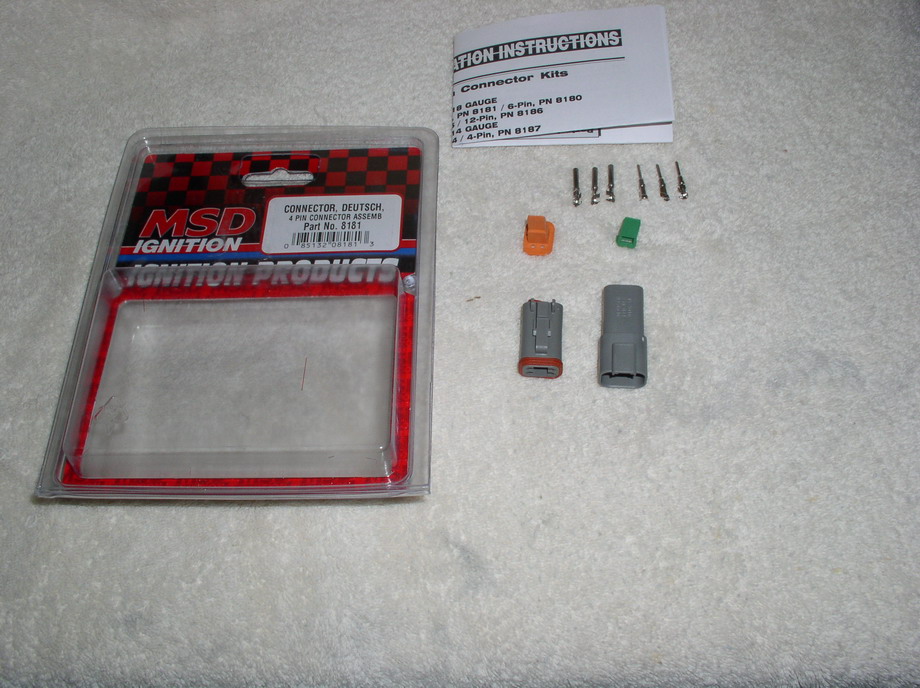
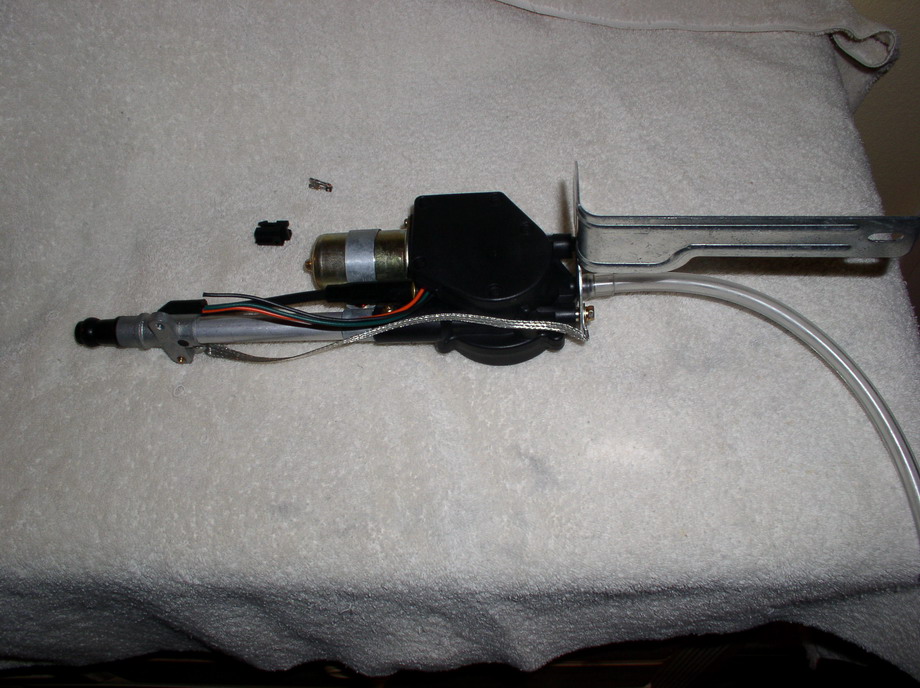
| Before we get started this install is primarily for
1998-2002 Camaros equipped with a Monsoon stereo system with the addition of a GM power
antenna available from your local GM dealer. First order of business that I found much easier than trying to hunt down a factory 3 pin GM connector to complete the install, was to order a Deutsch 4 pin connector from MSD, available through any MSD parts retailer, and install that. The only thing necessary was to cut the connector off and install the deutsch connector. This process can be accomplished with a pair of needle nose pliers, no need for expensive crimping tools! |
|
|
|
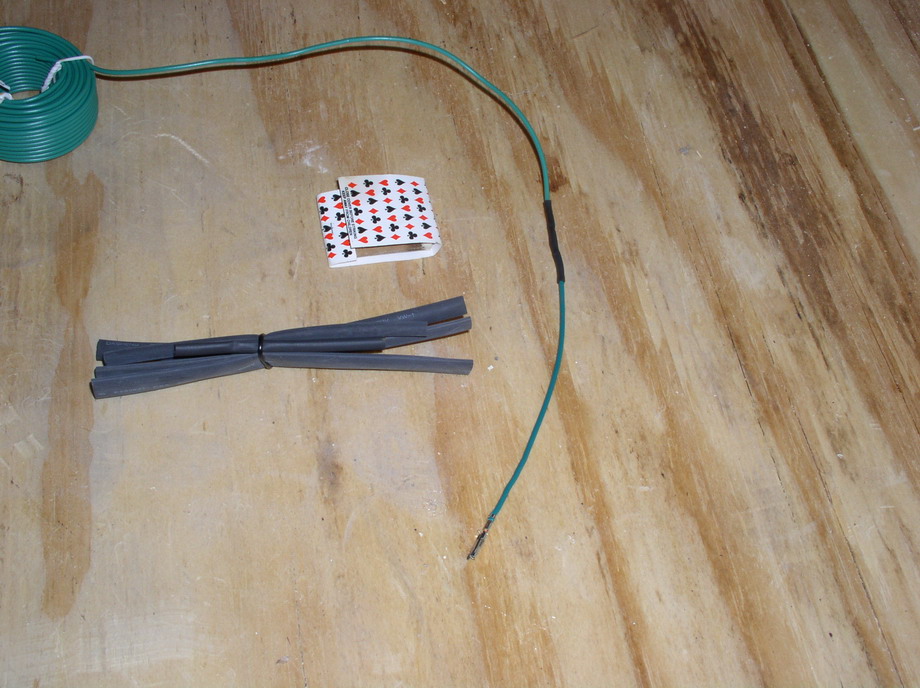
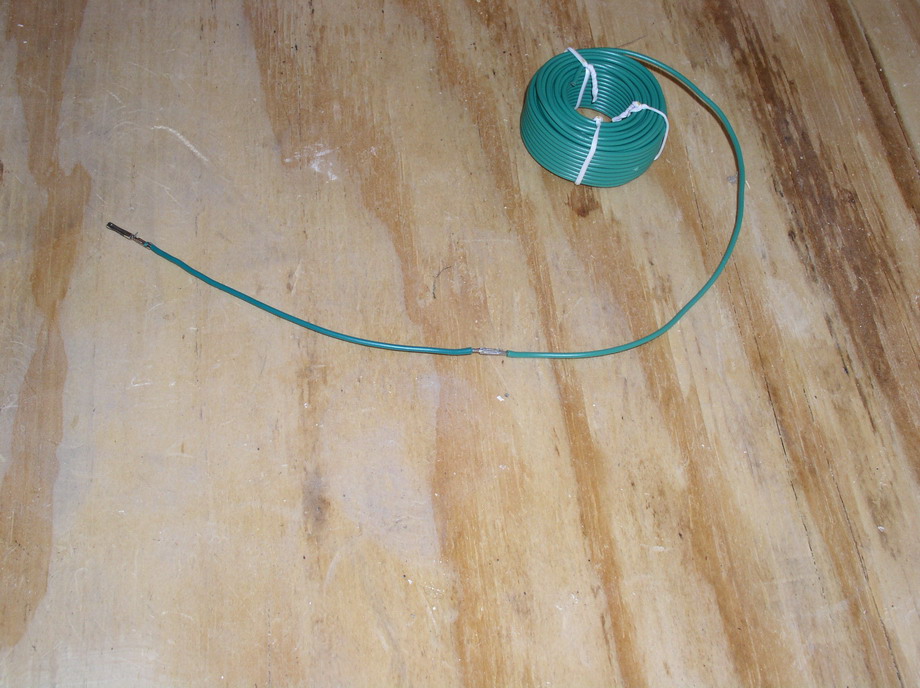
| Next up is creating the supplemental harness to feed
power to the antenna. What you will need is some 18 gage wire. I chose green as it is the
same color as the remote wire on the antenna body. What I did was buy a GM stereo adapter plug and unplugged a green wire out of it. Why you may ask? It has the correct GM-ECM type plug that will fit into the existing stereo harness. Then just solder the wires together and cover it with either some electrical tape or some quality shrink tube. |
|
|
|
| Next up, you will need to remove the radio/HVAC face plate. It just easily pulls off. Then you will need to remove the passenger side kick panel. It just unscrews with four Philips head screws located at the beltline of the body. And then remove the stereo by unscrewing the two 7MM bolts on both sides of the unit. | 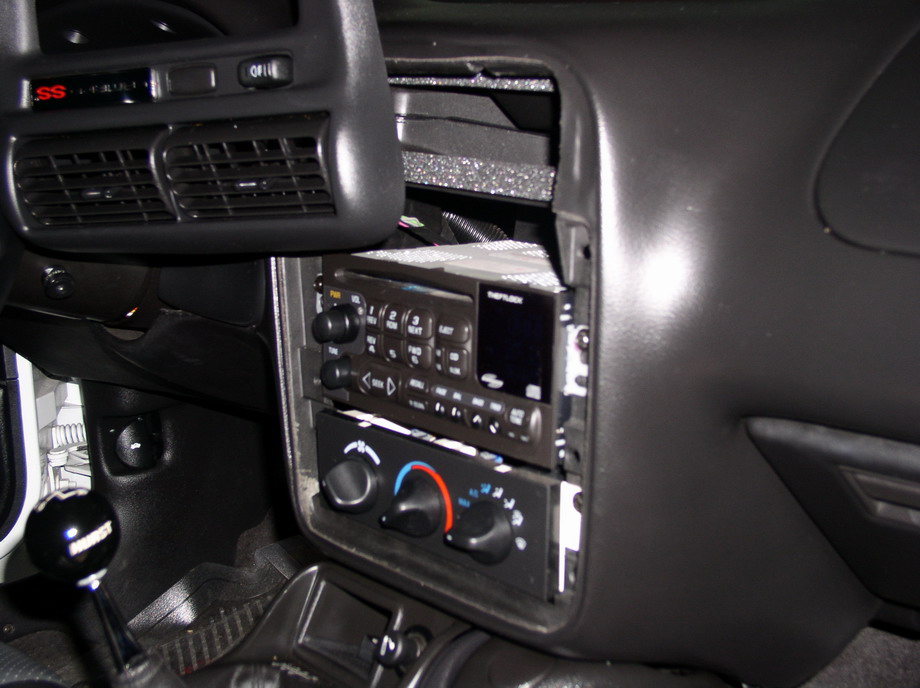
|
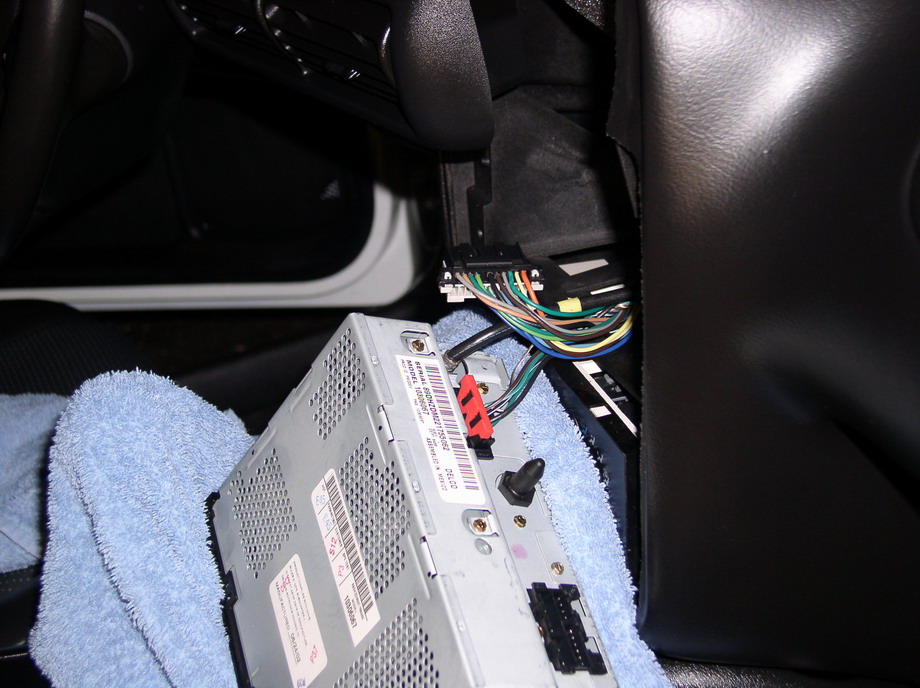
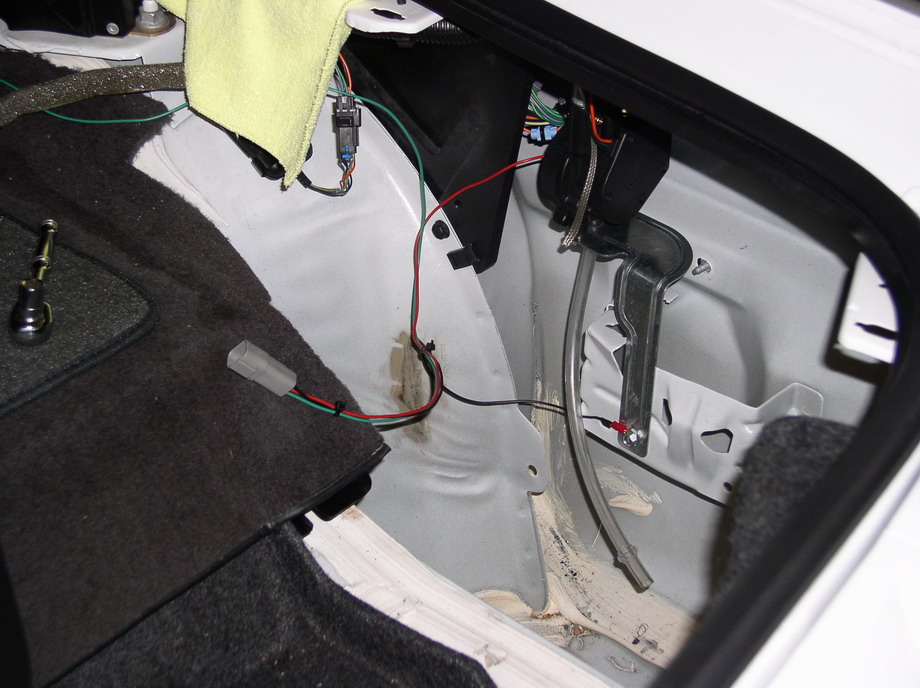
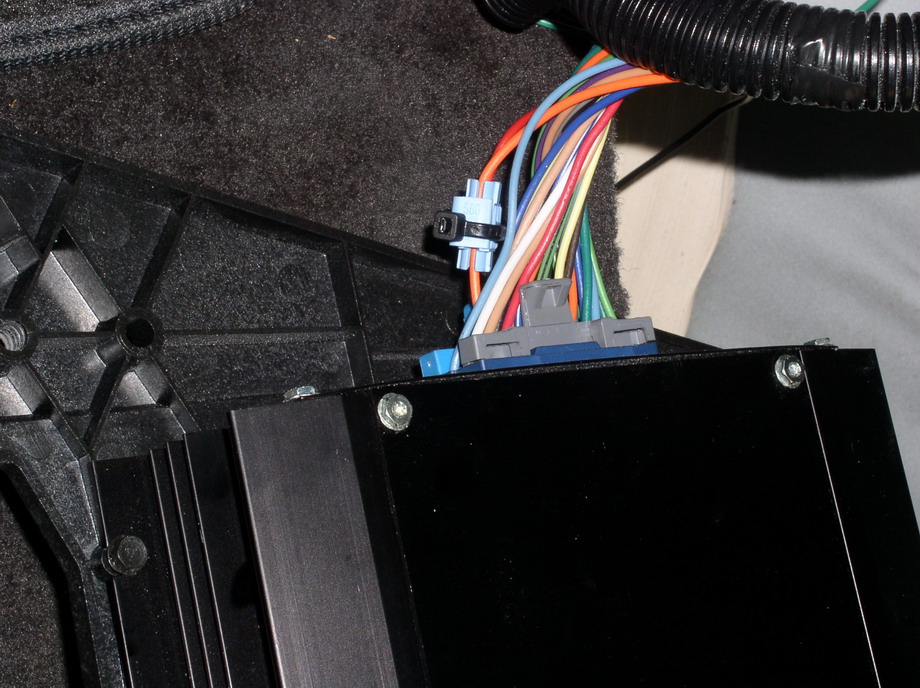
| Up next we will begin the construction of the
supplemental harness for the antenna. With the face plate removed and the stereo out,
remove the harness connector from the bottom right of the stereo and locate the terminal
where the "Power Antenna Output" is on the harness. The following picture will
illustrate this terminal's location. Next lift up on the carpet by the door jamb and slide the wire through the carpet all the up the to the transmission tunnel. Directly behind the center console is a a hole in the carpet that the wire should come through. Next insert the green wire into the "Power Antenna Output" terminal on the factory harness and plug the harness back into the stereo. You may want to zip tie the wire to the harness so it doesn't flop around. Then run the green wire to the trunk via the door jamb, through the rear side panel and into the trunk. Now is a great time to get the right rear speaker cover and spare tire out as well! |

|
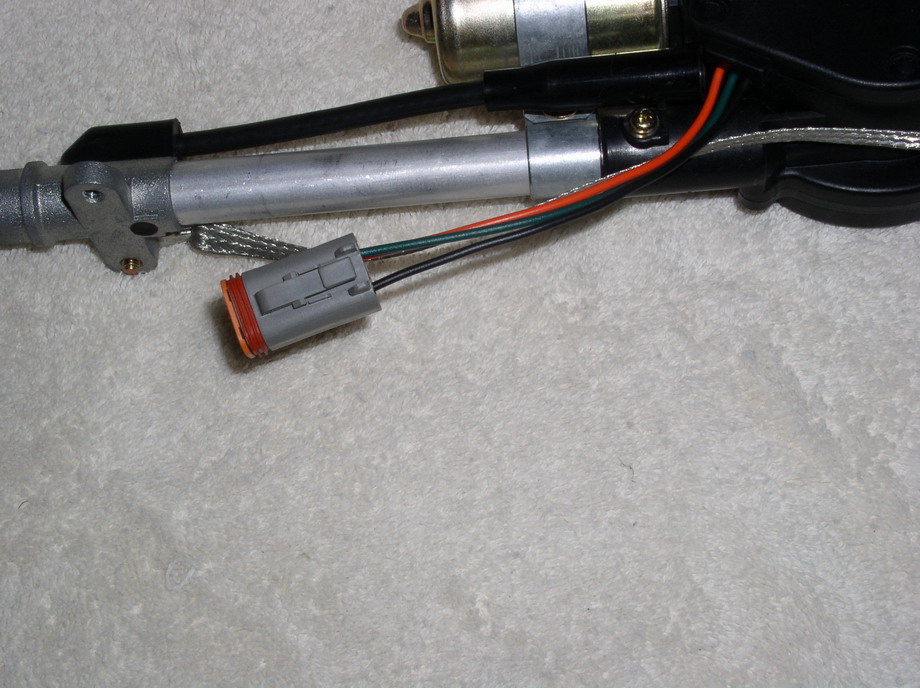
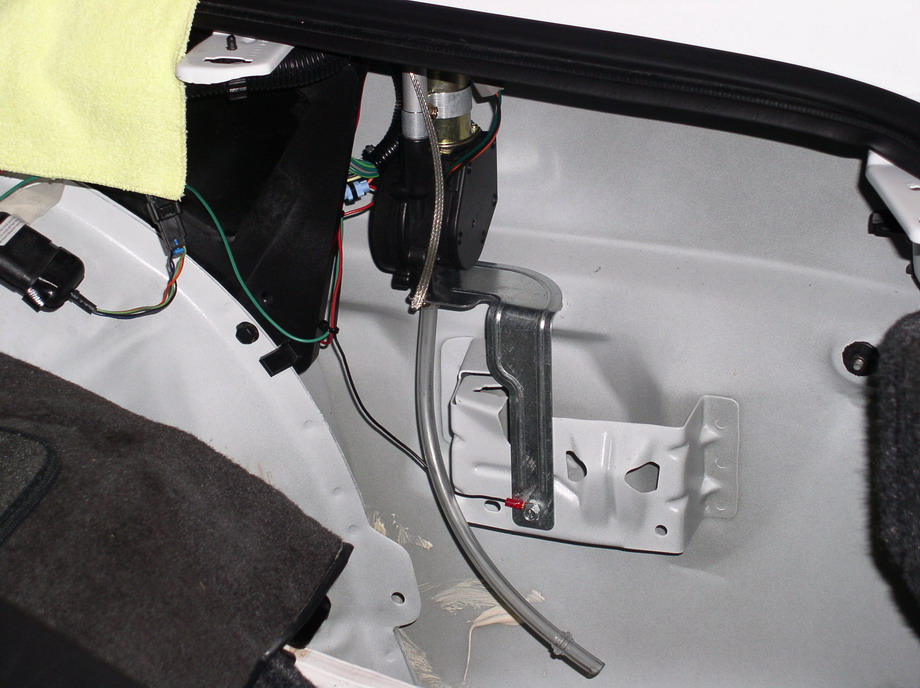
| O.K. back to the harness. Take a about a 1 1/2 feet
of orange 18 gage wire and tap into the E-12 terminal on your amp harness located in the
trunk of the car behind the spare tire. "I could not find any orange wire so I
improvised with red". Next you will need to take some black 18 gage wire and install the deutsch connector pin on it and feed it into the corresponding terminal on the deutsch plug. Repeat this process for the orange and green wire. If all went well, you should now have a complete harness for the power antenna. Simply push the antenna into the grommet from which the old antenna came out of, and bolt the antenna housing to the body using the existing self tapping screw that secured the old antenna. Before you install the antenna body screw, crimp on a ring terminal on the "Black" ground wire that you added for the supplemental harness. Connect the the harness and the antenna and reconnect the battery and fire it up. If all went well your antenna mast should raise when the stereo is on and retract when the power is off. That's it! The rest is simply cosmetics; you can zip tie the wires together and conceal them or wrap them in conduit tubing. Also don't forget to run the drain line to the bottom of the quarter panel. |
|
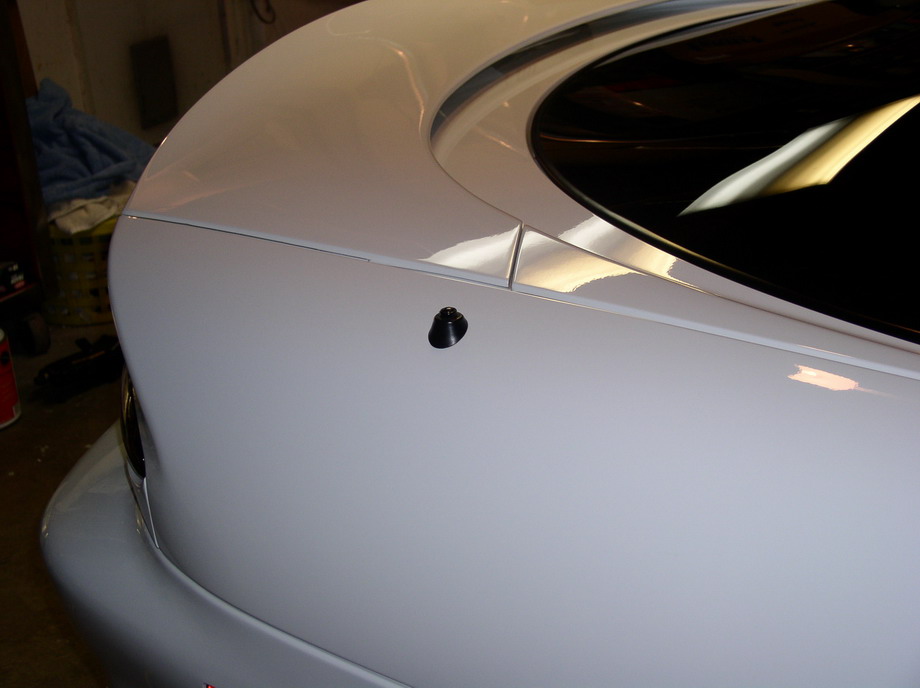
| Bling bling!! Here we are all done! This looks much
better than before I must say. Again, this can be done at home in your garage with simple
hand tools and a cup full of common sense. I enjoyed every minute of this install and hope
you do to! Good luck!! Rick Ryatt |
|